Level Up Your Craft: Guide to 3D Pokémon Perler Beads
September 5, 2026
Are you ready to take your perler bead creations to the next dimension? If you've mastered 2D designs and are looking for a new challenge, crafting pokemon 3d perler beads is an incredibly rewarding next step. Imagine your favorite Pokémon standing proudly on your shelf, no longer flat but a full, vibrant, three-dimensional figure! This guide will walk you through everything you need to know to bring your pixelated companions to life.
Introduction to 3D Perler Bead Techniques for Pokémon
Moving from 2D to 3D perler beads opens up a world of creative possibilities. While traditional perler projects involve fusing beads onto a flat pegboard to create a single, flat image, 3D perler bead projects require you to create multiple flat pieces and then assemble them into a three-dimensional object. Think of it like building with pixelated LEGOs! For pokemon 3d perler bead patterns, this means constructing individual body parts, heads, limbs, and even accessories, and then carefully joining them together.
The core principle is to design flat 'sides' or 'panels' of your desired 3D object. These panels are then fused and connected using various methods, such as:
- Tabs and Slots: This is a popular and sturdy method. You design small 'tabs' on the edges of some pieces and corresponding 'slots' on others. The tabs slide into the slots, holding the pieces together. This method often allows for easy disassembly if needed.
- Interlocking Designs: Similar to tabs and slots, but often more complex, where pieces fit together like puzzle pieces, relying on the geometry of the design to hold them.
- Glue: For a more permanent fix, a strong craft glue or super glue can be used to bond fused perler pieces together. This is especially useful for small details or reinforcing joints.
- Partial Melting/Fusing: In some advanced techniques, you might partially melt edges together with very light heat, but this requires extreme caution and practice to avoid deforming the pieces.
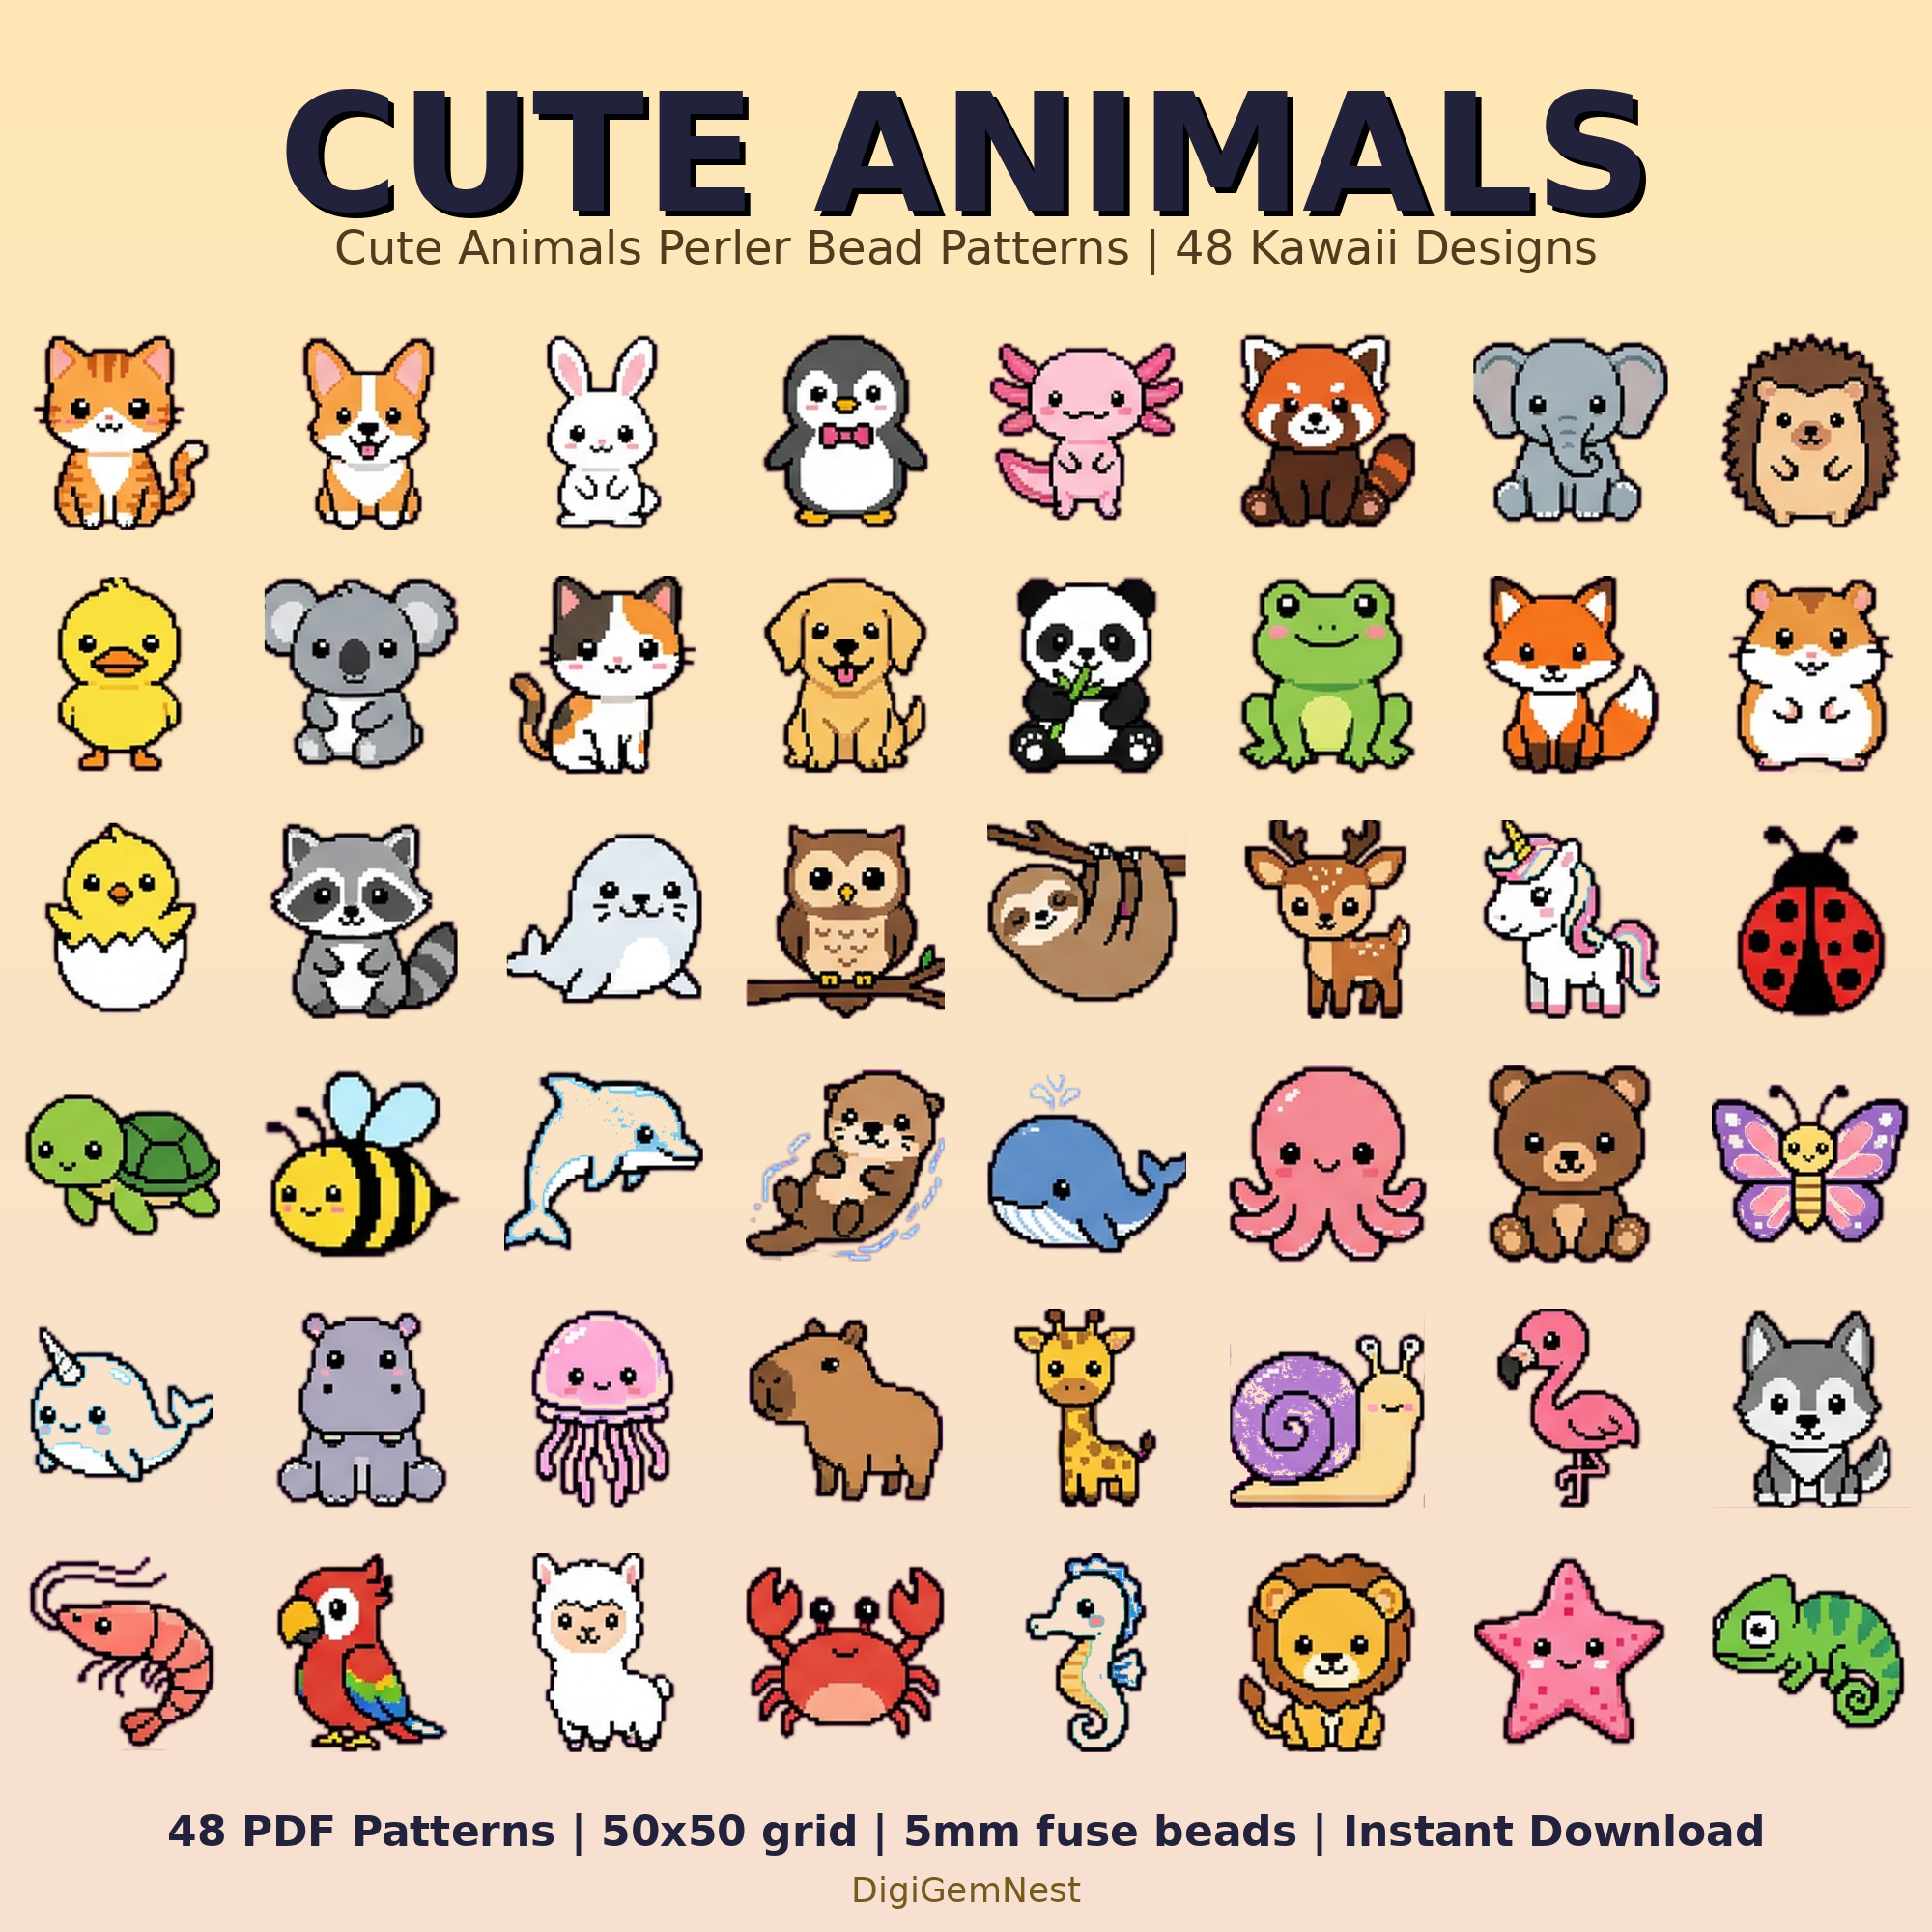
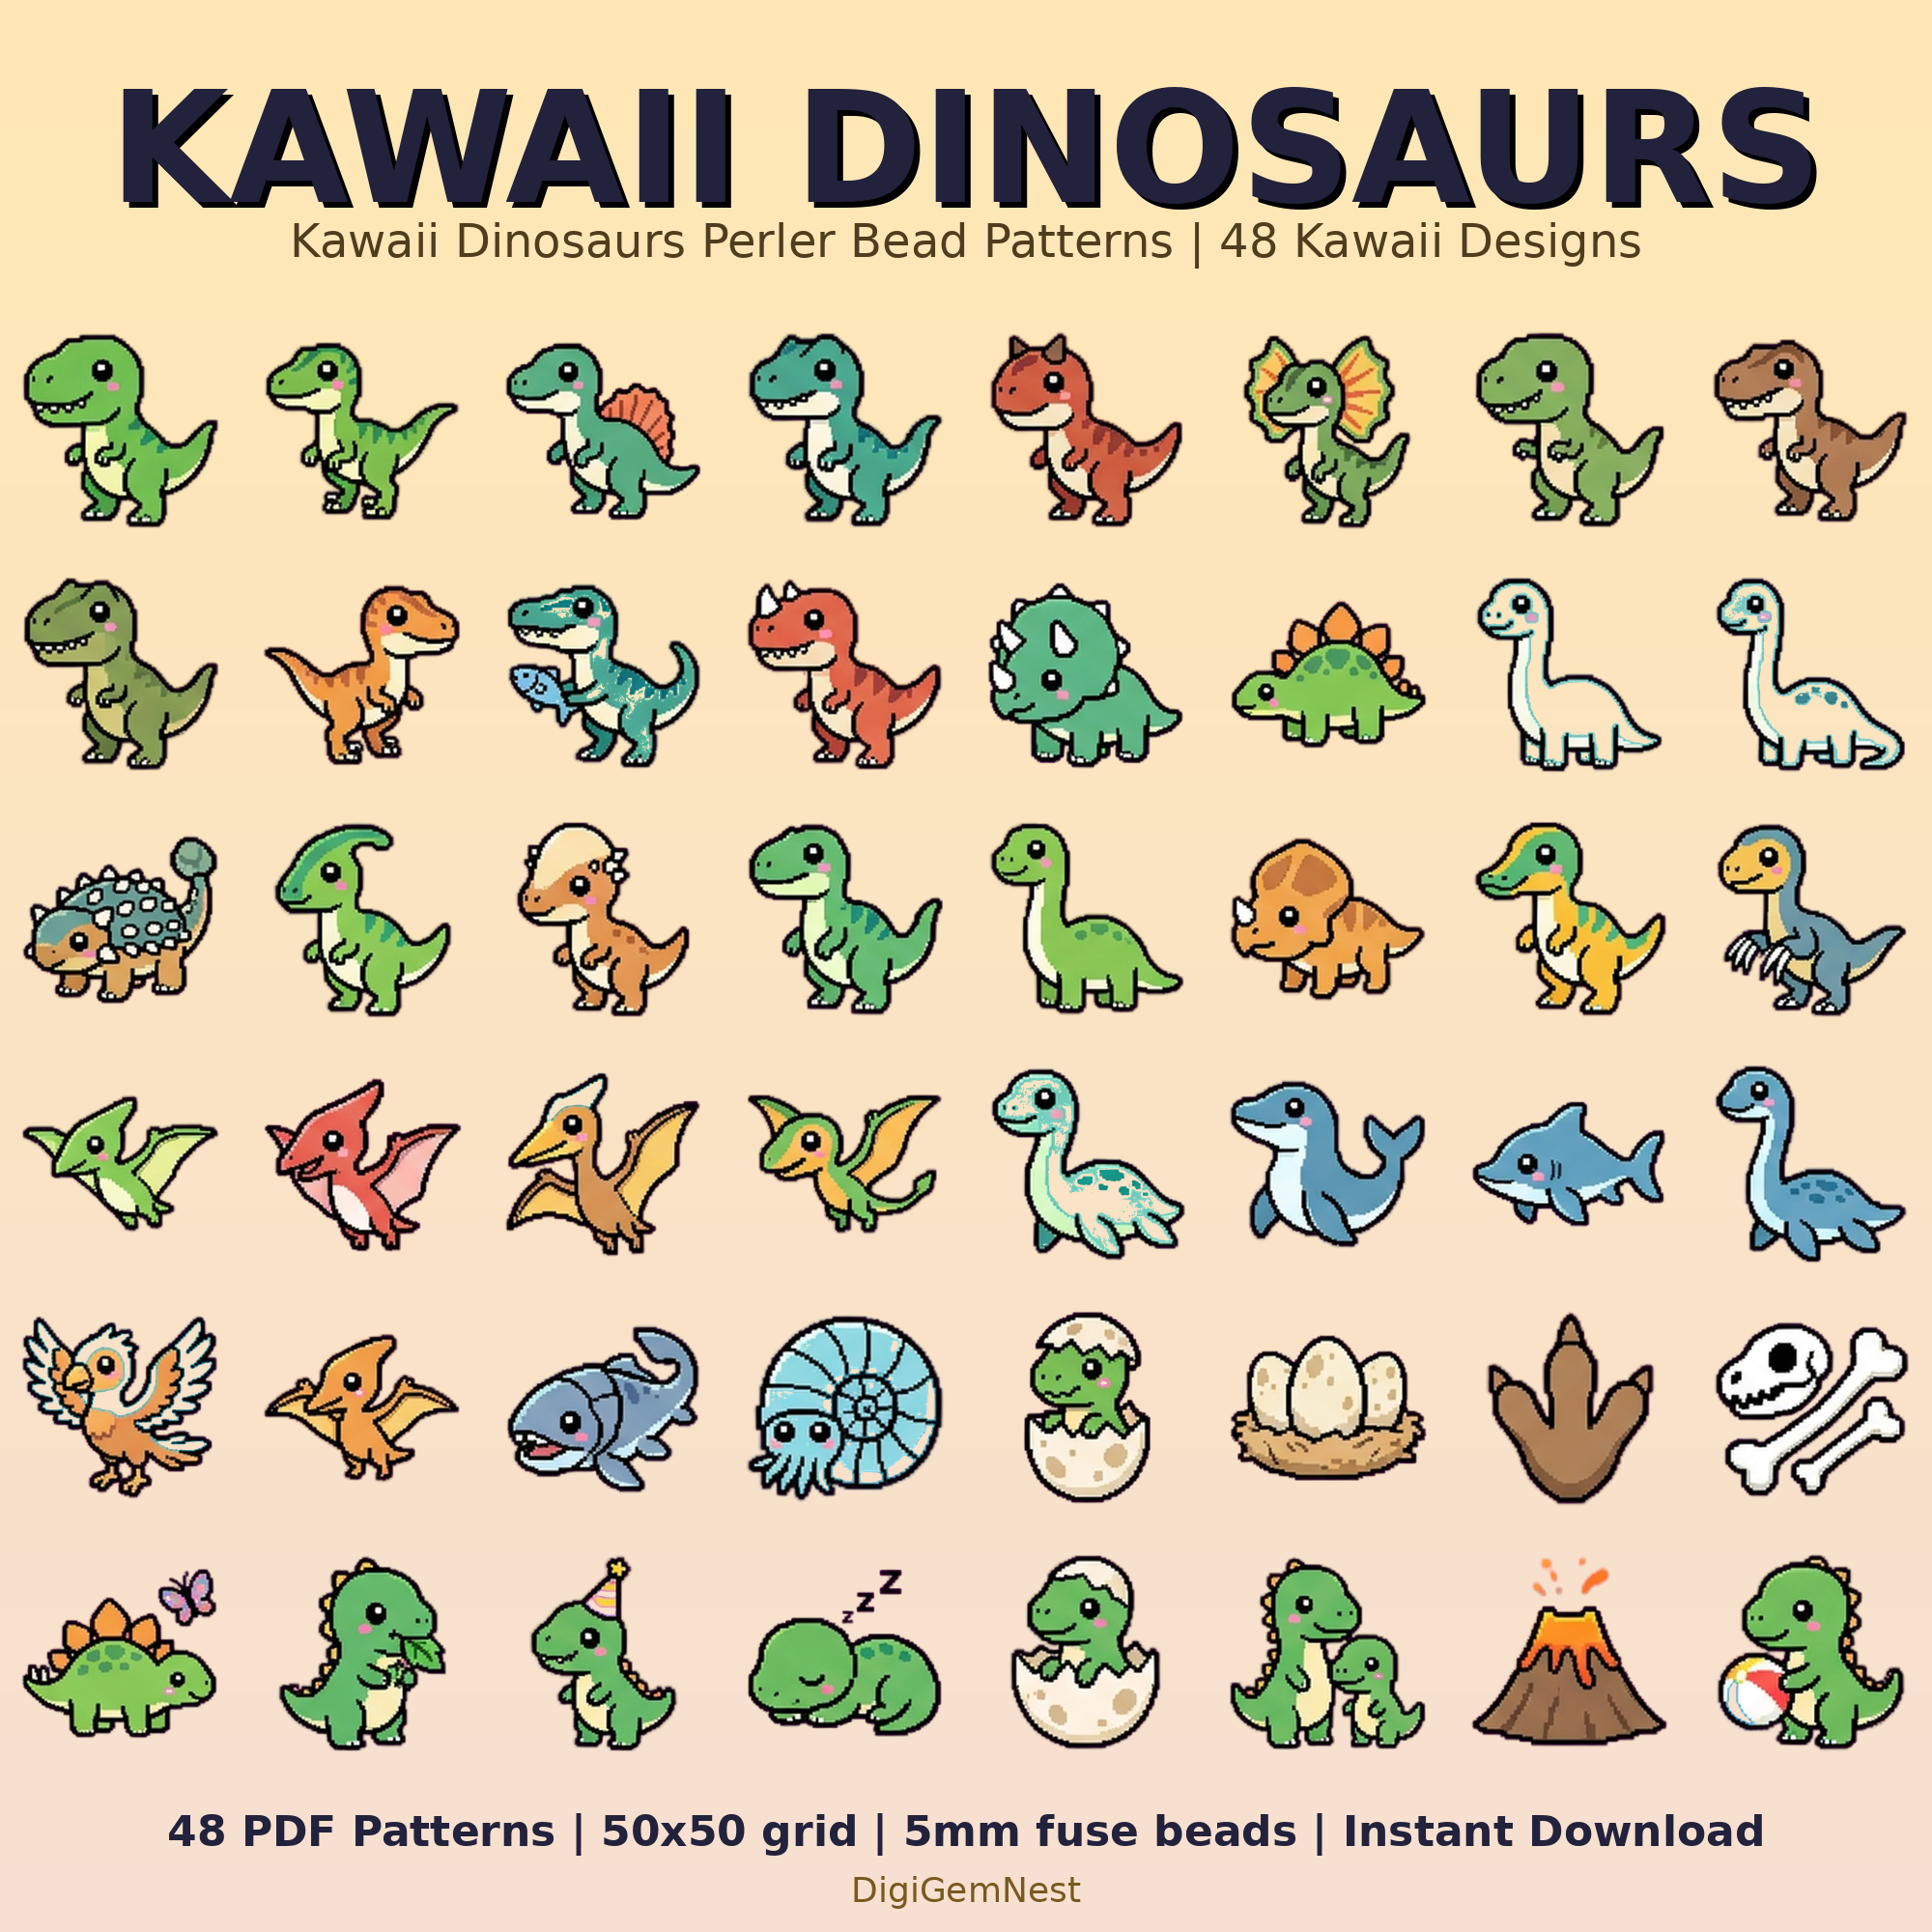
Before you jump into complex designs, it's helpful to get comfortable with creating simple 2D shapes. Our 48 Cute Kawaii Animal Perler Bead Patterns Bundle or Dinosaur Perler Bead Patterns Bundle can be great starting points for practicing your ironing and basic shape creation, which are fundamental to building 3D models.
Step-by-Step Tutorial for Creating Basic 3D Pokémon Shapes
Let's start with something foundational. Many pokemon perler bead 3d designs can be broken down into basic geometric shapes like cubes, cylinders, or pyramids. Mastering these will give you the confidence to tackle more intricate Pokémon.
Supplies You'll Need:
- Perler beads in various colors (matching your chosen Pokémon)
- Pegboards (square, circular, or custom shapes as needed)
- Ironing paper
- Craft iron
- Tweezers (helpful for placing beads and holding pieces during assembly)
- Craft knife or small scissors (for trimming tabs/slots if needed)
- Strong craft glue (optional, for reinforcement)
Building a Simple 3D Cube (Foundation for many Pokémon bodies):
- Design Your Panels: A cube has six sides. For a basic cube, each side will be a square of the same dimensions. For example, a 5x5 bead square. You'll need six of these. If you're making a Pokémon's body, think about its basic form – is it blocky like a Diglett, or more rounded?
- Iron Each Panel: Carefully iron each of your six square panels. The key for 3D projects is to iron your pieces flat and evenly. You want them firm, but not overly melted, and definitely not warped. A medium melt is usually best, where the holes are still visible but significantly reduced.
- Create Tabs and Slots (or Plan for Gluing):
- For Tabs/Slots: On four of your square panels, add a single bead 'tab' extending from the center of one side. On two of the panels, create a 'slot' by leaving a single bead gap in the center of one side. You'll use these to connect. Alternatively, you can design tabs and slots directly into your pattern. For example, a 5x5 square with a 1-bead tab on each side would be 5x7 beads total, and a receiving piece would have a 1-bead gap. This requires careful planning.
- For Gluing: If you're gluing, you don't need tabs/slots. You'll simply butt the edges together and apply glue.
- Assemble the Cube:
- Start with a base piece. Attach two side pieces to adjacent edges, either by sliding tabs into slots or by carefully gluing the edges together. Hold firmly until the glue sets.
- Continue adding the remaining side pieces, forming the walls of your cube.
- Finally, attach the top piece. Ensure all connections are secure.
This basic cube can be modified into a rectangular prism, or serve as the core body for many simple Pokémon. For example, a square-bodied Pokémon like a certain electric mouse's head could start with this principle, adding ears and features later.
Advanced Tips for Complex 3D Pokémon Patterns
Once you're comfortable with basic shapes, you can tackle more intricate pokemon 3d perler bead patterns. This is where the real magic happens, transforming simple pixel art into impressive sculptures.
1. Deconstruct Your Pokémon
Look at your chosen Pokémon and break it down into its fundamental 3D shapes. Does it have a spherical head? Cylindrical limbs? A triangular tail? Sketch out the different components you'll need to create as separate 2D pieces. For example, a Charizard might require separate pieces for its head, body, wings (each wing might be 2-3 layers for thickness), arms, legs, and tail.
2. Plan Your Connections Carefully
For complex designs, simply gluing might not be enough for structural integrity. Tabs and slots become crucial. Consider where stress points will be and design stronger connections there. You might need to create internal support structures, like a central pillar or cross-braces, especially for larger or top-heavy figures.
3. Layering for Depth and Detail
Not everything has to be a single flat piece. You can create depth by layering. For example, a Pokémon's ear might be a base layer, with a smaller, differently colored layer fused on top for inner ear detail. Or, for a thicker appearance, you can create two identical 2D pieces and glue them back-to-back.
4. Sculpting with Beads
Sometimes, a Pokémon isn't perfectly geometric. You can create rounded effects by strategically using colors and slightly angling pieces during assembly, or by using different sized beads in your pattern to suggest curves. This is especially true for small 3d perler bead patterns where every bead placement counts.
5. Custom Pegboards and Templates
While standard square pegboards are versatile, don't hesitate to use circular, hexagonal, or star-shaped pegboards for specific parts. You can also design your own templates on graph paper to ensure all your pieces will fit together perfectly before you start laying beads. There are many online tools that can help you pixelate images into perler patterns.
6. Practice Patience!
Building intricate 3D models takes time and precision. Don't rush the ironing or the assembly. A slight warp in one piece can throw off the entire structure. If a piece isn't perfect, re-iron it if possible, or make a new one. It's better to take your time than to be disappointed with the final result.
For more inspiration on creature designs that can be adapted to 3D, check out our Trending Animals Perler Bead Patterns which feature popular and often uniquely shaped animals that translate well to pixel art.
Displaying and Reinforcing Your 3D Perler Bead Art
After all your hard work, you'll want your perler bead pokemon 3d creations to last! Proper display and reinforcement are key.
Reinforcement Techniques:
- Internal Support: For larger figures, consider placing a thin, sturdy wire or a wooden dowel internally through the core of the figure during assembly. This acts like a skeleton, providing significant stability.
- Clear Coating: A clear matte or glossy sealant spray (available at craft stores) can add a protective layer. This can help prevent beads from coming apart if they weren't fully fused and can also protect against dust and UV damage. Always test on a scrap piece first!
- Strong Adhesives: For critical joints, don't be afraid to use a good quality super glue or epoxy. Apply sparingly with a toothpick for precision.
- Base Plates: Attach your 3D Pokémon to a flat, sturdy perler bead base plate (or even a small wooden base) for extra stability, especially if it has small feet or an uneven bottom.
Creative Display Ideas:
- Shelf Decor: The most straightforward way! Arrange your collection on a shelf, desk, or windowsill. They make fantastic, personalized room decor.
- Dioramas: Create a small scene or diorama using a shoebox or a craft store shadow box. You can add painted backgrounds, small props, and other perler bead elements to set the stage for your Pokémon.
- Bookends: For sturdier, heavier 3D perler creations, attach them to metal bookends for a unique way to hold up your favorite books.
- Gift Toppers: A small 3D Pokémon can make an amazing, personalized gift topper for a birthday or holiday present.
- Gaming Setup Companion: Place your favorite Pokémon next to your gaming console or computer for a fun, themed display.
Crafting 3D perler bead Pokémon is a fantastic way to combine your love for crafting with your passion for these iconic creatures. It challenges your spatial reasoning, design skills, and patience, culminating in a truly unique piece of art. The satisfaction of seeing your favorite Pokémon literally stand tall is unparalleled. So grab your beads, fire up your iron, and embark on this exciting 3D adventure!
Ready to find your next project? Explore our full catalog of digital perler bead patterns and let your imagination run wild!