How to Create Your Own Perler Bead Patterns from Any Image
May 29, 2026
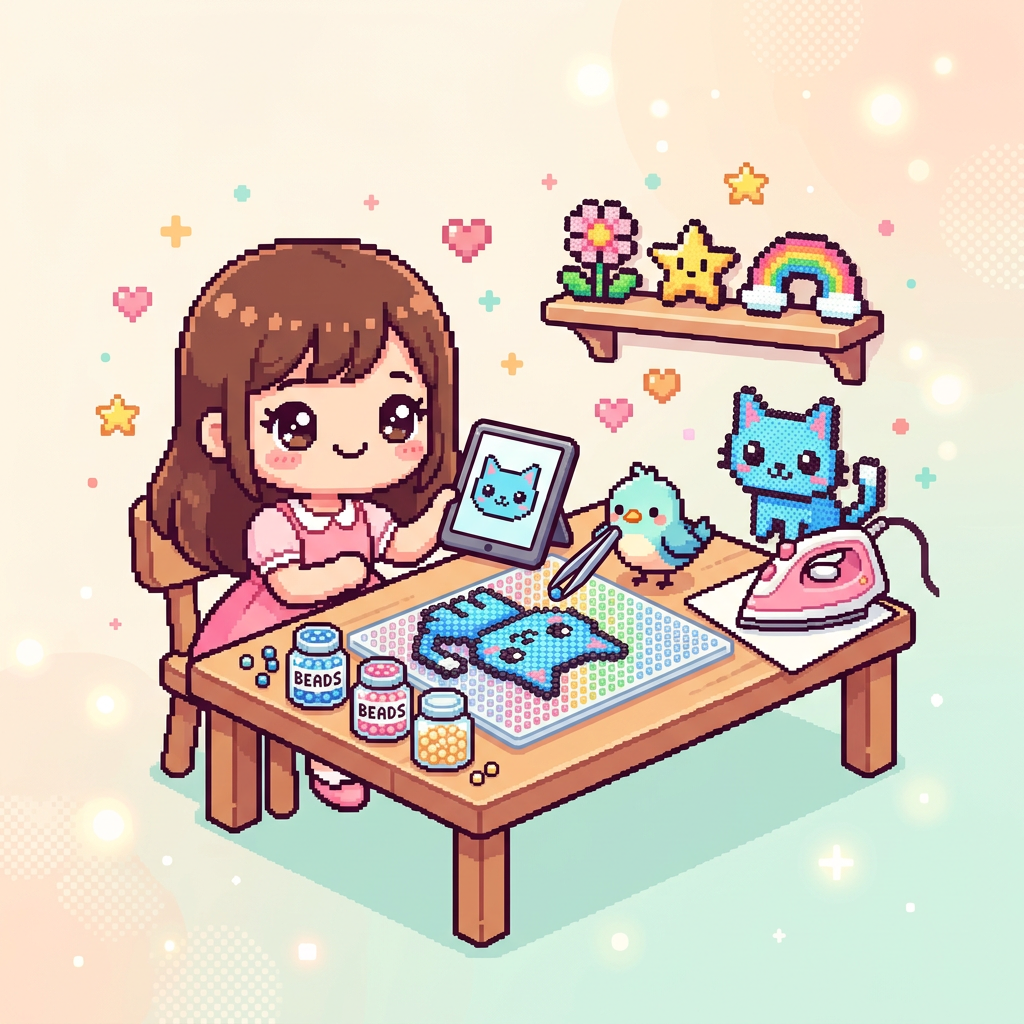
Introduction: Unleash Your Creativity with Custom Patterns
Have you ever looked at a picture – maybe your pet, a favorite cartoon character, or even a cherished memory – and wished you could turn it into a vibrant perler bead masterpiece? Good news! You absolutely can. While our site offers a fantastic array of ready-to-iron designs, learning how to create your own custom perler bead patterns opens up a whole new world of artistic possibilities. Imagine transforming any image into a unique, pixelated work of art that's truly yours. This guide will walk you through the exciting process, turning you into your very own perler bead pattern maker.
Understanding Pixel Art and Perler Bead Grids
Before we dive into the technical steps, let's understand the foundation: pixel art. Perler beads are essentially physical pixels. Each bead represents one "pixel" in your design. When you arrange them on a pegboard, you're building a low-resolution digital image in a tangible form. This is why perler beads are so perfectly suited for pixel art – they are pixel art!
A perler bead grid is the invisible structure that guides your creation. Your pegboard is the physical manifestation of this grid. Each peg corresponds to a single bead, and the arrangement of these pegs dictates the resolution and overall size of your finished piece.
- Resolution and Detail: The more beads you use (i.e., the larger your pegboard or the more pegboards you connect), the higher the "resolution" of your design. This means you can capture more intricate details. A small design might only have 20x20 beads, while a large one could be 100x100 beads or more.
- Color Limitations: Unlike digital art with millions of colors, perler beads come in a finite, albeit extensive, palette. This is a crucial consideration when converting images, as you'll need to simplify color schemes.
- The Power of Simplicity: Sometimes, the most striking perler bead designs are those that embrace the pixelated aesthetic, focusing on strong lines and bold color blocks rather than trying to replicate photographic realism.
Understanding this pixel-by-pixel approach is key to becoming an effective perler bead pattern creator. It helps you visualize how an image will translate into beads and anticipate challenges before you even place the first one.
Tools and Software for Pattern Creation (Online & Offline)
Ready to start designing? You don't need fancy equipment to be a perler bead pattern maker. There are numerous tools, both digital and traditional, that can help you transform your chosen image into a workable perler template.
Online Perler Bead Pattern Generators
The internet is brimming with free (and some paid) online tools specifically designed to convert images into pixel art grids, which serve as excellent fuse bead templates. These tools often allow you to upload an image, adjust settings like resolution (bead count), and limit the color palette to match popular perler bead colors.
- Pros: Quick, easy to use, no software installation needed, often have built-in color matching.
- Cons: Less control over fine details, results can sometimes be a bit generic, reliant on internet connection.
- How they work: You upload your image, select your desired bead size (e.g., 20x20, 50x50), and the tool automatically pixelates it and reduces the color count. Many even show you a preview of the bead placement.
Offline Graphic Design Software
For those who want more control and are comfortable with digital art programs, general graphic design software offers immense flexibility. Programs like Adobe Photoshop, GIMP (a free alternative), or even simple image editors can be powerful perler bead pattern creator tools.
- Pros: Maximum control over every pixel and color, advanced editing features, works offline.
- Cons: Steeper learning curve, requires software installation, can be more time-consuming.
- How they work:
- Resize: Scale your image down to your desired bead dimensions (e.g., 50 pixels wide if you want a 50-bead wide design). Make sure to use "nearest neighbor" resampling to maintain crisp pixels.
- Pixelate Filter: Apply a pixelate filter if your image isn't already blocky enough.
- Color Reduction: Reduce the image's color palette. Most programs have an "indexed color" or "posterize" option. You'll then manually map these colors to your available perler bead shades.
- Grid Overlay: Add a grid overlay to mimic the perler bead grid and help with bead placement.
Low-Tech Methods: Graph Paper and Tracing
Don't have access to software or prefer a more hands-on approach? Good old graph paper is your friend!
- Pros: No technology needed, very tactile, great for simple designs or learning the basics.
- Cons: Can be time-consuming for complex images, less precise for color matching, harder to edit.
- How they work: Print out your image, then place a sheet of graph paper over it. Each square on the graph paper represents one bead. You can then carefully color in the squares, simplifying the image as you go. Alternatively, sketch your design directly onto the graph paper, square by square. This method is particularly good for creating text, like with our Alphabet Perler Bead Patterns Bundle, 48 Designs (PDF Digital Download).
Step-by-Step: Converting an Image to a Perler Bead Pattern
Now, let's put it all together and create your very own fuse bead template from an image!
Choose Your Image Wisely:
- Start with clear, relatively simple images. Photos with busy backgrounds or subtle gradients can be challenging for beginners. High-contrast images with distinct shapes work best.
- Consider the complexity. A small design (e.g., 20x20 beads) will require much more simplification than a large one (e.g., 100x100 beads).
- Think about color. If your image has hundreds of shades, you'll need to reduce them significantly to match available perler bead colors.
Prepare Your Image for Pixelation:
- Crop and Resize: If using software, crop your image to focus on the main subject. Then, resize it to your target bead dimensions. For example, if you want a 40-bead wide pattern, resize the image to 40 pixels wide. Crucially, use "Nearest Neighbor" interpolation/resampling when resizing to maintain crisp pixels. Other methods will blur the image.
- Simplify Manually (Low-Tech): If using graph paper, trace or sketch the main outlines and features of your image onto the paper, simplifying details as you go.
Pixelate and Reduce Colors:
- Online Tools: Upload your prepared image to your chosen online perler bead pattern maker. Experiment with the resolution and color reduction settings until you get a result you like. Most tools will allow you to select from a predefined list of perler bead colors.
- Graphic Software:
- Apply a "Pixelate" filter if needed (though resizing with "Nearest Neighbor" often handles this).
- Go to "Image > Mode > Indexed Color" (Photoshop/GIMP equivalent) and choose a limited number of colors (e.g., 20-50, depending on complexity). You can often specify a custom palette or let the software generate one.
- Manually adjust colors to match your actual perler bead collection. This is where you might swap a generated olive green for your available dark green bead.
Create Your Perler Template/Grid:
- Online Tools: Most generators will display the final grid pattern directly, often with color codes or bead counts. You can print this out.
- Graphic Software: Add a grid overlay to your pixelated image. In Photoshop, you can use "View > Show > Grid" and adjust grid preferences. For printing, you might need to create a new layer with a grid pattern.
- Graph Paper: Your graph paper sketch is your fuse bead template!
Refine and Adjust:
- This is where your artistic eye comes in. The automated conversion might not be perfect. Look at your generated pattern:
- Are there any "floating" pixels that don't make sense?
- Are important details lost? Can you add them back with a few strategic beads?
- Does the color mapping look right? Sometimes a slightly different shade of bead will work better than what the software suggested.
- Don't be afraid to manually edit pixels in your software or erase and redraw squares on your graph paper. This iterative process is what makes your custom pattern truly unique. For inspiration on how colors and simple shapes can create recognizable figures, check out our 48 Cute Kawaii Animal Perler Bead Patterns Bundle.
- This is where your artistic eye comes in. The automated conversion might not be perfect. Look at your generated pattern:
Tips for Optimizing Colors and Detail in Your Designs
Creating a great perler bead pattern from an image isn't just about conversion; it's about optimization. Here are some pro tips to make your designs pop:
1. Embrace the Limited Color Palette
Perler beads come in a beautiful range of colors, but it's still a limited palette compared to a digital image.
- Pre-select Colors: Before you even start, lay out the specific perler bead colors you have available. When reducing colors in your software, try to map directly to these.
- Color Blending (Dithering): For smoother gradients or to represent a color you don't have, try dithering – alternating two different bead colors to create the illusion of a third color when viewed from a distance. For example, alternating black and white beads can create a gray.
- Strategic Outlines: Using a dark outline (like black, dark gray, or a darker shade of the main color) can help define shapes and make your design clearer, especially for patterns like those in our Emoji Perler Bead Patterns Bundle, 48 Designs (PDF Digital Download) where clear definition is key.
2. Simplify, Simplify, Simplify
Less is often more in pixel art.
- Remove Unnecessary Backgrounds: Focus on the main subject. A cluttered background will only confuse the design.
- Reduce Features: Complex facial features, tiny text, or intricate patterns in clothing might need to be simplified to just a few key pixels. Ask yourself: "What is the absolute minimum I need to convey this detail?"
- Embrace Abstraction: Sometimes, a slightly abstract or stylized version of your image works better than a literal translation.
3. Consider Bead Size and Pegboard Layout
- Standard vs. Mini Beads: Standard perler beads are 5mm. Mini beads are 2.5mm. Mini beads allow for much finer detail in a smaller space, but are more challenging to work with. Choose your bead size based on the desired complexity and final size.
- Connecting Pegboards: For very large designs, you'll need multiple pegboards. Plan your design so that natural breaks or outlines fall along the edges of the pegboards, making assembly easier.
4. Test Small Sections
If you're unsure about a color choice or how a particular detail will look, try creating a small test swatch on a pegboard. This can save you time and beads on a larger project.
5. Learn from Existing Patterns
Browse existing perler bead patterns, both simple and complex, to see how others have handled color reduction, detail simplification, and overall composition. This can be a great source of inspiration for your own custom designs.
Get Started on Your Custom Perler Bead Journey!
Creating your own perler bead patterns from any image is a deeply satisfying creative endeavor. It transforms you from a follower of instructions into a true artist, bringing your unique vision to life one colorful bead at a time. Whether you choose online tools, advanced software, or the simplicity of graph paper, the process is rewarding. So grab your pegboards, select an image that sparks joy, and start designing! And remember, for those times you want to jump straight into a fun project, don't forget to explore our fantastic collection of ready-made patterns right here on fusebeadpatterns.com. Happy beading!