Creative Perler Bead Designs: Beyond the Basic Square
July 12, 2026
Tired of making the same old flat perler bead squares and simple shapes? What if your fuse bead creations could leap off the pegboard with vibrant detail, intricate textures, and a dash of your own unique flair? It's time to unlock the full potential of those colorful little beads and transform them into truly imaginative works of art.
Unlocking Your Creative Perler Bead Ideas
The world of perler beads is much broader than just replicating pixel art. While those classic 8-bit designs are endlessly charming, there's a whole universe of creative perler bead ideas waiting to be explored. From functional pieces that add a pop of color to your home to elaborate 3D sculptures, the only limit is your imagination. This guide will help you push past the basic square and discover new ways to express your creativity with perler beads, turning simple patterns into spectacular projects.
Beyond Flat: Unique & Imaginative Perler Bead Creations
Perler beads aren't just for flat designs anymore! One of the most exciting ways to elevate your craft is by venturing into three-dimensional creations. Think beyond a single layer and start stacking, connecting, and shaping your fused bead pieces into incredible objects.
Crafting 3D Masterpieces
Creating 3D perler bead designs involves making multiple flat pieces and then assembling them. This could be anything from a simple cube or pyramid to complex structures like miniature houses, vehicles, or even standing figures. The trick is to design interlocking tabs or use a strong adhesive to join the pieces once they're ironed. Imagine building a tiny castle or a cute animal figurine that can stand on its own – the possibilities are endless. This approach opens up a whole new realm of cool perler bead designs that are both fun to make and impressive to display.
Functional Art: Perler Beads with Purpose
Why just make art when you can make useful art? Perler beads can be transformed into a variety of functional items that add a personalized touch to your everyday life. Consider making:
- Coasters: Protect your surfaces with colorful, custom-designed coasters.
- Keychains: A classic use, but think about intricate, multi-layered designs.
- Magnets: Adorn your fridge with unique characters or messages.
- Pencil Holders: Assemble a cylindrical or square holder from several ironed pieces.
- Jewelry: Earrings, pendants, or even bracelets can be crafted with smaller beads or intricate designs.
These functional fun perler bead designs make fantastic gifts and are a wonderful way to incorporate your hobby into your daily routine.
Mixing Media for Crazy Perler Bead Designs
Don't be afraid to combine your perler bead art with other craft supplies! This can lead to some truly crazy perler bead designs.
- Painting & Embellishing: Once a perler bead piece is ironed, you can paint details on it with acrylics, add glitter, or attach small gems and beads.
- Framing: Mount your perler bead creations in shadow boxes or traditional frames for a polished look.
- Fabric Integration: Sew perler bead patches onto bags, jackets, or hats (just be careful with heat if ironing them on!).
- Lighting: Create lantern panels or light-up art by incorporating LED fairy lights behind or within your perler bead structures.
This blend of materials adds depth, texture, and a unique artistic dimension to your projects, making them stand out.
Mastering Advanced Techniques for Custom Perler Bead Art
Moving beyond standard patterns requires a bit of experimentation and understanding of how colors and shapes interact. Here are some ideas to push your skills further.
Color Blending and Shading
Just like in painting, color blending in perler beads can create stunning effects. Instead of using solid blocks of color, try transitioning between different shades of the same color (e.g., light blue to medium blue to dark blue) to create depth and dimension. This is especially effective for natural elements like water, skies, or animal fur. You can also use contrasting colors to make certain elements pop or create shadows that give your design a more realistic or dynamic feel. Experiment with gradients to add a sophisticated touch to your creative perler bead ideas.
Pixel Art Principles for Original Creations
Perler beads are inherently pixel art, but understanding the principles of pixel art can help you design original creations from scratch.
- Simplify: Break down complex images into their most basic shapes and colors.
- Outline: Start with a strong outline to define your object.
- Dithering: Use alternating colors (checkerboard pattern) to create the illusion of a new color or a smoother gradient, especially useful for shadows or highlights.
- Anti-aliasing: Use slightly darker or lighter shades around edges to make them appear smoother, reducing the "blockiness" of pixels.
There are many free online pixel art tools and tutorials that can help you visualize your designs before you even place a bead on the pegboard. This approach empowers you to create truly unique and custom perler bead designs that are entirely your own.
Scaling and Tiling Large Designs
Want to create a massive perler bead mural? You'll need to master scaling and tiling. This involves breaking a large design into smaller sections that fit onto your pegboards.
- Plan: Sketch out your entire design on grid paper or a digital canvas.
- Divide: Section off your design into manageable squares, each representing a single pegboard's worth of beads.
- Iron Carefully: Iron each section individually, making sure not to over-iron the edges that will connect, as you'll want them to fuse together cleanly later.
- Assemble: Once all sections are cooled, carefully place them together on a flat surface and use masking tape on the un-ironed side to hold them in place. A final light ironing over the seams can help fuse them together, or you can use a strong craft adhesive.
This technique is perfect for creating impressive wall art or large backdrops for display, showcasing truly crazy perler bead designs on an epic scale.
Sparking Imagination: Patterns That Inspire
Sometimes, the best way to get your creative juices flowing is by starting with a fantastic pattern and then letting your imagination run wild. Our collection of PDF patterns is designed to do just that – provide a solid foundation for endless creative exploration.
Themed Bundles for Endless Fun
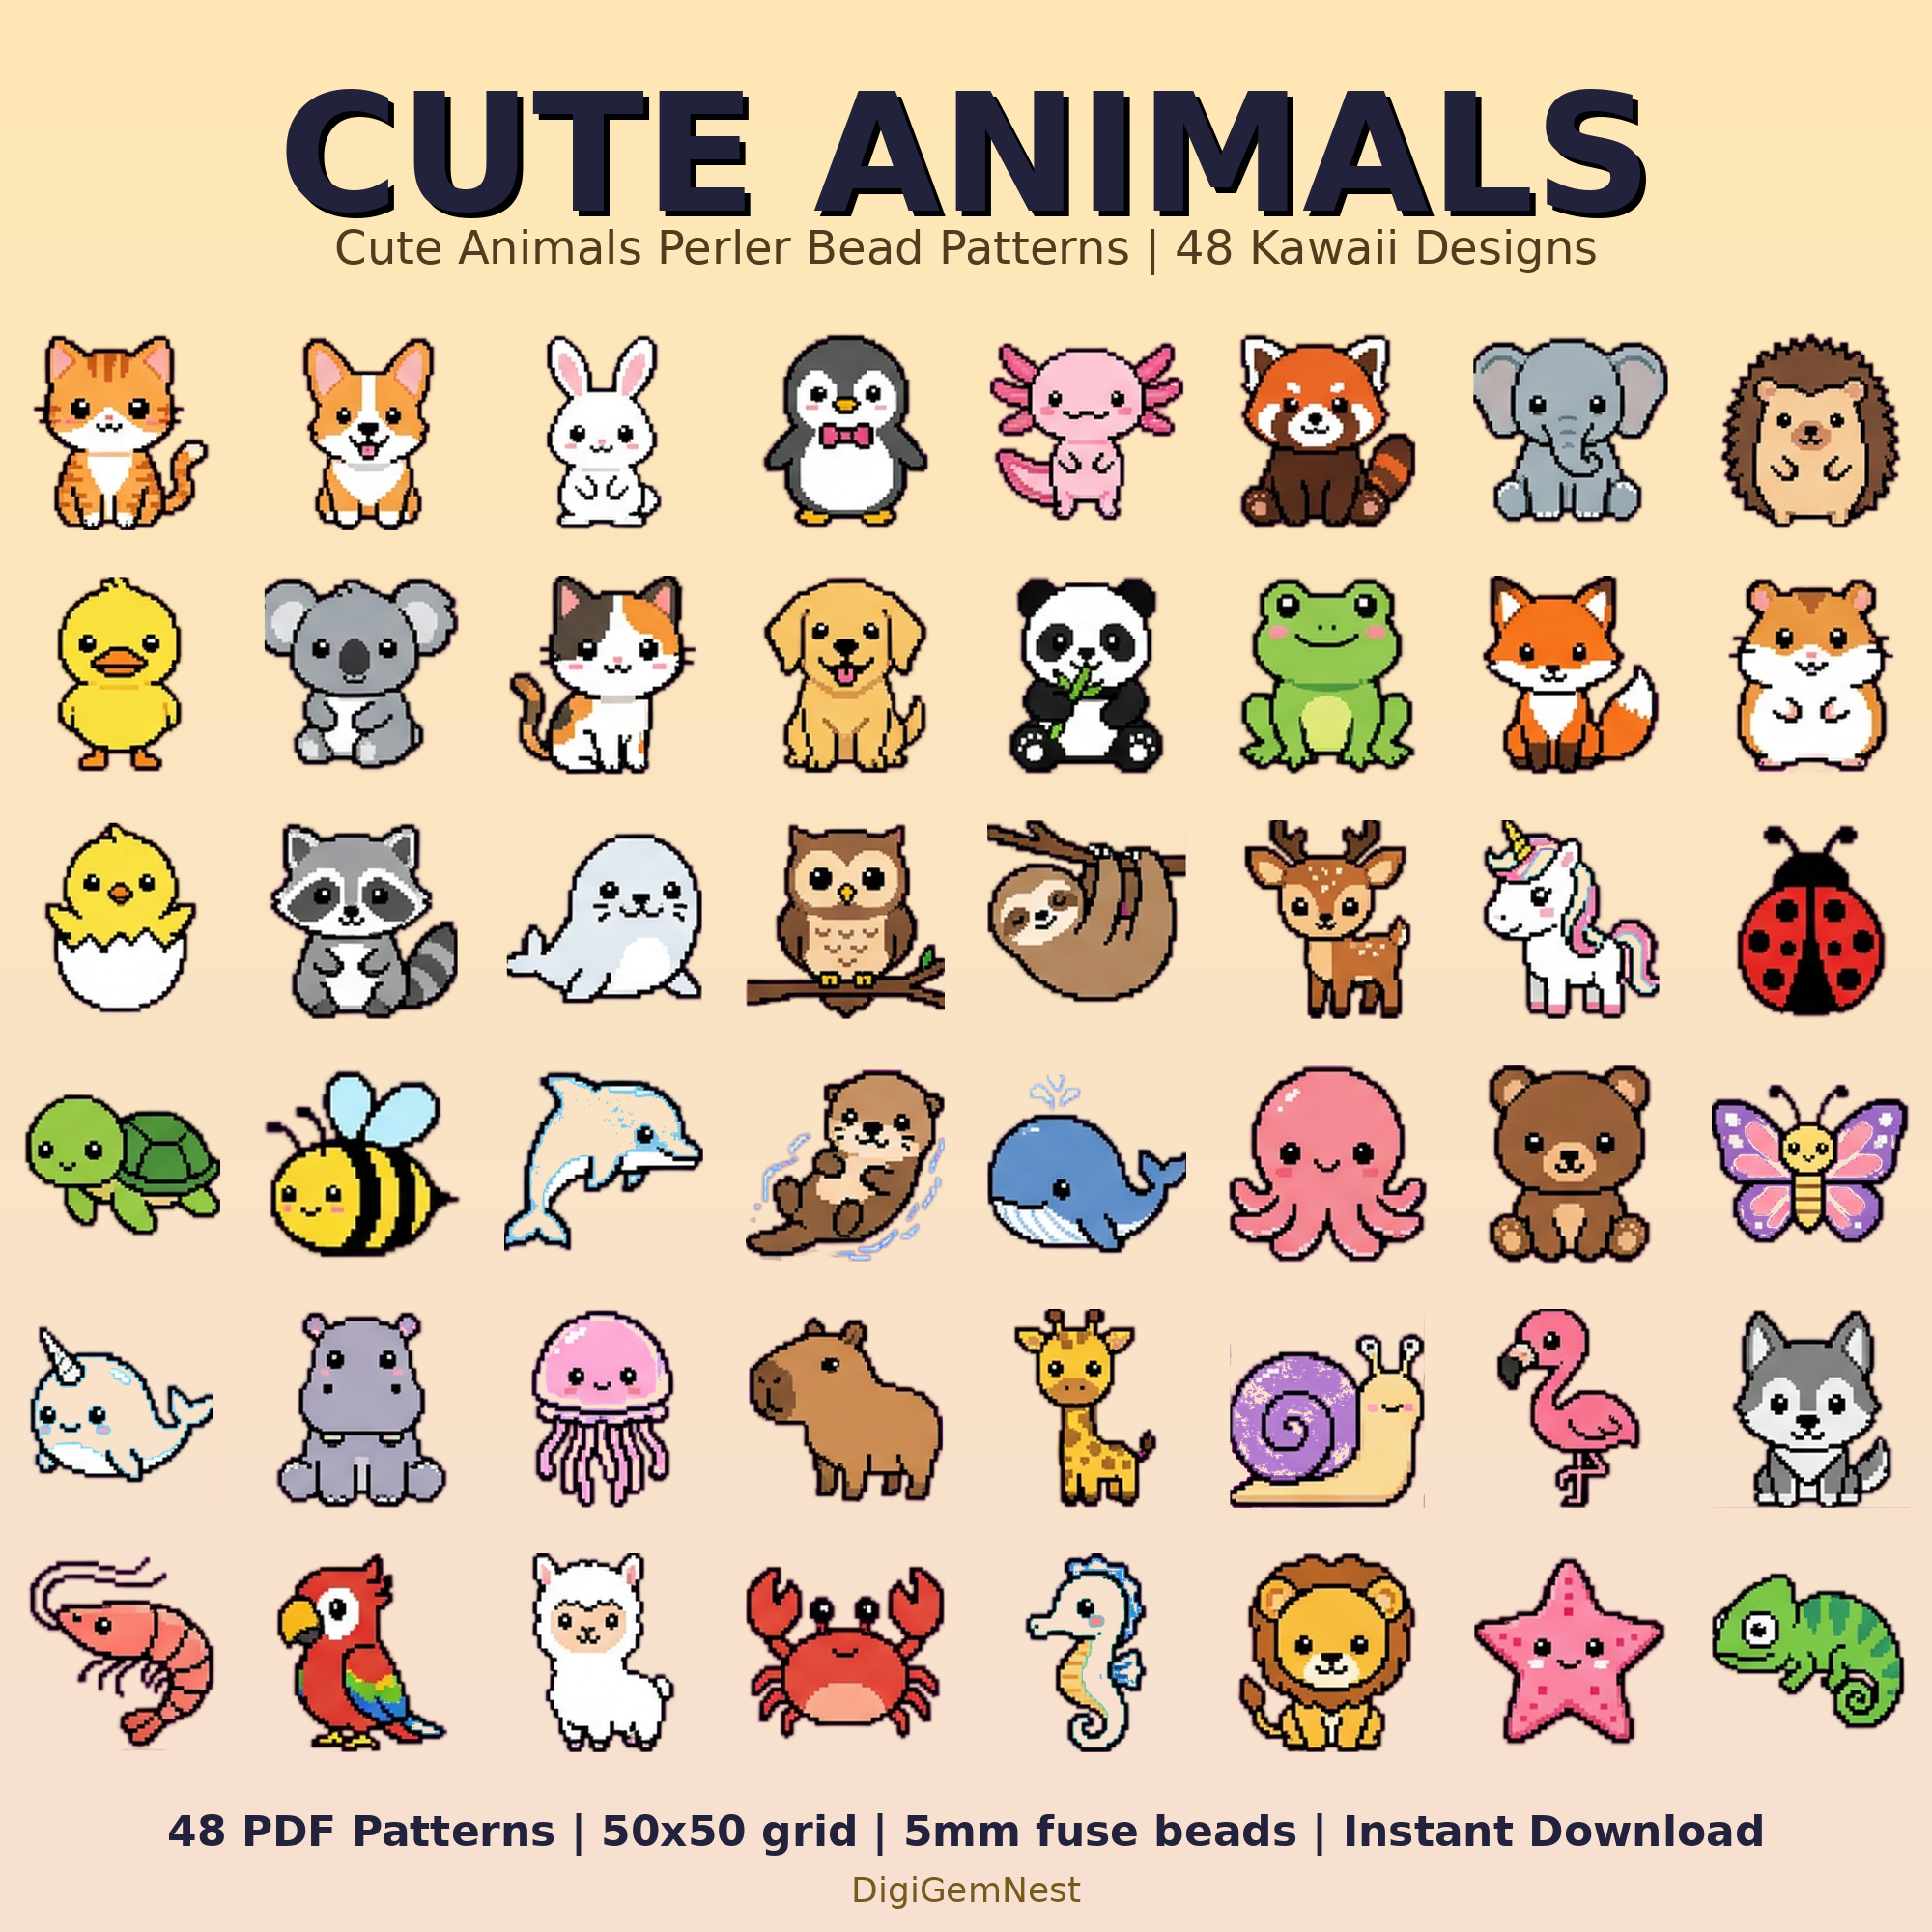
Themed bundles offer a treasure trove of related designs, perfect for building collections or creating intricate scenes. For instance, our Dinosaur Perler Bead Patterns Bundle isn't just about making individual dinos. Imagine crafting a whole prehistoric landscape, complete with volcanoes, palm trees, and different species of dinosaurs interacting. Or consider our 48 Cute Kawaii Animal Perler Bead Patterns Bundle. These adorable creatures can be arranged into a whimsical forest scene, a bustling zoo, or even used to create charming story prompts for kids. These bundles provide diverse cute perler bead creations that can be combined and adapted in countless ways.
Learning Through Play with Educational Themes
Perler beads aren't just for decorative pieces; they can be powerful educational tools. Patterns that focus on letters, numbers, or shapes can be incredibly inspiring. Our Alphabet Perler Bead Patterns Bundle offers a fantastic starting point. Beyond simply making the letters, you can use them to:
- Spell out names or messages.
- Create educational games for learning words.
- Combine letters with animal or object patterns that start with that letter.
- Design personalized room decor or locker tags.
These kinds of patterns encourage both artistic expression and learning, making them fun perler bead designs for all ages.
Making It Yours: Personalizing Existing Patterns
Even if you're working from a pre-made pattern, there's always room for personalization. This is where your unique artistic voice truly shines, transforming a template into a one-of-a-kind creation.
Color Swaps and Palette Play
The simplest and most effective way to personalize a pattern is by changing its color scheme. Don't feel bound by the colors shown in the example!
- Monochromatic: Use different shades of a single color for a sophisticated look.
- Complementary Colors: Choose colors opposite each other on the color wheel for a vibrant, high-contrast effect.
- Analogous Colors: Select colors next to each other on the color wheel for a harmonious and calming aesthetic.
- Themed Palettes: Adapt a pattern to a specific theme (e.g., making a summer-themed animal pattern with bright, sunny colors, or a winter one with cool blues and whites).
- Glow-in-the-Dark: Incorporate glow-in-the-dark beads for a magical twist.
Experimenting with color can completely change the mood and appearance of a design, making it distinctly yours. This is a prime area for exploring creative perler bead ideas.
Adding Details and Accessories
Look at a pattern and ask: "What else could this be?"
- Facial Expressions: Change a smile to a wink, add eyebrows, or alter eye shape.
- Clothing/Accessories: Give a character a tiny hat, a scarf, a bow, or even a miniature weapon.
- Background Elements: Add stars, hearts, flowers, or geometric shapes around the main design to create a scene.
- Text or Initials: Integrate small letters or numbers to personalize a gift.
These small additions can turn a generic pattern into a character with personality or a deeply meaningful keepsake.
Combining and Modifying Patterns
One of the most exciting aspects of perler beading is the ability to mix and match.
- Frankenstein Designs: Take the head of one animal, the body of another, and the tail of a third to create a fantastical new creature.
- Scene Building: Combine elements from different patterns to create a larger, more complex scene. For example, take an animal pattern and place it within a landscape you've created from scratch or adapted from another pattern.
- Scaling Up/Down: Adjust the size of a pattern by adding or removing rows/columns of beads, or by converting a small design into a larger, more detailed one using pixel art techniques.
- Making 3D from 2D: Use a flat pattern as a starting point for a 3D design. For example, make two identical flat animal patterns, then add a connecting piece to make it stand up.
By treating patterns as suggestions rather than strict rules, you open yourself up to endless crazy perler bead designs and truly personalized projects.
Elevating Your Craft: Tips for Success
As you delve deeper into more intricate and creative perler bead ideas, a few practical tips can make all the difference in achieving professional-looking results.
Master the Ironing Process
Ironing is often the make-or-break step. For advanced designs, consistent and careful ironing is crucial.
- Even Heat: Use a medium-hot iron and move it in small, circular motions to ensure even melting.
- Perfection is Key: For pieces that will connect in 3D, aim for a "closed hole" melt where the bead holes are nearly or fully closed on one side. For pieces that will stand alone, a slightly more open melt can provide texture.
- Weight it Down: After ironing and removing the paper, immediately place a heavy book or flat object on top of your warm design while it cools to prevent warping.
- Experiment: Practice on smaller, less important pieces to find the perfect ironing technique for your iron and desired bead melt.
Organize Your Bead Stash
As your collection of beads grows, organization becomes paramount. Sorting beads by color (and even by shade) will save you immense time and frustration when working on complex patterns or custom designs. Clear, stackable containers or tackle boxes with dividers are excellent for keeping your palette tidy and accessible. A well-organized workspace fosters a more relaxed and fun perler bead designs creation process.
Seek Inspiration and Community
The perler bead community online is vibrant and full of incredible artists. Explore platforms like Pinterest, Instagram, Reddit, and dedicated crafting forums. Seeing what others create can spark new creative perler bead ideas and introduce you to techniques you hadn't considered. Don't be afraid to share your own creations – it's a great way to get feedback and connect with fellow enthusiasts.
Ignite Your Perler Bead Passion
Perler beads offer an incredible canvas for creativity, far beyond simple, flat designs. By embracing advanced techniques, personalizing existing patterns, and drawing inspiration from themed collections, you can transform these tiny plastic beads into truly remarkable works of art. Whether you're crafting cool perler bead designs for display, making cute perler bead creations as gifts, or challenging yourself with crazy perler bead designs that push the boundaries, the journey of creation is endlessly rewarding. So grab your pegboards, sort your beads, and let your imagination take the lead. The next amazing perler bead masterpiece is just waiting for you to bring it to life! Ready to dive into your next project? Browse our extensive catalog of PDF perler bead patterns and find the perfect inspiration to get started today!