Easy & Cute Mini Perler Bead Ideas for Quick Crafts
August 19, 2026
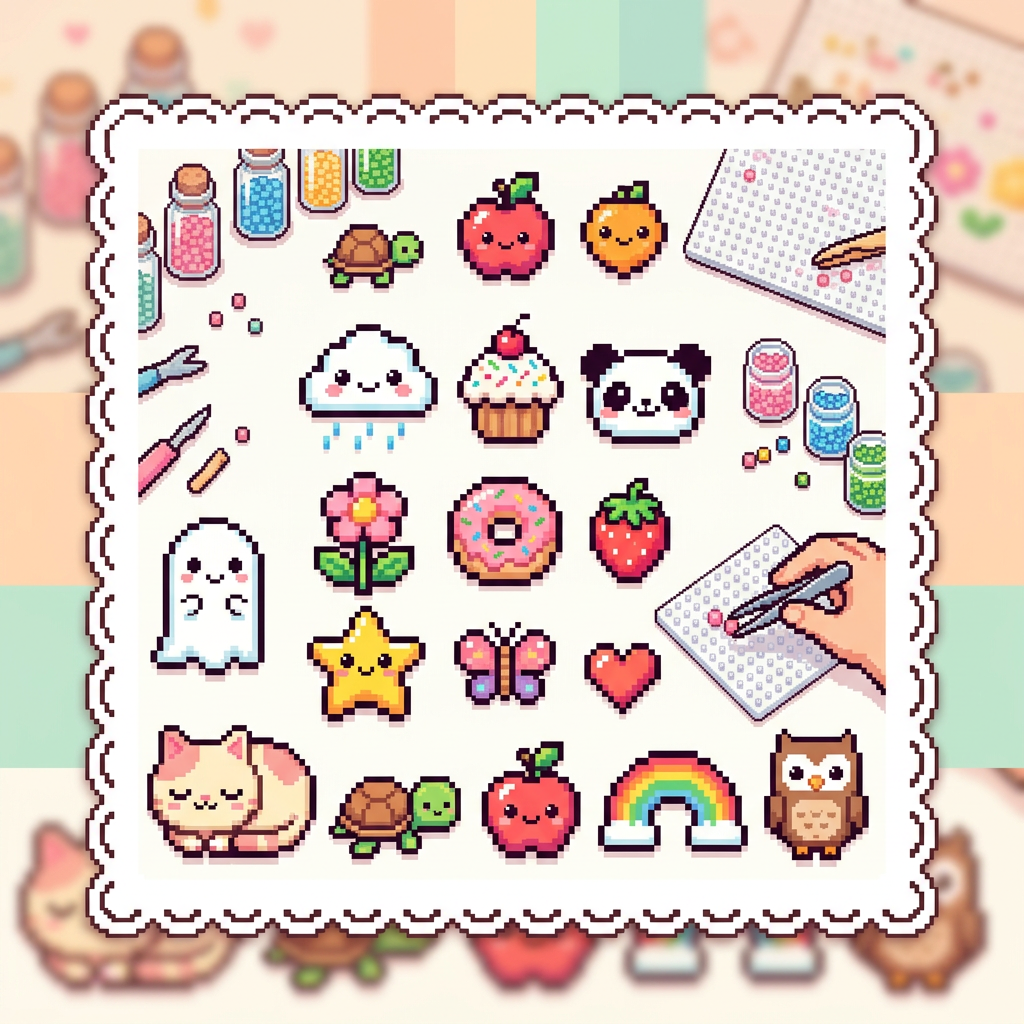
Are you looking for a fun, fast, and incredibly satisfying craft project that doesn't demand hours of your time? Dive into the delightful world of mini perler beads! These tiny treasures open up a universe of intricate designs and quick creations, perfect for crafters of all ages and skill levels.
The Charm of Easy Mini Perler Bead Projects
There's something uniquely captivating about working with mini easy cute perler beads. Their diminutive size allows for incredible detail in a compact form, making them ideal for projects that you can complete in a single sitting. Unlike their larger counterparts, mini fuse beads require less material and often less time, making them a fantastic option for those moments when you want to create something beautiful without a huge commitment.
Mini beads, sometimes referred to as mini Hama bead ideas or mini perler ideas, offer a unique advantage: they transform into delicate, pixel-art masterpieces. Imagine creating a tiny, detailed character that fits on the tip of your finger, or a miniature food item that looks good enough to eat! This scale also means they're perfect for portable crafting – grab a small pegboard and a handful of beads, and you're ready to create anywhere.
Whether you're a seasoned perler bead artist or just starting, the appeal of these smaller beads is undeniable. They're a fantastic way to experiment with new designs, practice your color palettes, and produce a high volume of adorable finished pieces. Plus, the satisfaction of seeing a complex design come to life in such a small format is truly rewarding.
Quick & Cute Animal Mini Designs
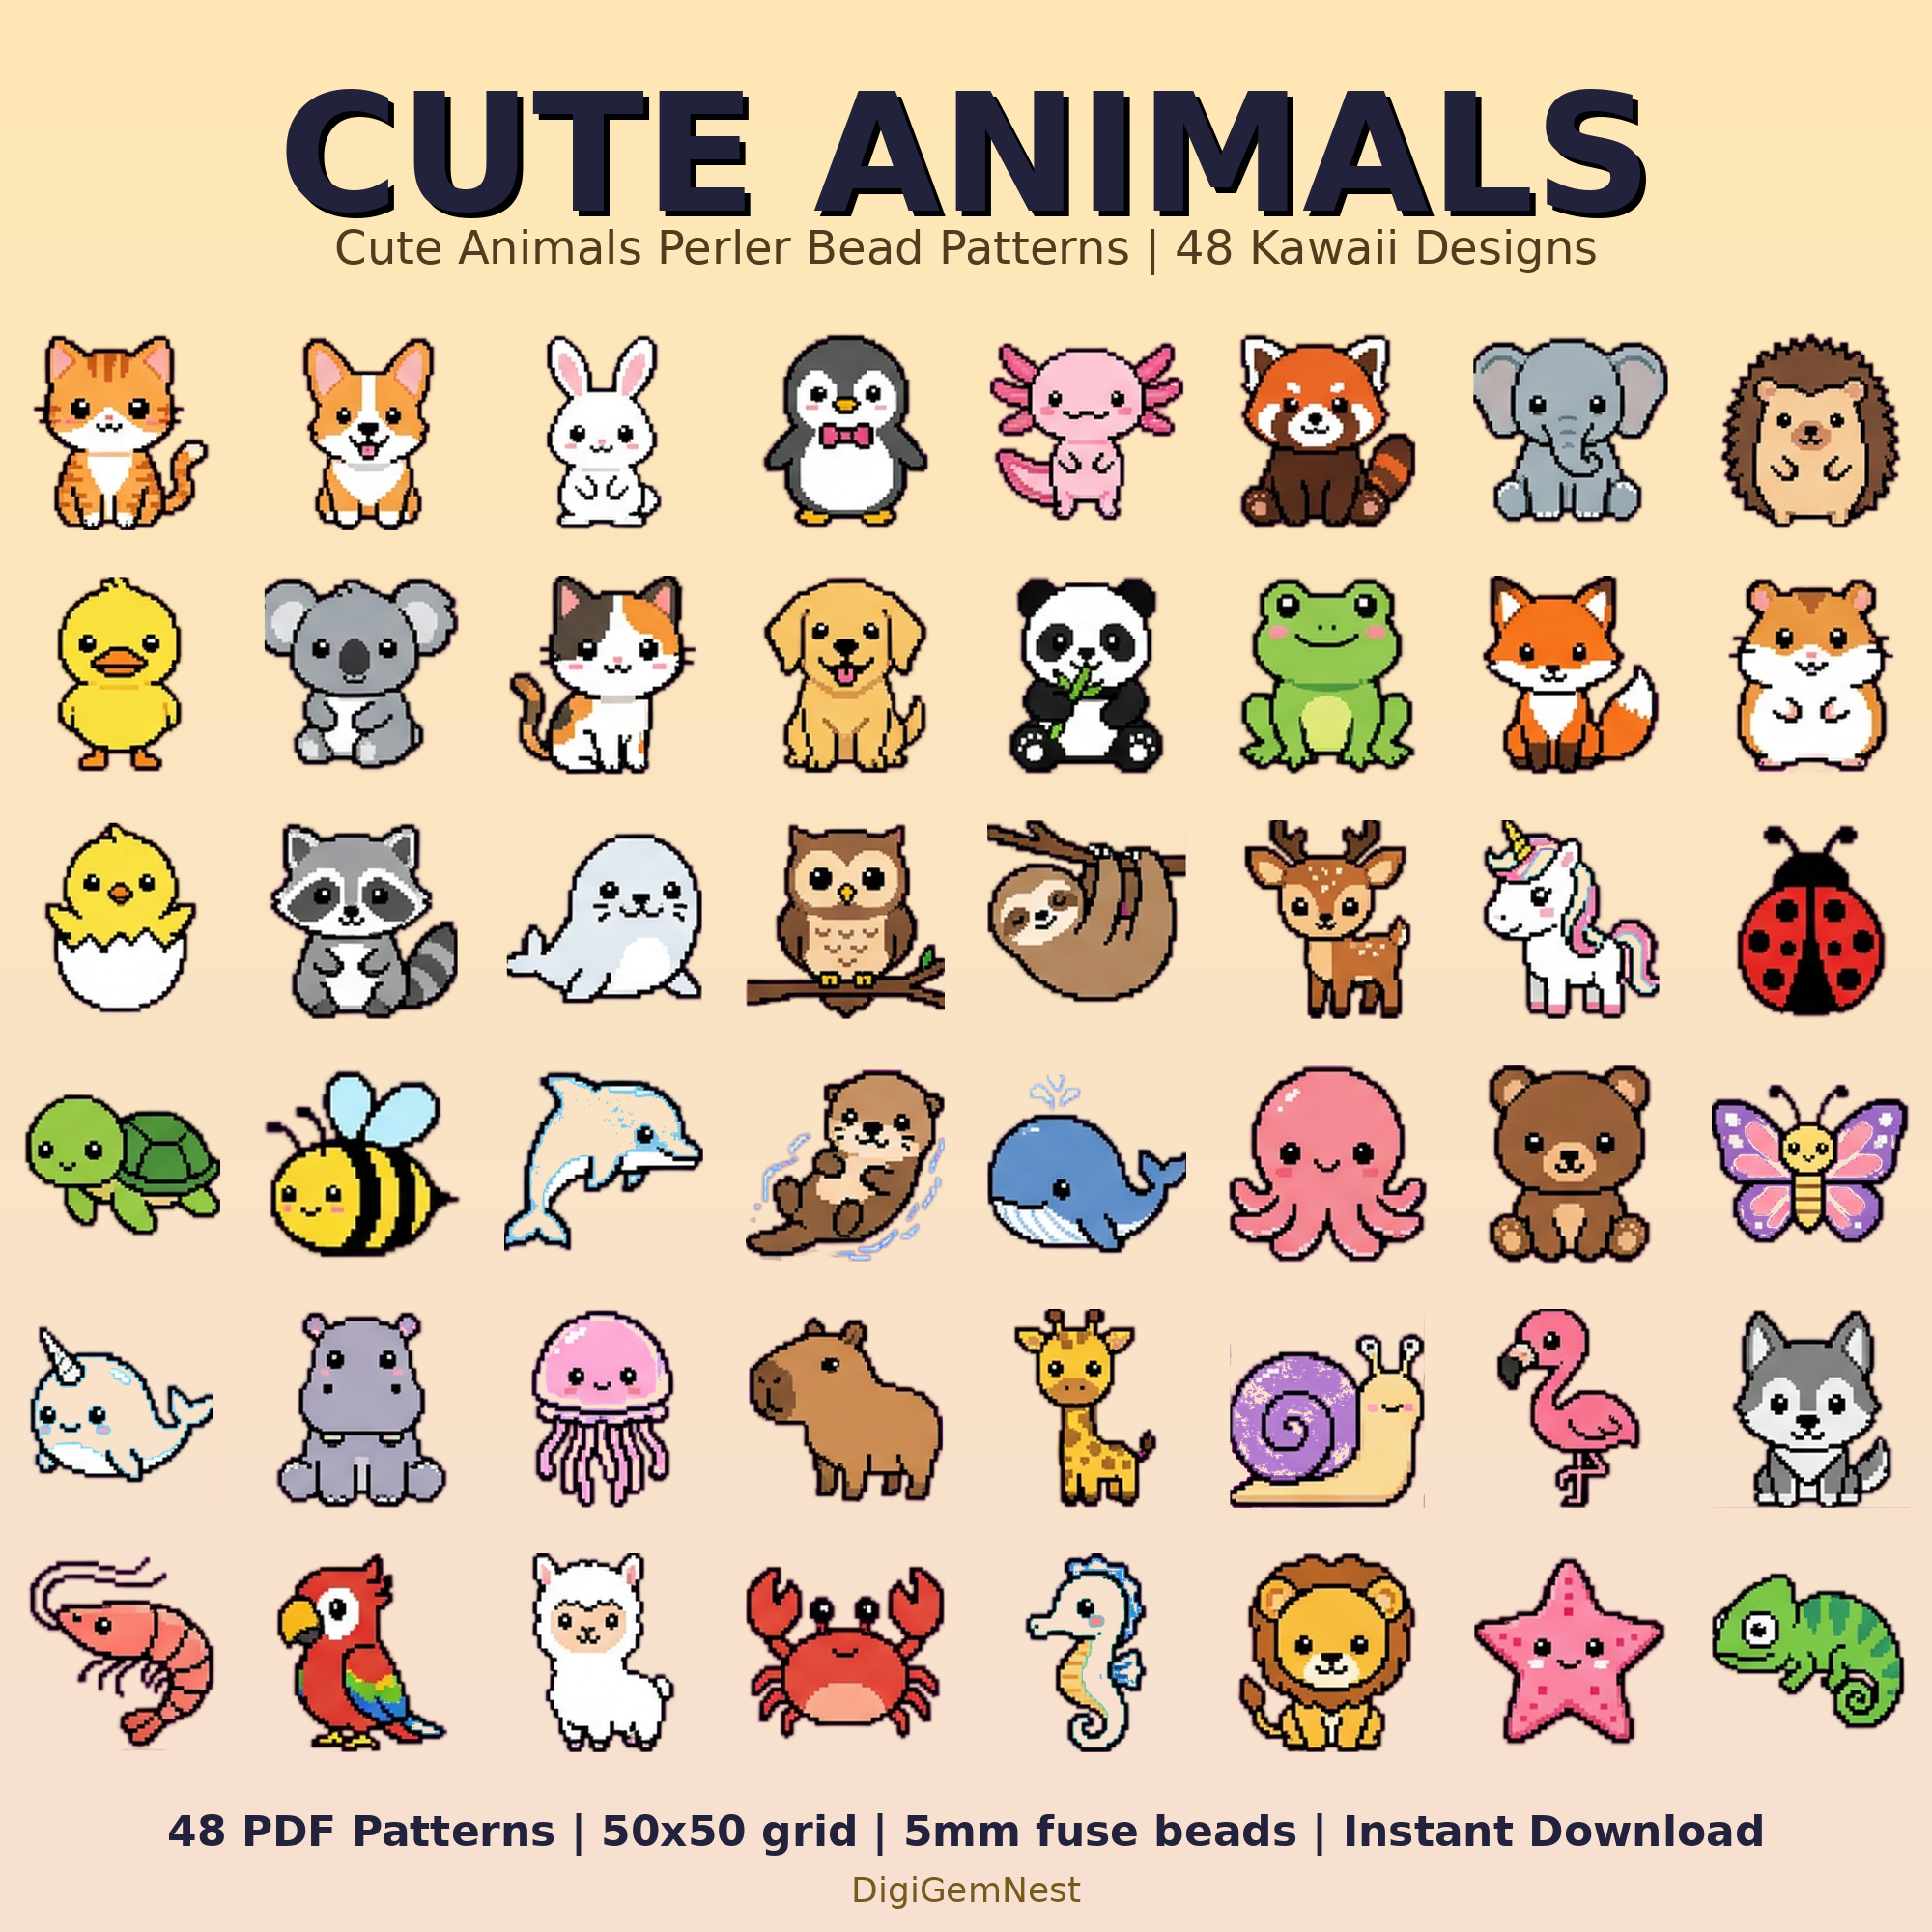
Animals are universally loved, and when rendered in mini perler beads, they become even more endearing! Think tiny, stylized creatures that can be made with just a handful of colors and a small pegboard. These are some of the most popular mini easy cute perler beads projects because of their immediate appeal and straightforward design.
To get started, consider simple shapes. A small circle can be a cat's head, a square can be a bear's body, and a few strategically placed beads can transform them into recognizable, adorable critters. Here are a few ideas to spark your creativity:
- Tiny Kittens & Puppies: Focus on their faces – big eyes, small noses, and perky ears. Use shades of grey, white, black, or brown. A simple 5x5 or 7x7 grid can be enough for a charming pet face.
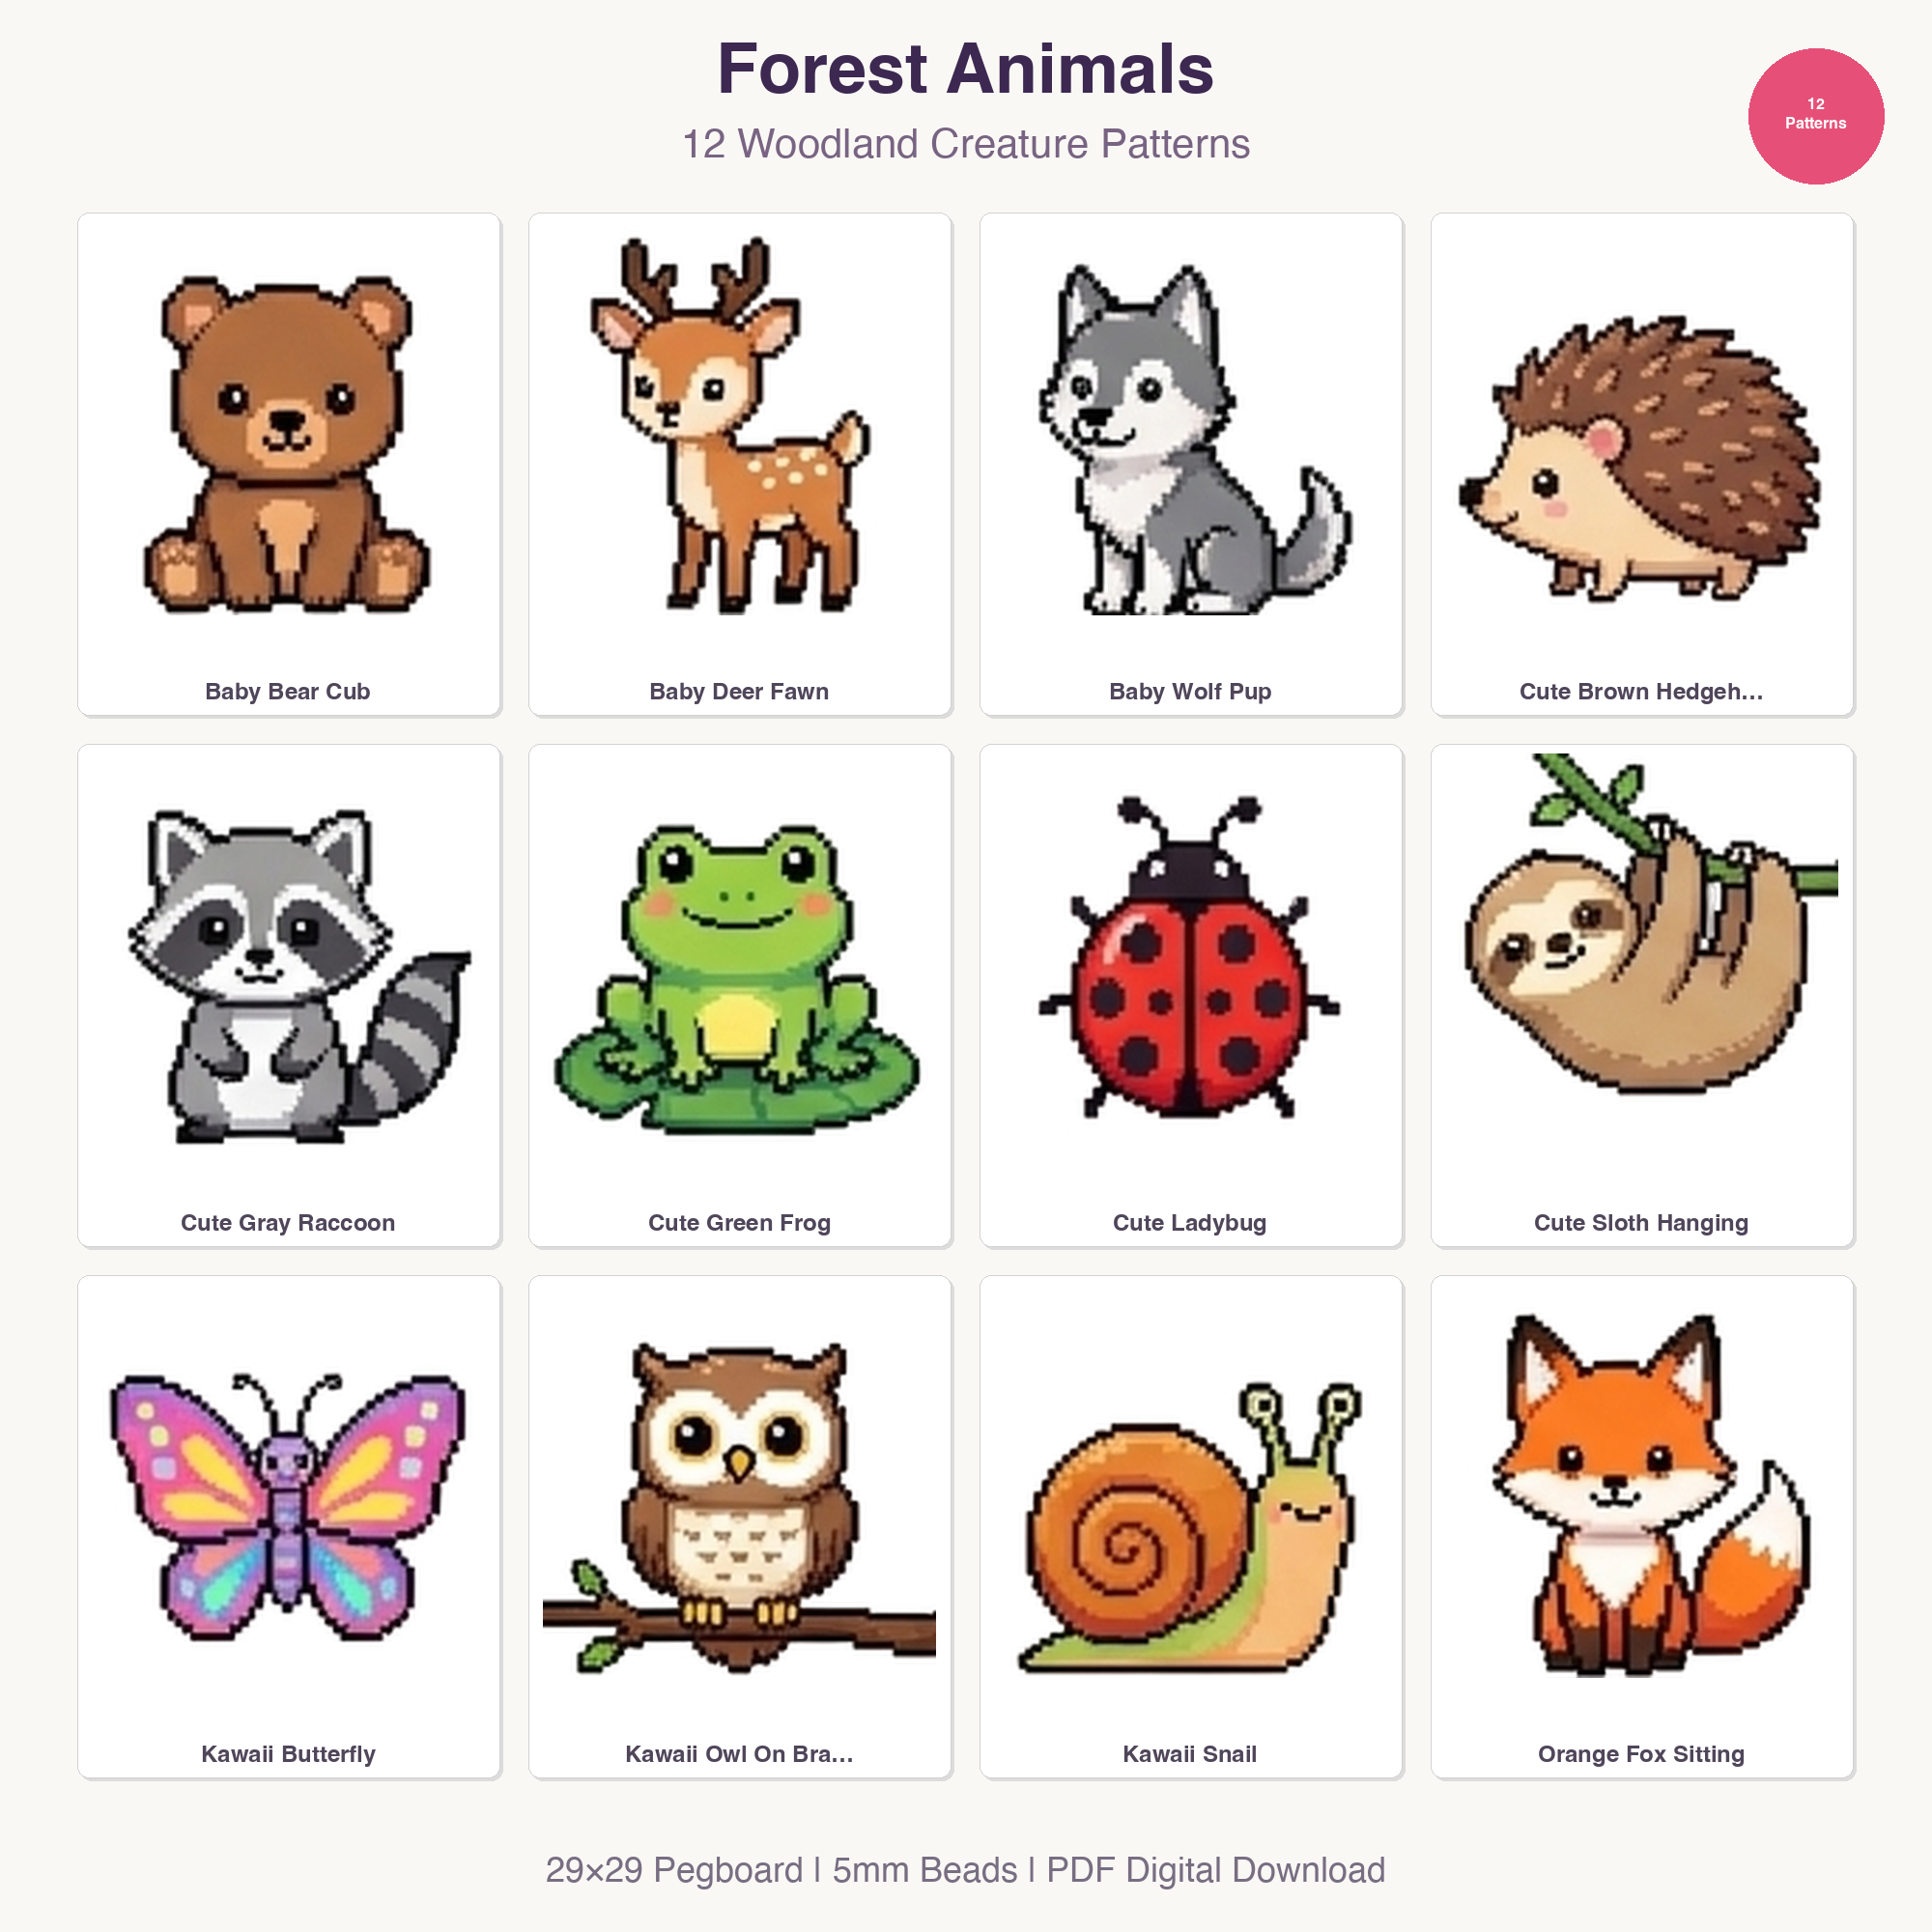
- Mini Forest Friends: Owls, foxes, and bunnies translate beautifully into mini bead art. For an owl, use two large circles for eyes and a small triangle for a beak. For a fox, think orange and white with pointed ears. You can find a fantastic array of inspiration in our 48 Cute Kawaii Animal Perler Bead Patterns Bundle or explore specific designs like our Cute Pets Perler Bead Patterns for more detailed guidance.
- Sweet Birds: A small round body, a tiny wing, and a beak – birds are incredibly versatile. Experiment with vibrant colors for a flock of miniature feathered friends.
- Bugs & Insects: Ladybugs, bees, and butterflies are surprisingly easy to make. Their distinct patterns and colors make them instantly recognizable, even in miniature form.
The key to quick animal designs is simplification. Don't try to replicate every detail; instead, capture the essence of the animal using minimal beads. This approach makes for super fast, super cute results, perfect for those looking for mini perler ideas that are both engaging and efficient.
Simple Kawaii Food Mini Patterns
Who doesn't love cute food? Kawaii (the Japanese word for 'cute') food designs are incredibly popular, and they translate perfectly into mini easy cute perler beads. These edible-looking creations are often small, colorful, and instantly recognizable, making them ideal for quick crafting sessions. Whether you're looking for mini fuse beads ideas for charms or just something fun to display, food items are a fantastic choice.
Here are some delightful kawaii food mini patterns to try:
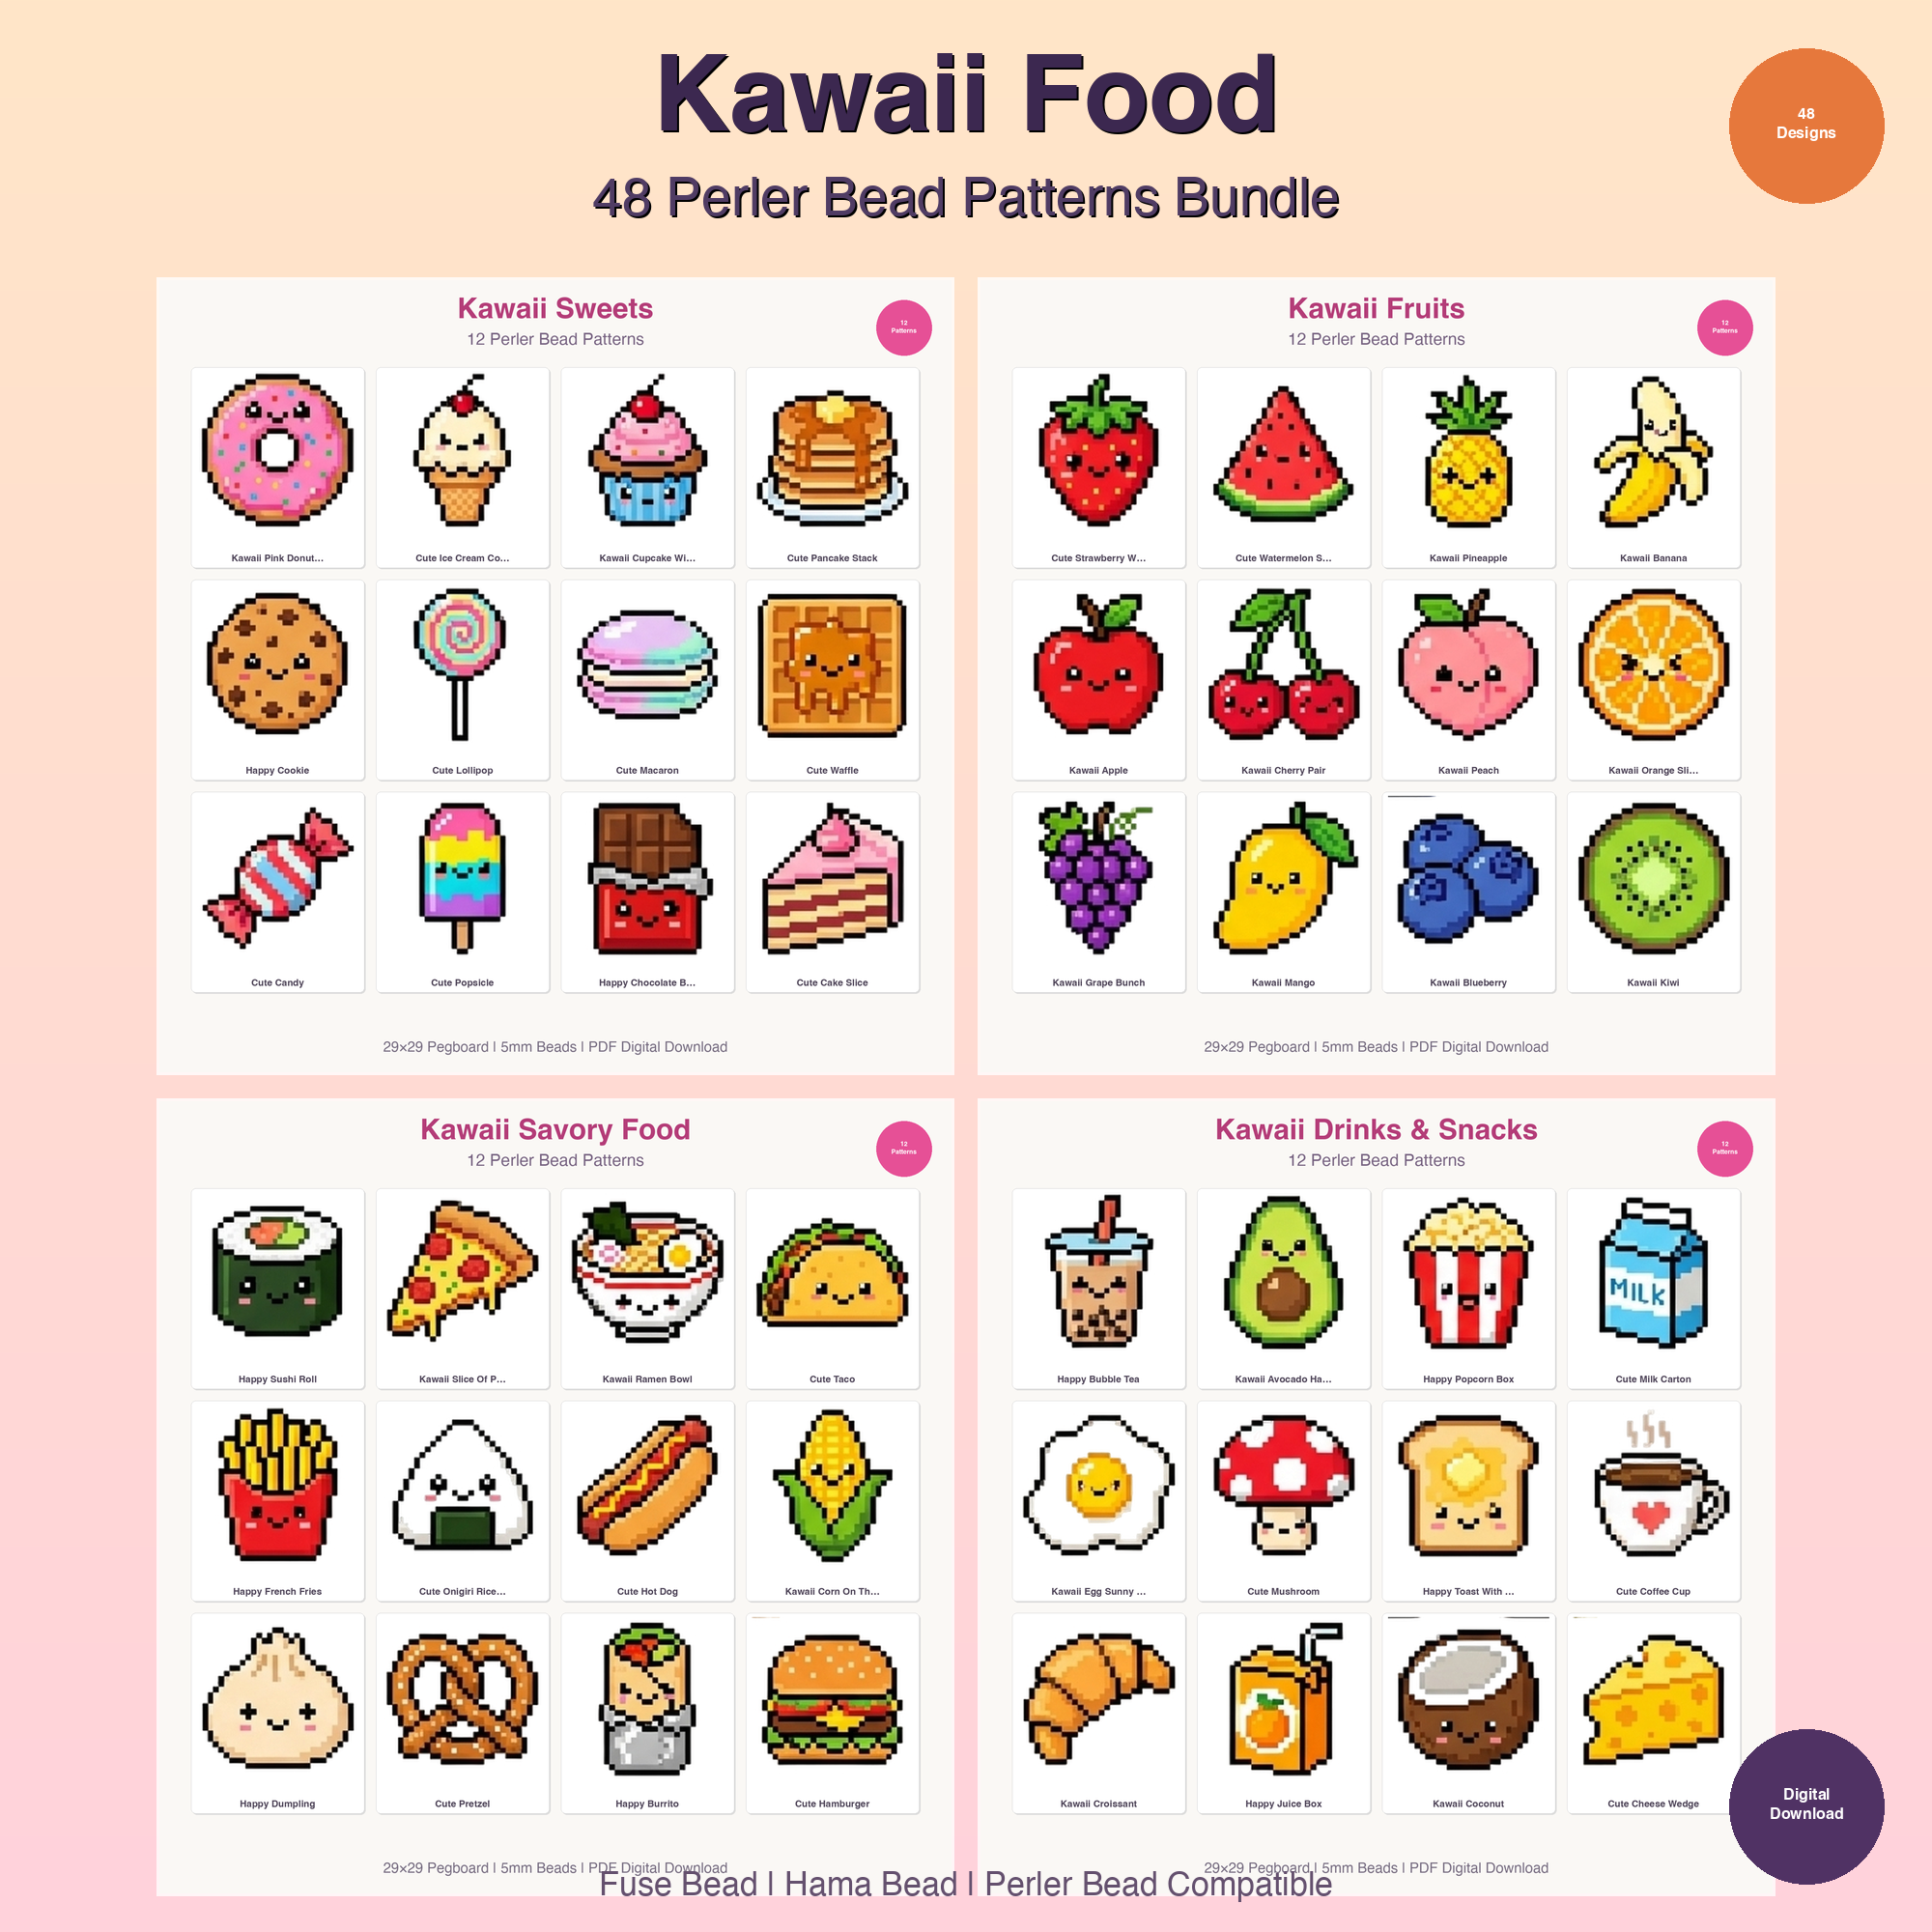
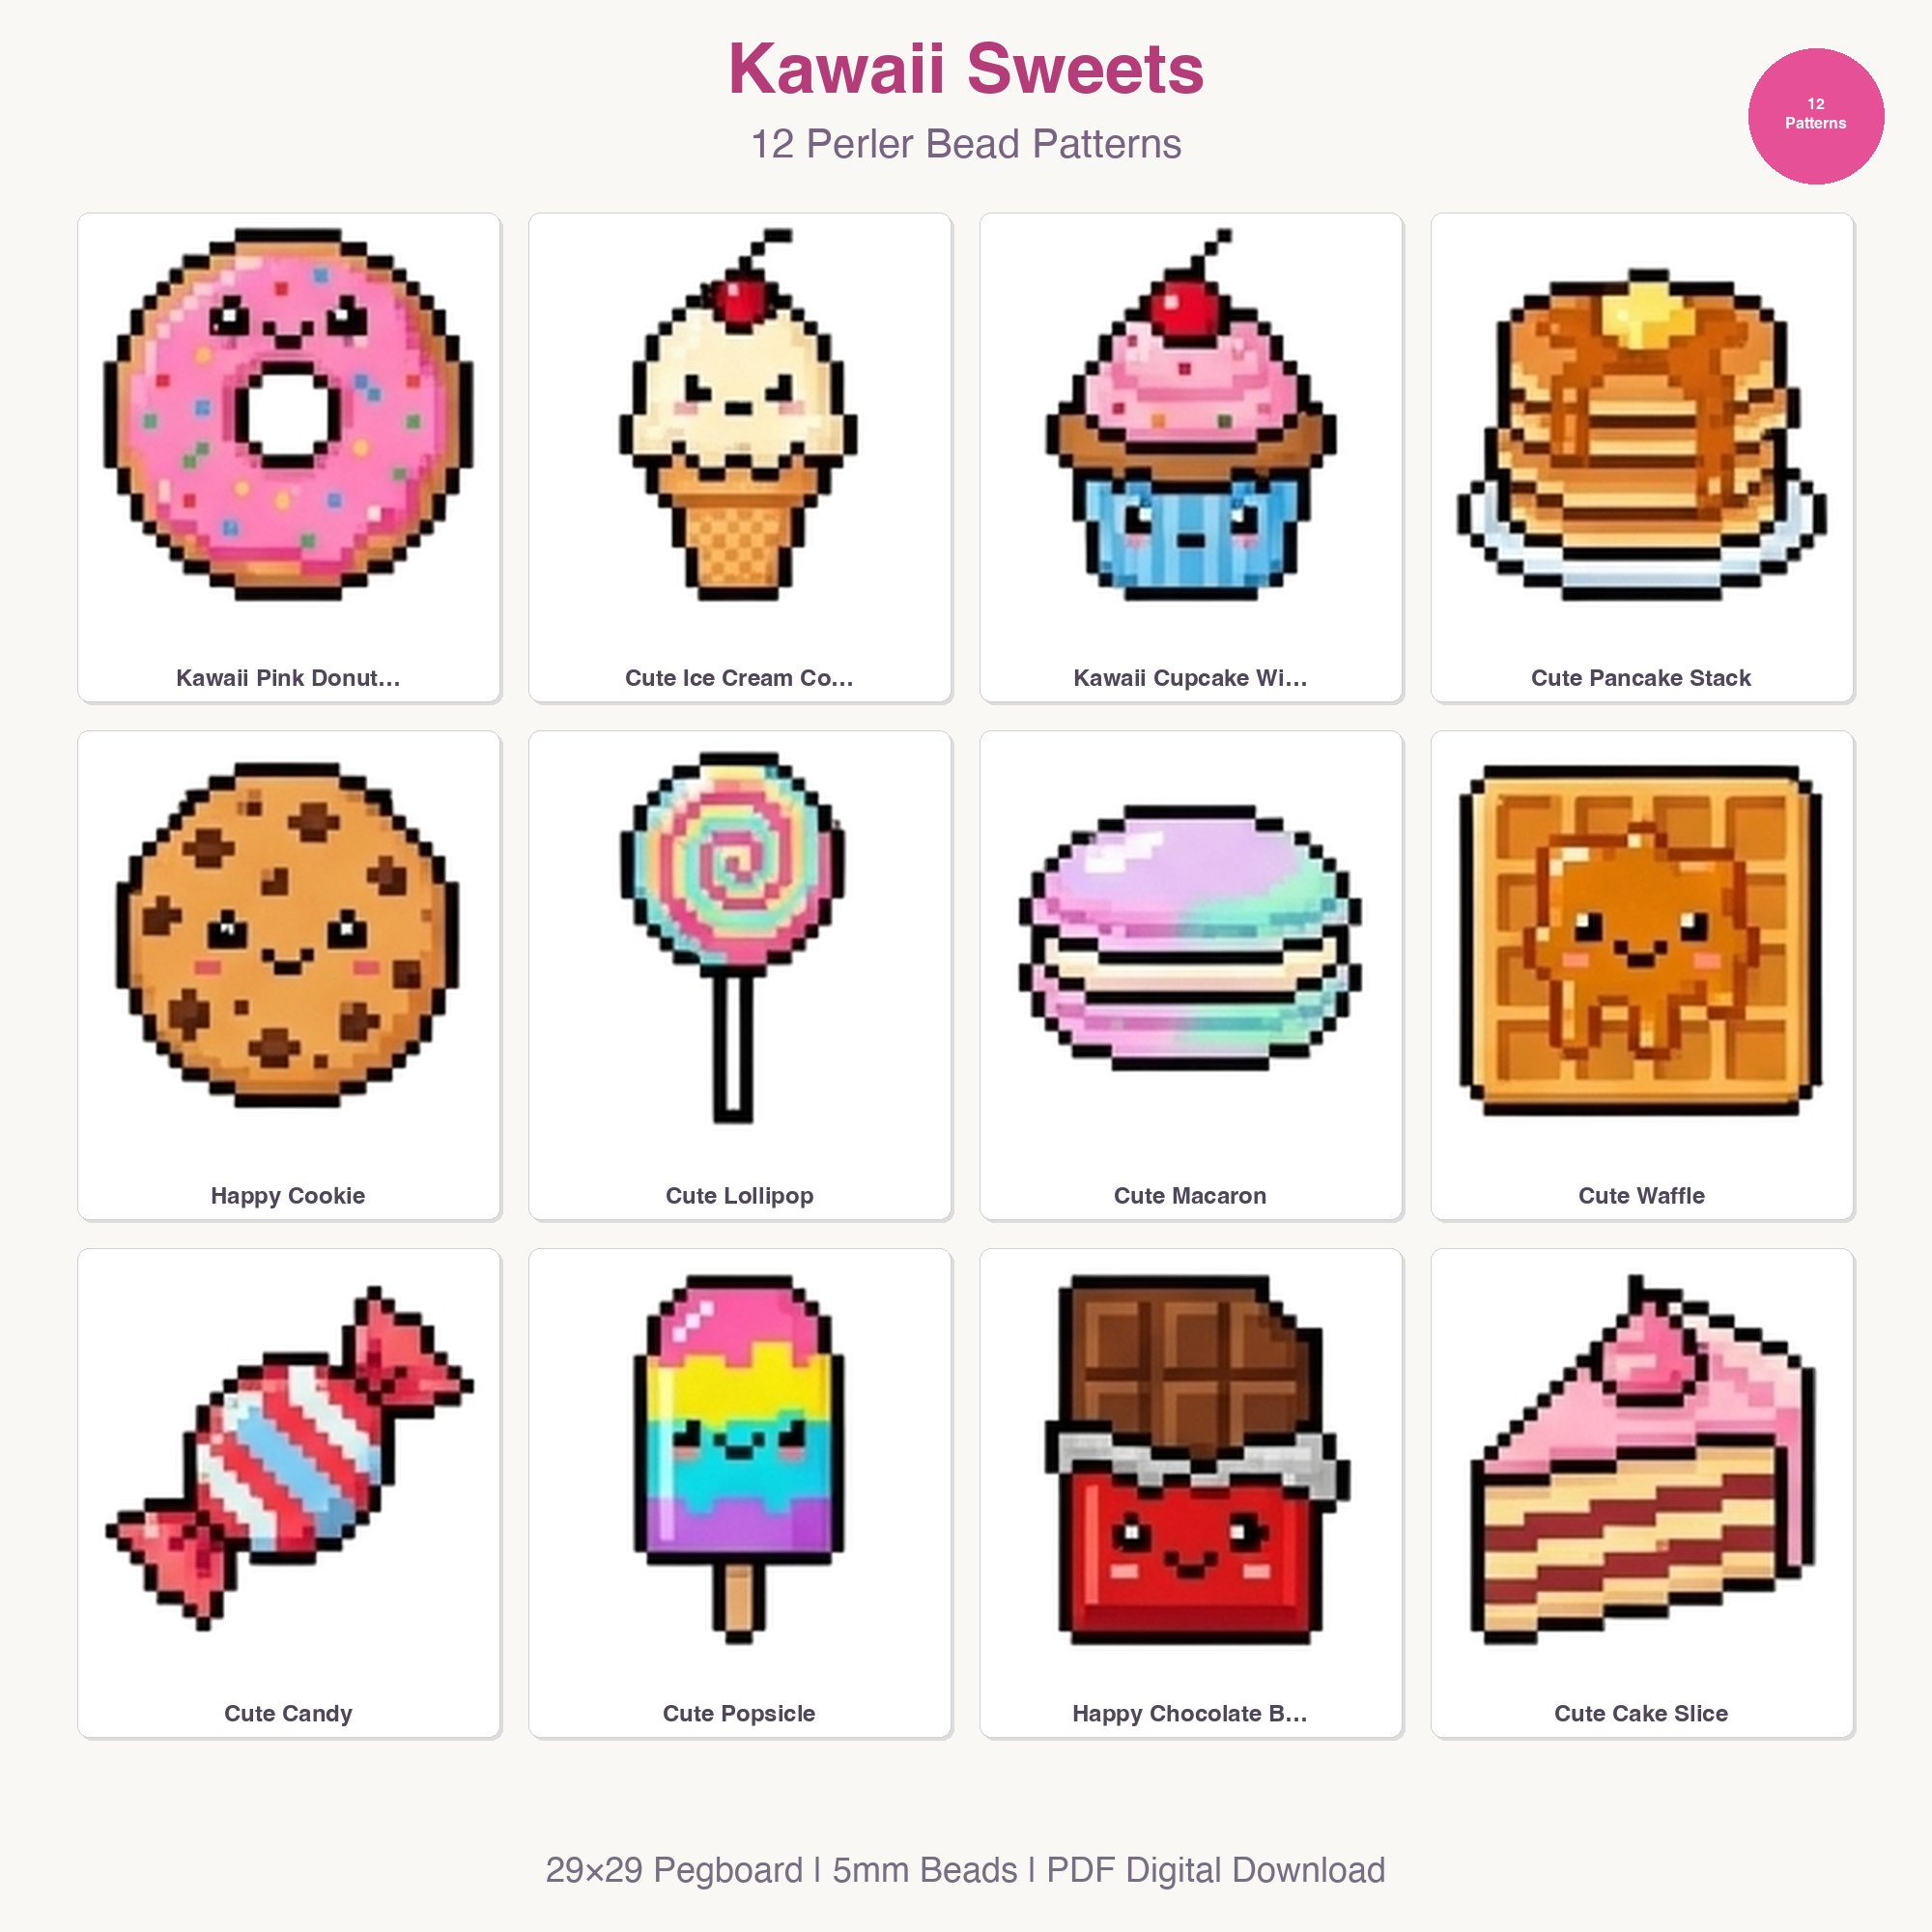
- Donuts & Cupcakes: These are classics! Use a base color for the cake or donut, then add 'frosting' in a contrasting color and tiny 'sprinkles' with a few scattered beads. A donut with a hole in the middle is a perfect simple shape.
- Pizza Slices: A triangular base, red for sauce, white for cheese, and a few brown or black beads for pepperoni creates an instantly recognizable mini pizza. You can even make a whole mini pizza pie!
- Fruits & Vegetables: Apples, strawberries, cherries, watermelons, and even tiny carrots are wonderful subjects. Their natural colors make them vibrant and appealing. A single strawberry with a few green beads for the stem and yellow beads for seeds is a charming, quick project.
- Ice Cream Cones & Popsicles: These summery treats are fun all year round. Use light brown for the cone, and pastel shades for the scoops of ice cream. A simple popsicle stick shape with a bright block of color above it is a breeze to make.
- Sushi Rolls: For a slightly more intricate but still simple design, try a mini sushi roll. Black for nori, white for rice, and a splash of orange or green for the filling.
Our Food & Object Emojis Perler Bead Patterns Bundle offers a treasure trove of inspiration for these kinds of designs, often blending the fun of emojis with delicious-looking food items. These mini hama bead ideas are not just fun to make; they also make great gifts or decorations.
Mini Perler Bead Accessories (Earrings, Keychains)
One of the most exciting aspects of working with mini easy cute perler beads is their potential to be transformed into wearable art and practical accessories. Their small size and lightweight nature make them perfect for a variety of projects that would be too bulky with standard-sized beads. This is where your mini perler ideas can truly shine and become functional items.
- Dainty Earrings: Mini perler bead designs are absolutely perfect for earrings. They're light, won't pull on your earlobes, and you can create matching pairs quickly. Imagine tiny animal faces, kawaii food items, or even abstract geometric shapes dangling from your ears. Simply attach a jump ring and an earring hook to your finished, ironed piece.
- Charming Keychains: Turn your favorite mini designs into personalized keychains. A small character, a lucky charm, or a favorite food item can easily be attached to a keychain ring. These make fantastic party favors or small gifts. Our Emoji Perler Bead Patterns Bundle is a great resource for finding fun, expressive designs that work wonderfully as keychains or zipper pulls.
- Zipper Pulls: Add a touch of personality to jackets, backpacks, or pencil cases by attaching a mini perler bead creation to a zipper. It's a subtle way to customize your belongings.
- Phone Charms: If your phone case has a loop, a mini perler bead charm can add a unique flair. Just ensure it's securely attached so it doesn't get lost.
- Stitch Markers for Knitting/Crochet: Crafters will appreciate tiny, flat perler bead designs that can be used as decorative and functional stitch markers. Just add a small loop.
- Miniature Magnets: Glue a small magnet to the back of your finished mini perler bead design, and you have instant fridge art! These are great for displaying small notes or adding a pop of color to your kitchen.
When creating accessories, remember to iron your pieces thoroughly but carefully (more on that next!) to ensure they are durable enough to withstand daily use. The possibilities for mini fuse beads ideas in the accessory realm are virtually endless, limited only by your imagination.
Troubleshooting & Tips for Ironing Mini Beads
Ironing mini perler beads can be a little trickier than with standard-sized beads, primarily because of their small size and delicate nature. However, with the right technique and a bit of practice, you'll be fusing your mini hama bead ideas flawlessly. Proper ironing is crucial for the longevity and appearance of your finished projects.
Here are essential tips for successful ironing of mini easy cute perler beads:
- Lower Heat Setting: Mini beads melt faster and are more prone to over-melting or warping. Start with a medium-low heat setting on your iron. It's always better to start cooler and gradually increase the heat if needed, rather than starting too hot and ruining your design.
- Use Parchment Paper: Always place a piece of parchment paper (sometimes called ironing paper) over your beads before ironing. Never use wax paper, as the wax can transfer to your beads and iron. The parchment paper protects your iron and ensures an even melt.
- Gentle, Even Pressure & Motion: Apply gentle, consistent pressure to the iron, moving it in small, circular motions over the entire design. Avoid pressing down too hard or holding the iron in one spot for too long, as this can cause beads to flatten unevenly or melt together excessively.
- Watch for the Melt: Keep a close eye on the beads through the parchment paper. You want them to melt just enough to fuse together, creating small, connected holes. If the holes disappear completely, you've likely over-melted. For accessories, a slightly more melted, 'closed' look can add durability, but be careful not to flatten them entirely.
- Cool Completely Before Removing: This is perhaps the most critical step for mini beads. Once you've finished ironing one side, carefully remove the parchment paper (it might stick slightly), and then immediately place a heavy, flat object (like a book or another pegboard) on top of your design while it's still on the pegboard. Let it cool completely for several minutes. This prevents warping and ensures the design stays flat.
- Flip and Iron the Second Side (Optional): Many crafters prefer to iron both sides of their perler bead projects for added strength and a more finished look. If you choose to do this, wait until the first side is fully cool and firm. Then, carefully peel the design off the pegboard, flip it over onto a clean, flat surface (or back onto the pegboard if you're careful), place parchment paper on top, and iron the second side using the same gentle technique.
- Practice Makes Perfect: If you're new to mini beads, do a few practice runs with simple designs. This will help you get a feel for your iron's heat settings and the optimal melting point for your beads.
By following these tips, your mini perler bead creations will be sturdy, flat, and perfectly fused, ready to be admired or turned into fantastic accessories.
Mini perler beads offer a world of creative possibilities, blending quick crafting with intricate detail. From adorable animals to charming food items and personalized accessories, these tiny beads provide endless opportunities for fun and imaginative projects. Don't let their size intimidate you; embrace the challenge and discover the immense satisfaction of creating something beautiful and unique in miniature. Ready to start your next small-scale adventure? Browse our extensive catalog of PDF perler bead patterns and find your perfect design inspiration for your next mini masterpiece today!