How to Design Your Own Perler Bead Patterns from Scratch
June 28, 2026
Ever wished you could bring your favorite video game character, a cherished pet, or even your own name to life in vibrant Perler beads? While pre-made patterns are wonderful, there's a special kind of magic in crafting something uniquely yours. Imagine the satisfaction of looking at a finished piece and knowing you designed every single pixel.
Unleash Your Creativity: Why Design Your Own Patterns?
The world of Perler beads is a canvas waiting for your imagination, and learning how to make a perler bead pattern opens up a universe of possibilities. Designing your own patterns isn't just about saving money on pre-made kits; it's about personalizing your craft, pushing your artistic boundaries, and creating truly one-of-a-kind pieces. Think about it: a custom gift for a friend, a unique piece of decor that perfectly matches your room, or a way to immortalize a beloved memory in pixel form.
When you take the reins as a perler beads pattern maker, you gain full control over colors, sizes, and subjects. You're no longer limited to what's available; instead, you become the creator of your own Perler bead universe. This process enhances problem-solving skills, teaches color theory in a fun, tangible way, and provides a deep sense of accomplishment. It's a fantastic activity for both kids and adults, fostering creativity and attention to detail. Whether you're looking to replicate a complex character or simply want to spell out a name with our Alphabet Perler Bead Patterns Bundle, 48 Designs (PDF Digital Download) as inspiration, designing your own is an incredibly rewarding journey.
Understanding Perler Bead Grids and Pegboards
Before you can dive into designing, it's crucial to understand the fundamental building blocks of Perler bead art: the grid and the pegboard. Perler beads are essentially tiny, cylindrical plastic beads that are placed onto a pegboard, which is a grid of small, evenly spaced pegs. Each bead occupies one peg, forming a pixel. When heated with an iron, these beads fuse together, creating a solid piece of art.
The standard Perler bead is 5mm in diameter, fitting perfectly onto a standard pegboard. These pegboards come in various shapes and sizes – square, circle, hexagon, star, and even specialty shapes like animals. For most custom designs, especially when learning how to make perler bead patterns, you'll primarily use square pegboards, as they provide the most straightforward grid for pixel art. Large designs often require connecting multiple square pegboards together, ensuring your design has enough space.
The grid system is what makes Perler bead art so accessible and satisfying. Every design, no matter how intricate, can be broken down into individual beads on a grid. This pixelated nature means that any image can theoretically be translated into a Perler bead pattern, provided you can simplify it enough. Understanding this basic structure is the first step toward becoming a skilled perler beads pattern maker, allowing you to visualize your ideas in terms of individual beads and their placement.
Step-by-Step: From Idea to Digital Pattern
Ready to transform your vision into a tangible pattern? Here’s a detailed guide on how to make a perler bead pattern using digital tools, which often provides the most precision and flexibility.
1. Brainstorm Your Idea
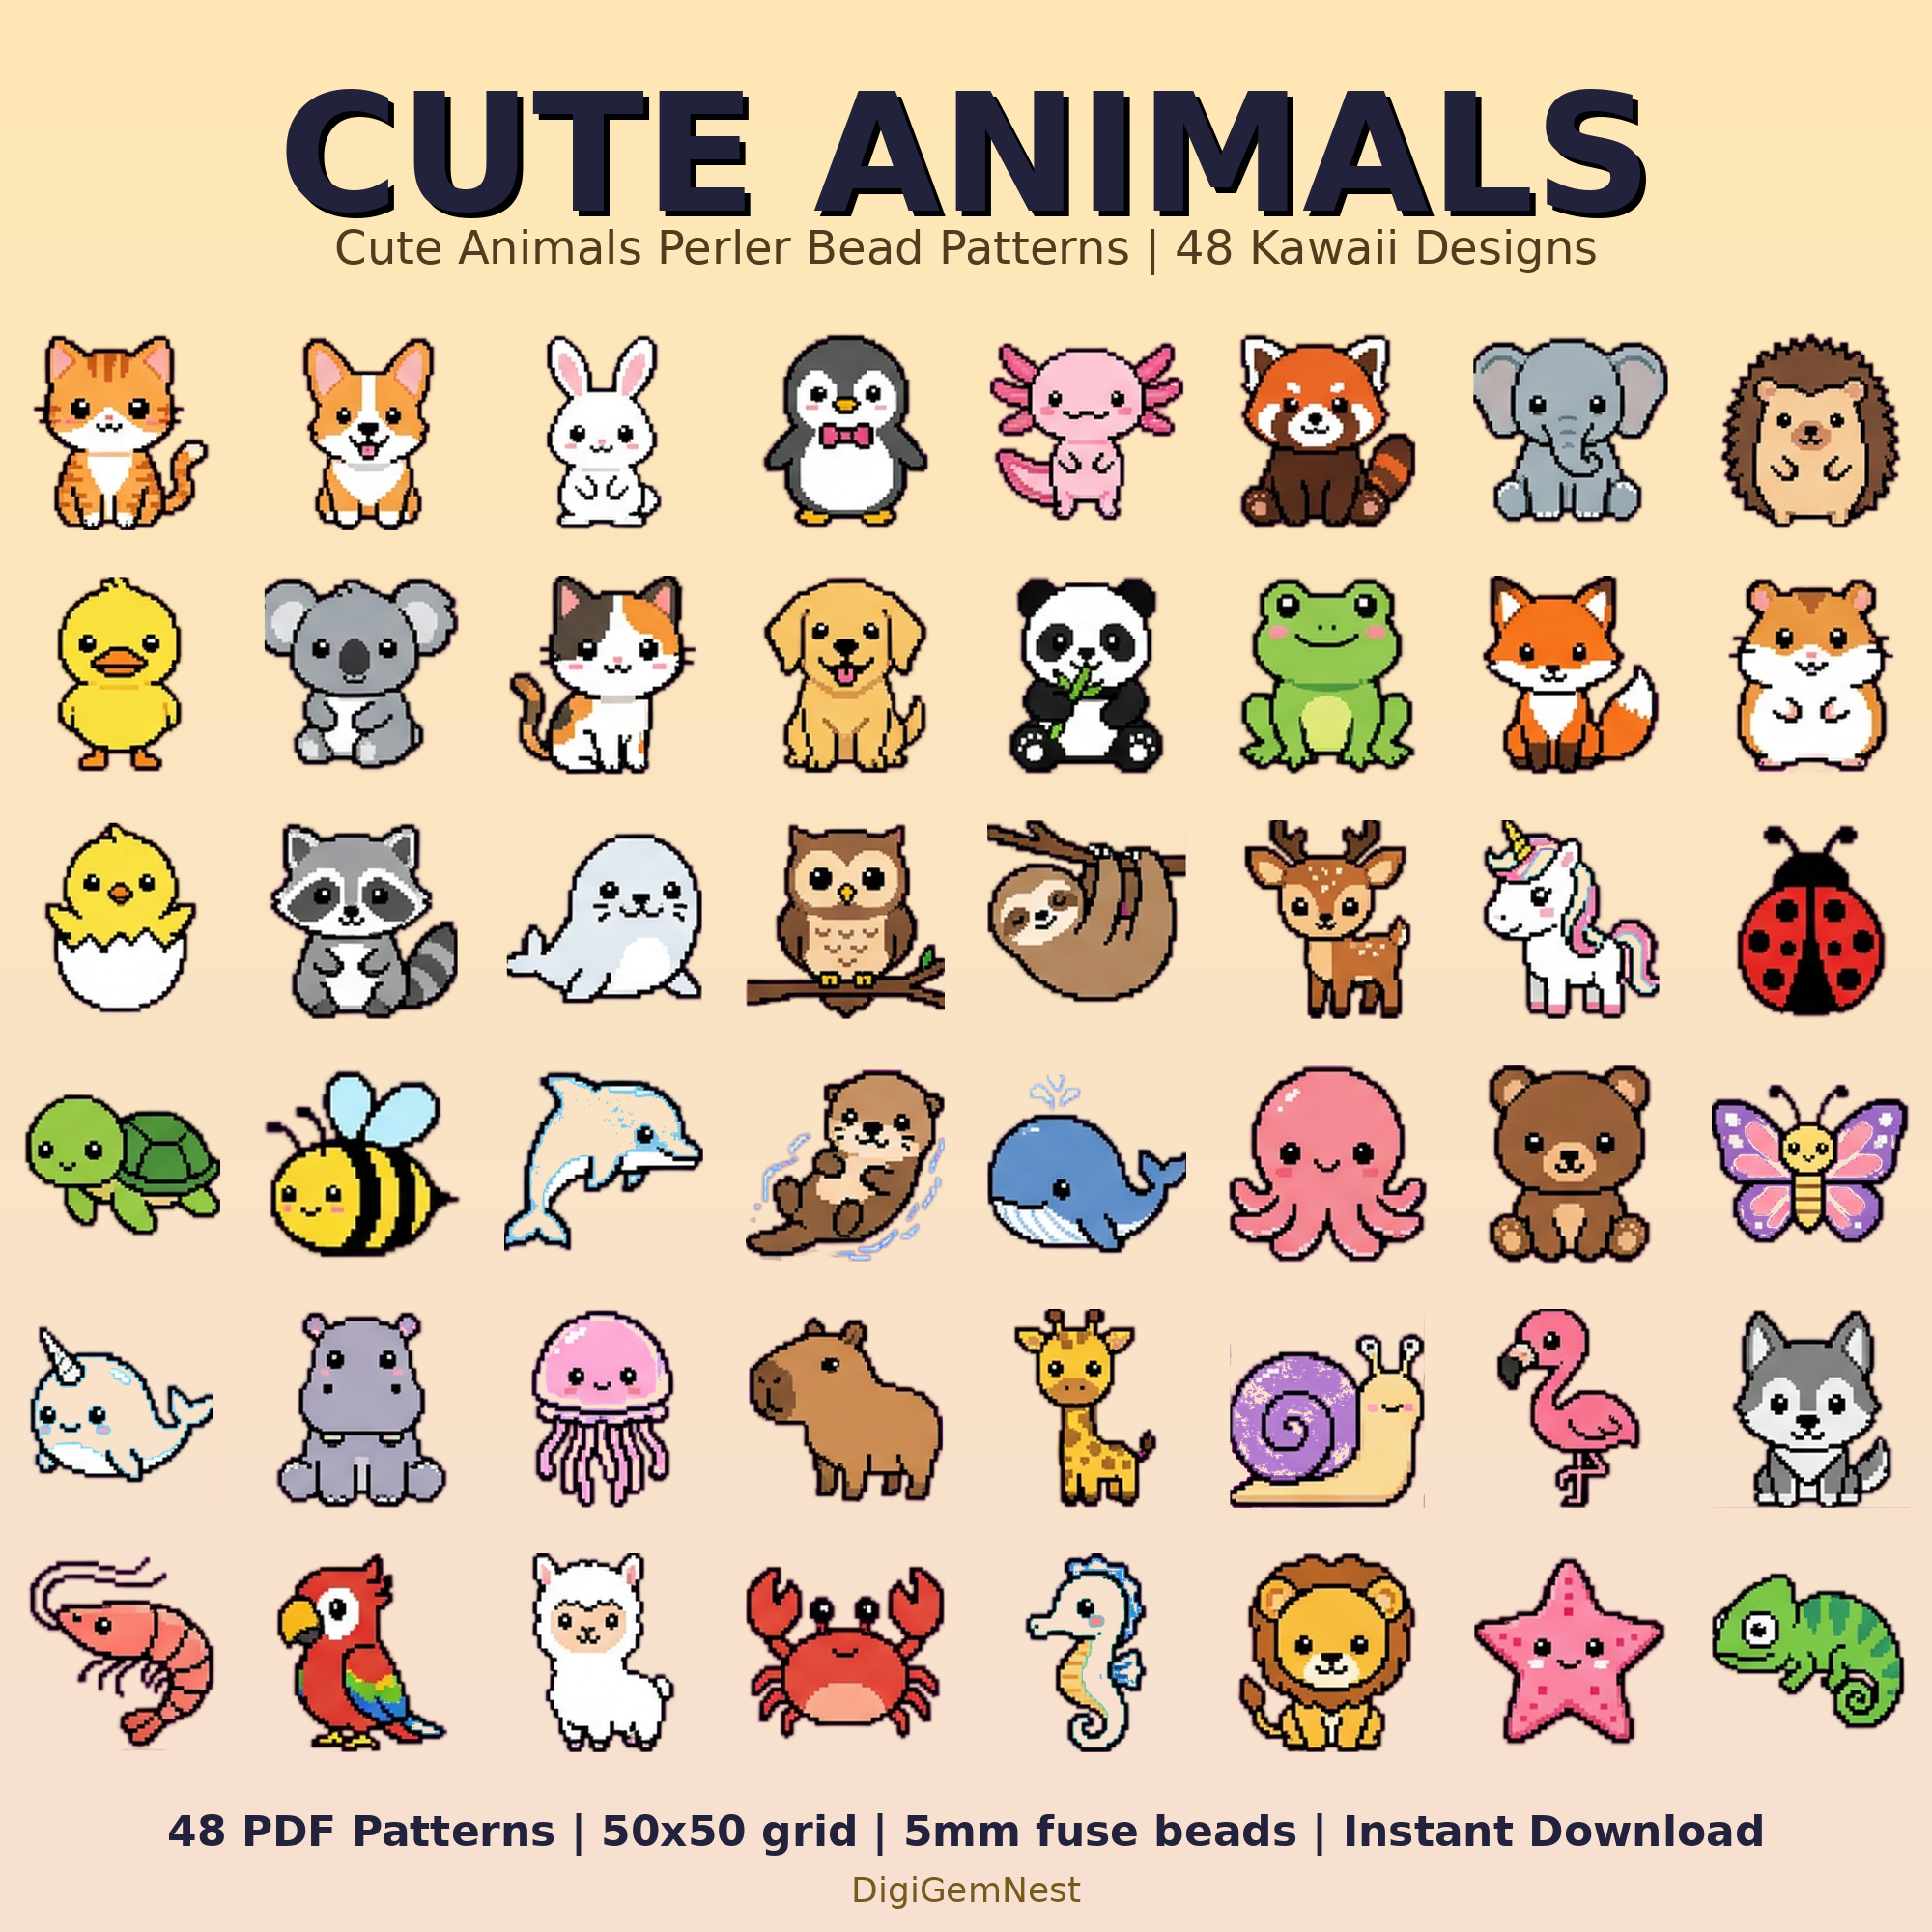
What do you want to create? Start with a clear concept. Is it a simple shape, a character, a logo, or a specific animal? For beginners, simpler designs with fewer colors and distinct outlines are best. Perhaps you're inspired by our 48 Cute Kawaii Animal Perler Bead Patterns Bundle | Fuse Bead Hama Templates | P and want to design your own unique creature. Sketch your idea on paper first to get a general feel for the shapes and proportions.
2. Choose Your Digital Tool
Several software and online apps can act as your personal perler beads pattern maker. Some popular options include:
- Pixel Art Software: Programs like Aseprite, Pixilart (online), or even simple grid tools in Photoshop/GIMP are excellent. They allow you to draw pixel by pixel, just like placing beads.
- Dedicated Perler Bead Pattern Generators: Websites and apps specifically designed for Perler beads often have features like bead color palettes and pegboard sizing. Search for "Perler bead pattern generator" or "fuse bead designer" online.
- Spreadsheet Software: Programs like Excel or Google Sheets can be surprisingly effective! Just adjust column widths and row heights to create perfect squares, then use cell fill colors to design.
3. Set Up Your Canvas
In your chosen software, create a new canvas or document. The size of your canvas (in pixels or cells) will directly correspond to the number of beads in your design. If you're aiming for a design that fits on a single 29x29 pegboard, set your canvas to 29x29 pixels (or cells). For larger projects, you'll need a bigger canvas.
4. Outline and Color Your Design
Start by outlining your design using a dark color. This helps define the shape. Then, fill in the details and colors. Remember to keep the Perler bead color palette in mind. Most software will allow you to pick specific colors. Simplify complex gradients into solid blocks of color. Each pixel you place on your digital canvas represents one Perler bead. This is where your skills as a perler beads pattern maker truly shine, as you make artistic choices about simplification and color representation.
5. Refine and Optimize
Zoom in and examine your pattern. Are there any stray pixels? Are the lines clean? Does it look good in its pixelated form? Experiment with different color combinations. Many digital tools allow you to easily undo mistakes and try new approaches, making it a stress-free way to perfect your design before you even touch a physical bead.
Translating Photos & Images into Perler Bead Designs
One of the most exciting ways to create custom patterns is by converting existing photos or images. While dedicated software can automate much of this, understanding the manual process will give you better results and more control.
1. Select Your Image
Choose a photo with clear subjects and good contrast. Simpler images with fewer colors and well-defined edges work best. Portraits, cartoon characters, or distinct objects are ideal candidates.
2. Prepare the Image for Pixelation
- Crop: Crop your image to focus on the main subject.
- Resize: Downscale the image significantly. This is the crucial step for pixelation. For example, if you want a design that's roughly 50 beads wide, resize your image to 50 pixels wide. The smaller the image, the more pixelated it will become.
- Reduce Colors: Most image editing software has a "posterize" or "reduce colors" feature. Limit the number of colors in your image to match the available Perler bead colors (e.g., 20-50 colors). This simplifies the image and makes it much easier to translate.
3. Generate the Pattern (or Manual Translation)
- Online Generators: Many websites offer free tools to convert images to pixel art or Perler bead patterns. You upload your image, set the desired bead size, and the tool generates a pattern with suggested colors. These can be a great starting point, though they sometimes require manual refinement.
- Manual Translation: Open your pixelated, color-reduced image next to your digital grid tool (like a spreadsheet or pixel art software). Go pixel by pixel, matching the colors as closely as possible to your Perler bead palette. This method gives you the most control and allows for artistic interpretation, ensuring your pattern genuinely reflects your vision. For example, if you're trying to recreate an Emoji Perler Bead Patterns Bundle, 48 Designs (PDF Digital Download) from a screenshot, you'd carefully map each pixel to a bead.
4. Print and Place
Once your digital pattern is complete, print it out. You can print it at actual size (where each pixel on the paper is the size of a bead) or larger, whichever is easier for you to follow. Place your pegboard over the printed pattern (if translucent) or keep it beside you as a guide, and start placing your beads!
Tips for Perfecting Your Custom Perler Bead Patterns
Creating your own patterns is a journey of trial and error, but these tips will help you achieve stunning results every time you make a perler bead pattern.
- Start Simple: Don't try to recreate the Mona Lisa on your first attempt. Begin with small, low-color designs. Simple geometric shapes, basic characters, or text are great for building confidence and understanding the medium.
- Color Theory Matters: Understanding how colors interact can elevate your designs. Use contrasting colors for outlines to make your shapes pop. Experiment with shades and tints to add depth, even with a limited palette. Sometimes, a slight color adjustment can make a huge difference in the final look.
- Consider Bead Count and Size: A common mistake is underestimating how many beads a design will require or how large it will be. Always factor in the standard 5mm bead size when planning. A 29x29 bead design will be roughly 5.7 inches (14.5 cm) square.
- Test Your Colors: Before committing to a large project, do a small swatch test of your chosen colors. Sometimes colors look different on screen than they do in real life, or once fused.
- Pay Attention to Outlines: Strong, consistent outlines can dramatically improve a pattern's appearance. Decide whether you want a solid black outline, a colored outline, or no outline at all, and stick to it.
- Don't Be Afraid to Iterate: The beauty of digital design is the ease of making changes. If something isn't working, tweak it! Save different versions of your pattern as you go, so you can always revert to an earlier stage if needed.
- Use Reference Images: Even if you're designing something entirely new, looking at existing pixel art or Perler bead patterns can spark ideas and inform your design choices. Observe how others simplify complex images or use color effectively.
With a little practice and these helpful tips, you'll soon be a master perler beads pattern maker, turning any idea into a vibrant, pixelated masterpiece.
There's truly nothing more satisfying than bringing a custom Perler bead design to life, knowing every bead was placed according to your unique vision. We hope this guide empowers you to explore the endless creative possibilities of designing your own patterns. Whether you're making personalized gifts, unique decorations, or just enjoying a relaxing craft, the journey from idea to finished piece is incredibly rewarding. And remember, if you ever need a little inspiration or a ready-to-go project, don't forget to browse our extensive catalog of PDF perler-bead patterns for your next adventure!