How to Craft Amazing 3D Minecraft Perler Beads: Bees, Tools & Beyond
August 17, 2026
Ever wished you could reach into your screen and pull out your favorite Minecraft characters or items? While we haven't quite perfected that technology, crafting minecraft hama beads 3d offers the next best thing! Imagine a tiny, blocky bee buzzing on your desk or a diamond pickaxe standing proud on your shelf, all made by you with colorful fuse beads.
This guide will walk you through the exciting process of bringing your pixel art to life in three dimensions. Whether you're a seasoned perler bead enthusiast or just starting out, you'll discover the techniques to construct amazing 3D creations, starting with beloved Minecraft elements.
Understanding 3D Perler Bead Construction
Making perler 3d projects isn't much different from making flat, 2D ones, but with an exciting twist: assembly! Instead of creating one single flat piece, you'll design and iron several individual 2D components. Think of it like building with LEGOs, but your 'bricks' are custom-made from fuse beads.
The magic happens when these flat pieces are carefully joined together to form a sturdy, three-dimensional object. This can be achieved in a few primary ways:
- Interlocking Tabs: Some designs incorporate small tabs or slots that allow pieces to slide and lock into each other without glue. This is often seen in simpler geometric shapes.
- Layering: For objects with depth, you might create multiple identical or slightly varied layers and stack them.
- Adhesive: For more complex or irregular shapes, a strong craft adhesive (like E6000 or super glue) is your best friend. This allows for greater design freedom and ensures a secure bond.
The key is to visualize your final 3D object and break it down into its constituent 2D sides or layers. Planning is everything!
Essential Tools & Materials for 3D Minecraft Builds
Before you dive into creating your first minecraft hama beads 3d masterpiece, gather your supplies. Having everything ready makes the crafting process smooth and enjoyable.
Here’s what you’ll need:
- Fuse Beads: Obviously! Stock up on the colors relevant to your Minecraft designs. For a bee, you'll need yellow, black, and white/blue for wings. For tools, gray, brown, and the specific color of the tool material (diamond blue, gold, iron gray, stone gray).
- Pegboards: Square pegboards are essential for most Minecraft designs due to their blocky nature. Having a few different sizes is helpful. You might also want a circular or hexagonal board for specific details, though less common for Minecraft.
- Ironing Paper: Essential for fusing your beads without melting them directly onto the iron. Reusable parchment paper works wonderfully.
- Iron: A standard household iron is perfect. Ensure it has a smooth, clean surface and a temperature control setting.
- Tweezers: Incredibly helpful for placing beads accurately, especially for intricate patterns or when working with smaller areas.
- Craft Knife or Scissors: For carefully trimming ironing paper or any stray plastic bits after ironing.
- Strong Craft Adhesive: As mentioned, a good quality super glue or E6000 is vital for assembling your 3D pieces securely. Make sure to use it in a well-ventilated area.
- Reference Images: Keep clear pixel art images of your desired Minecraft object handy. This helps with color accuracy and pattern replication.
- Patience and Creativity: Your most important tools! 🛠️
Step-by-Step: Crafting a 3D Minecraft Bee
Let's get buzzing with a charming minecraft perler beads 3d bee! This project is a fantastic way to practice 3D construction.
1. Design Your Bee's Components
A Minecraft bee is essentially a cube with wings and antennae. We'll need to create six square sides for the body, two wings, and two small antennae.
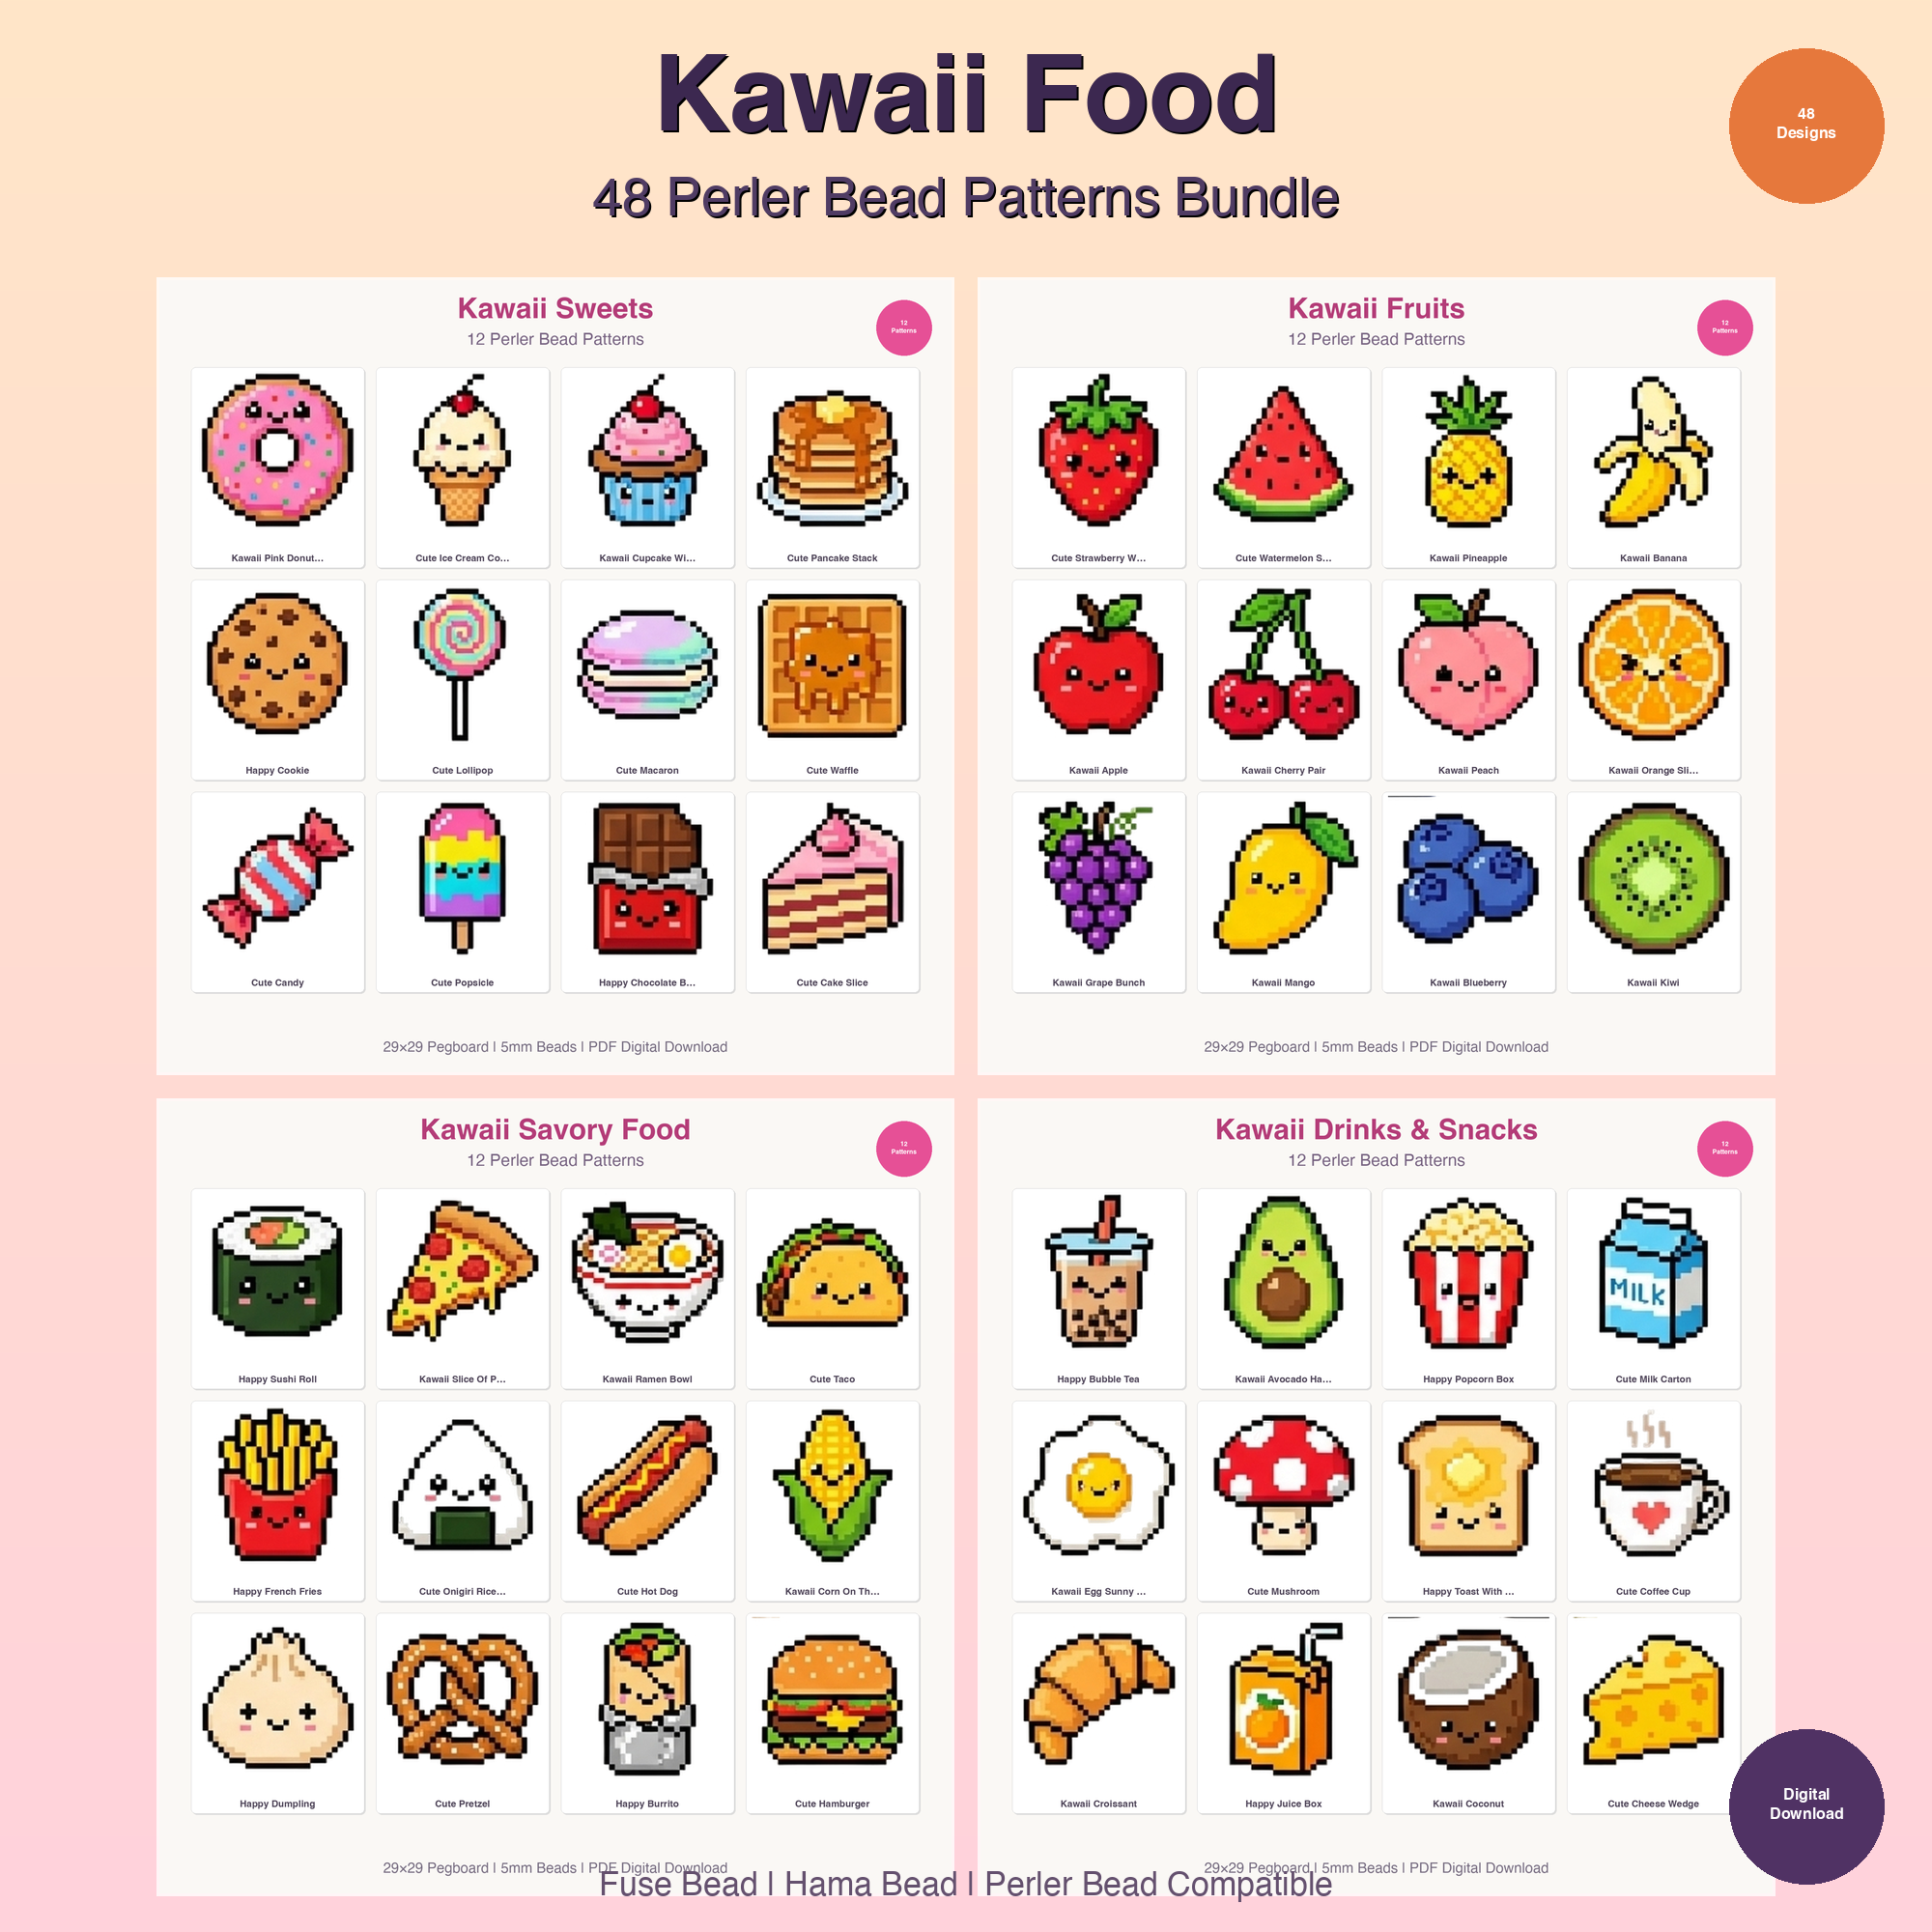
- Body Sides (6): Each side will be a 5x5 square of yellow and black stripes. You'll need two identical 'top' and 'bottom' pieces (mostly yellow), two 'side' pieces (striped), and two 'front' and 'back' pieces (striped, with the front having eyes if you wish). For inspiration, you can check out various 48 Cute Kawaii Animal Perler Bead Patterns Bundle to see how simple shapes can be adapted.
- Wings (2): Design two small, translucent-looking wings. These can be 3x4 or 4x5 rectangles, mostly white or light blue beads with a black outline.
- Antennae (2): Simple 1x3 or 1x4 black bead strips.
2. Bead Placement
Carefully place your beads onto the pegboard according to your designs. Double-check your patterns before ironing to catch any mistakes.
3. Ironing Your Pieces
This is a critical step for 3D projects. Each piece needs to be ironed flat and firm, but not over-ironed to the point where the holes completely disappear. You want them fused enough to be stable, but still retain some flexibility for assembly, especially if you're interlocking. Iron both sides for extra durability.
- Place ironing paper over your beads.
- Apply medium heat with your iron in a circular motion for about 10-20 seconds per side, depending on bead brand and iron temperature.
- Once cooled, carefully remove the paper and flip the piece. Repeat ironing on the other side.
- Let all pieces cool completely under a heavy book to prevent warping.
4. Assembling Your 3D Bee
Now for the fun part – bringing your bee to life!
- Form the Body: Start by gluing four striped body sides together to form a hollow cube. Hold each joint firmly for a few seconds until the glue sets. Work on a flat surface to ensure straight edges.
- Add Top and Bottom: Once the four sides are stable, glue on the top and bottom pieces of the cube.
- Attach Wings: Glue the wings to the upper back of the bee's body. You might want to angle them slightly for a more dynamic look.
- Add Antennae: Finally, attach the two antennae to the top front of the bee's head.
Allow ample time for the glue to fully cure before handling your finished bee too much. You now have an adorable 3D Minecraft bee!
Creating 3D Minecraft Tools (Sword, Pickaxe)
Minecraft tools like swords and pickaxes make fantastic perler bead patterns 3d easy to visualize and construct. The principle is similar to the bee, but often involves layering or connecting flat, thicker pieces.
Designing 3D Tools
Most tools can be broken down into a few main components:
- Handle: This is usually a rectangular prism. You'll need two identical long rectangle pieces for the front/back, and two thinner strips for the sides. Or, you can make several identical layers and stack them to create thickness.
- Blade/Head: For a sword, this is a flat, pointed blade. For a pickaxe, it's a T-shaped head. These can be made thicker by creating two identical flat pieces and gluing them together, or by layering multiple pieces.
Consider how you'll make the tool sturdy. For example, a sword blade might be two identical 2D sword shapes glued together, or even three for extra thickness. The handle can then be attached securely to this thicker blade. This technique applies to many other perler 3d projects as well, like characters or structures.
For more inspiration on object-based creations, you might find ideas in our Art Supplies Studio Perler Bead Patterns Bundle, imagining how to adapt those flat designs into 3D objects.
Assembly Tips for Tools
- Layering for Thickness: If you want a thick sword blade, iron 2-3 identical blade shapes and glue them perfectly aligned. This gives a robust feel.
- Reinforce Joints: The point where the handle meets the blade is often a weak point. Use plenty of glue and hold firmly. You can even add a small, thin reinforcing strip of beads on the inside if the design allows.
- Straight Edges: Use a ruler or the edge of a table to ensure your pieces are aligned perfectly straight when gluing. This is crucial for a professional look.
Advanced Tips for Complex 3D Minecraft Creations
Ready to tackle larger minecraft hama beads 3d projects like entire blocks, characters, or even small structures? Here are some pro tips:
- Plan Meticulously: For bigger builds, draw out your components on graph paper first. Label each piece and plan the order of assembly. This foresight saves a lot of time and beads.
- Color Palette Consistency: Minecraft has a distinct color palette. Stick to it! Use reference images to get the exact shades for dirt, stone, wood, or character skins. Our Baby Animals Perler Perler Bead Patterns Bundle can give you ideas for managing different color sections within a single design.
- Internal Support: For very large or hollow structures, consider adding internal supports made from extra perler bead strips or even small wooden dowels. These can be glued inside to prevent sagging or collapse over time.
- Ironing for Strength: For large 3D pieces, ironing both sides of every component is almost mandatory. This makes them significantly stronger and less prone to breaking during assembly or handling.
- Test Fits: Before applying glue, dry-fit your components to ensure they align correctly. Make any necessary adjustments to the bead patterns before ironing.
Creating 3D perler bead art is a rewarding experience that combines planning, precision, and a whole lot of creativity. It's a fantastic way to bring the pixelated world of Minecraft into your real-world space, creating unique decorations, gifts, or just fun desk buddies.
So grab your beads, fire up your imagination, and start building! The possibilities are as endless as the blocks in Minecraft. Once you've mastered these techniques, you'll be able to tackle any 3D pixel art challenge. Don't forget to explore our extensive collection of digital perler bead patterns to inspire your next flat or 3D adventure right here on fusebeadpatterns.com!