Beyond the Basics: Mastering Large Perler Bead Designs & Projects
August 7, 2026
Are you ready to move beyond small coasters and keychains, and tackle something truly spectacular with your fuse beads? Imagine a vibrant, pixelated masterpiece adorning your wall, a giant character bringing joy to a child's room, or an intricate art piece that stops guests in their tracks. This isn't just a dream; it's the exciting reality of creating large perler bead designs.
Embarking on a big perler bead project can seem daunting at first, but with the right approach, it's an incredibly rewarding experience. It's a chance to push your creativity, develop new techniques, and create impressive art that truly stands out. Let's explore how you can transform your beading passion into magnificent, large-scale works of art.
Taking on Ambitious Perler Bead Projects
Moving into the realm of large perler bead projects means thinking bigger – literally! It's about more than just a single pegboard design; it's about combining multiple boards, managing a vast number of beads, and committing to a vision that takes time and dedication to bring to life. But why go big?
The Allure of Large-Scale Creations
- Impact and Presence: Small pieces are charming, but large ones are showstoppers. A huge perler bead creation commands attention and can become a focal point in any room.
- Artistic Challenge: These projects push your skills. They require meticulous planning, patience, and often, innovative solutions for assembly and display. Mastering these challenges is incredibly satisfying.
- Display Potential: Large pieces can be framed, mounted, or even used as functional decor, turning your craft into genuine home art. Imagine a vibrant pixelated mural or a grand character statement piece.
- Collaborative Fun: Large projects are fantastic for group activities! Working with family or friends on a massive design can be a wonderful bonding experience.
What Defines a "Large" Project?
While there's no official rule, a "large" perler bead project generally involves:
- Multiple Pegboards: Designs that require two, four, nine, or even more interlocking pegboards to complete.
- High Bead Count: Projects that consume thousands, if not tens of thousands, of beads.
- Significant Dimensions: Pieces that measure a foot or more in any direction, often much larger.
- Extended Time Commitment: These aren't quick crafts; they can take hours, days, or even weeks to complete, depending on complexity and size.
Planning Your Ambitious Design
Careful planning is the bedrock of any successful huge perler bead creation. Don't just jump in; take the time to map out your journey.
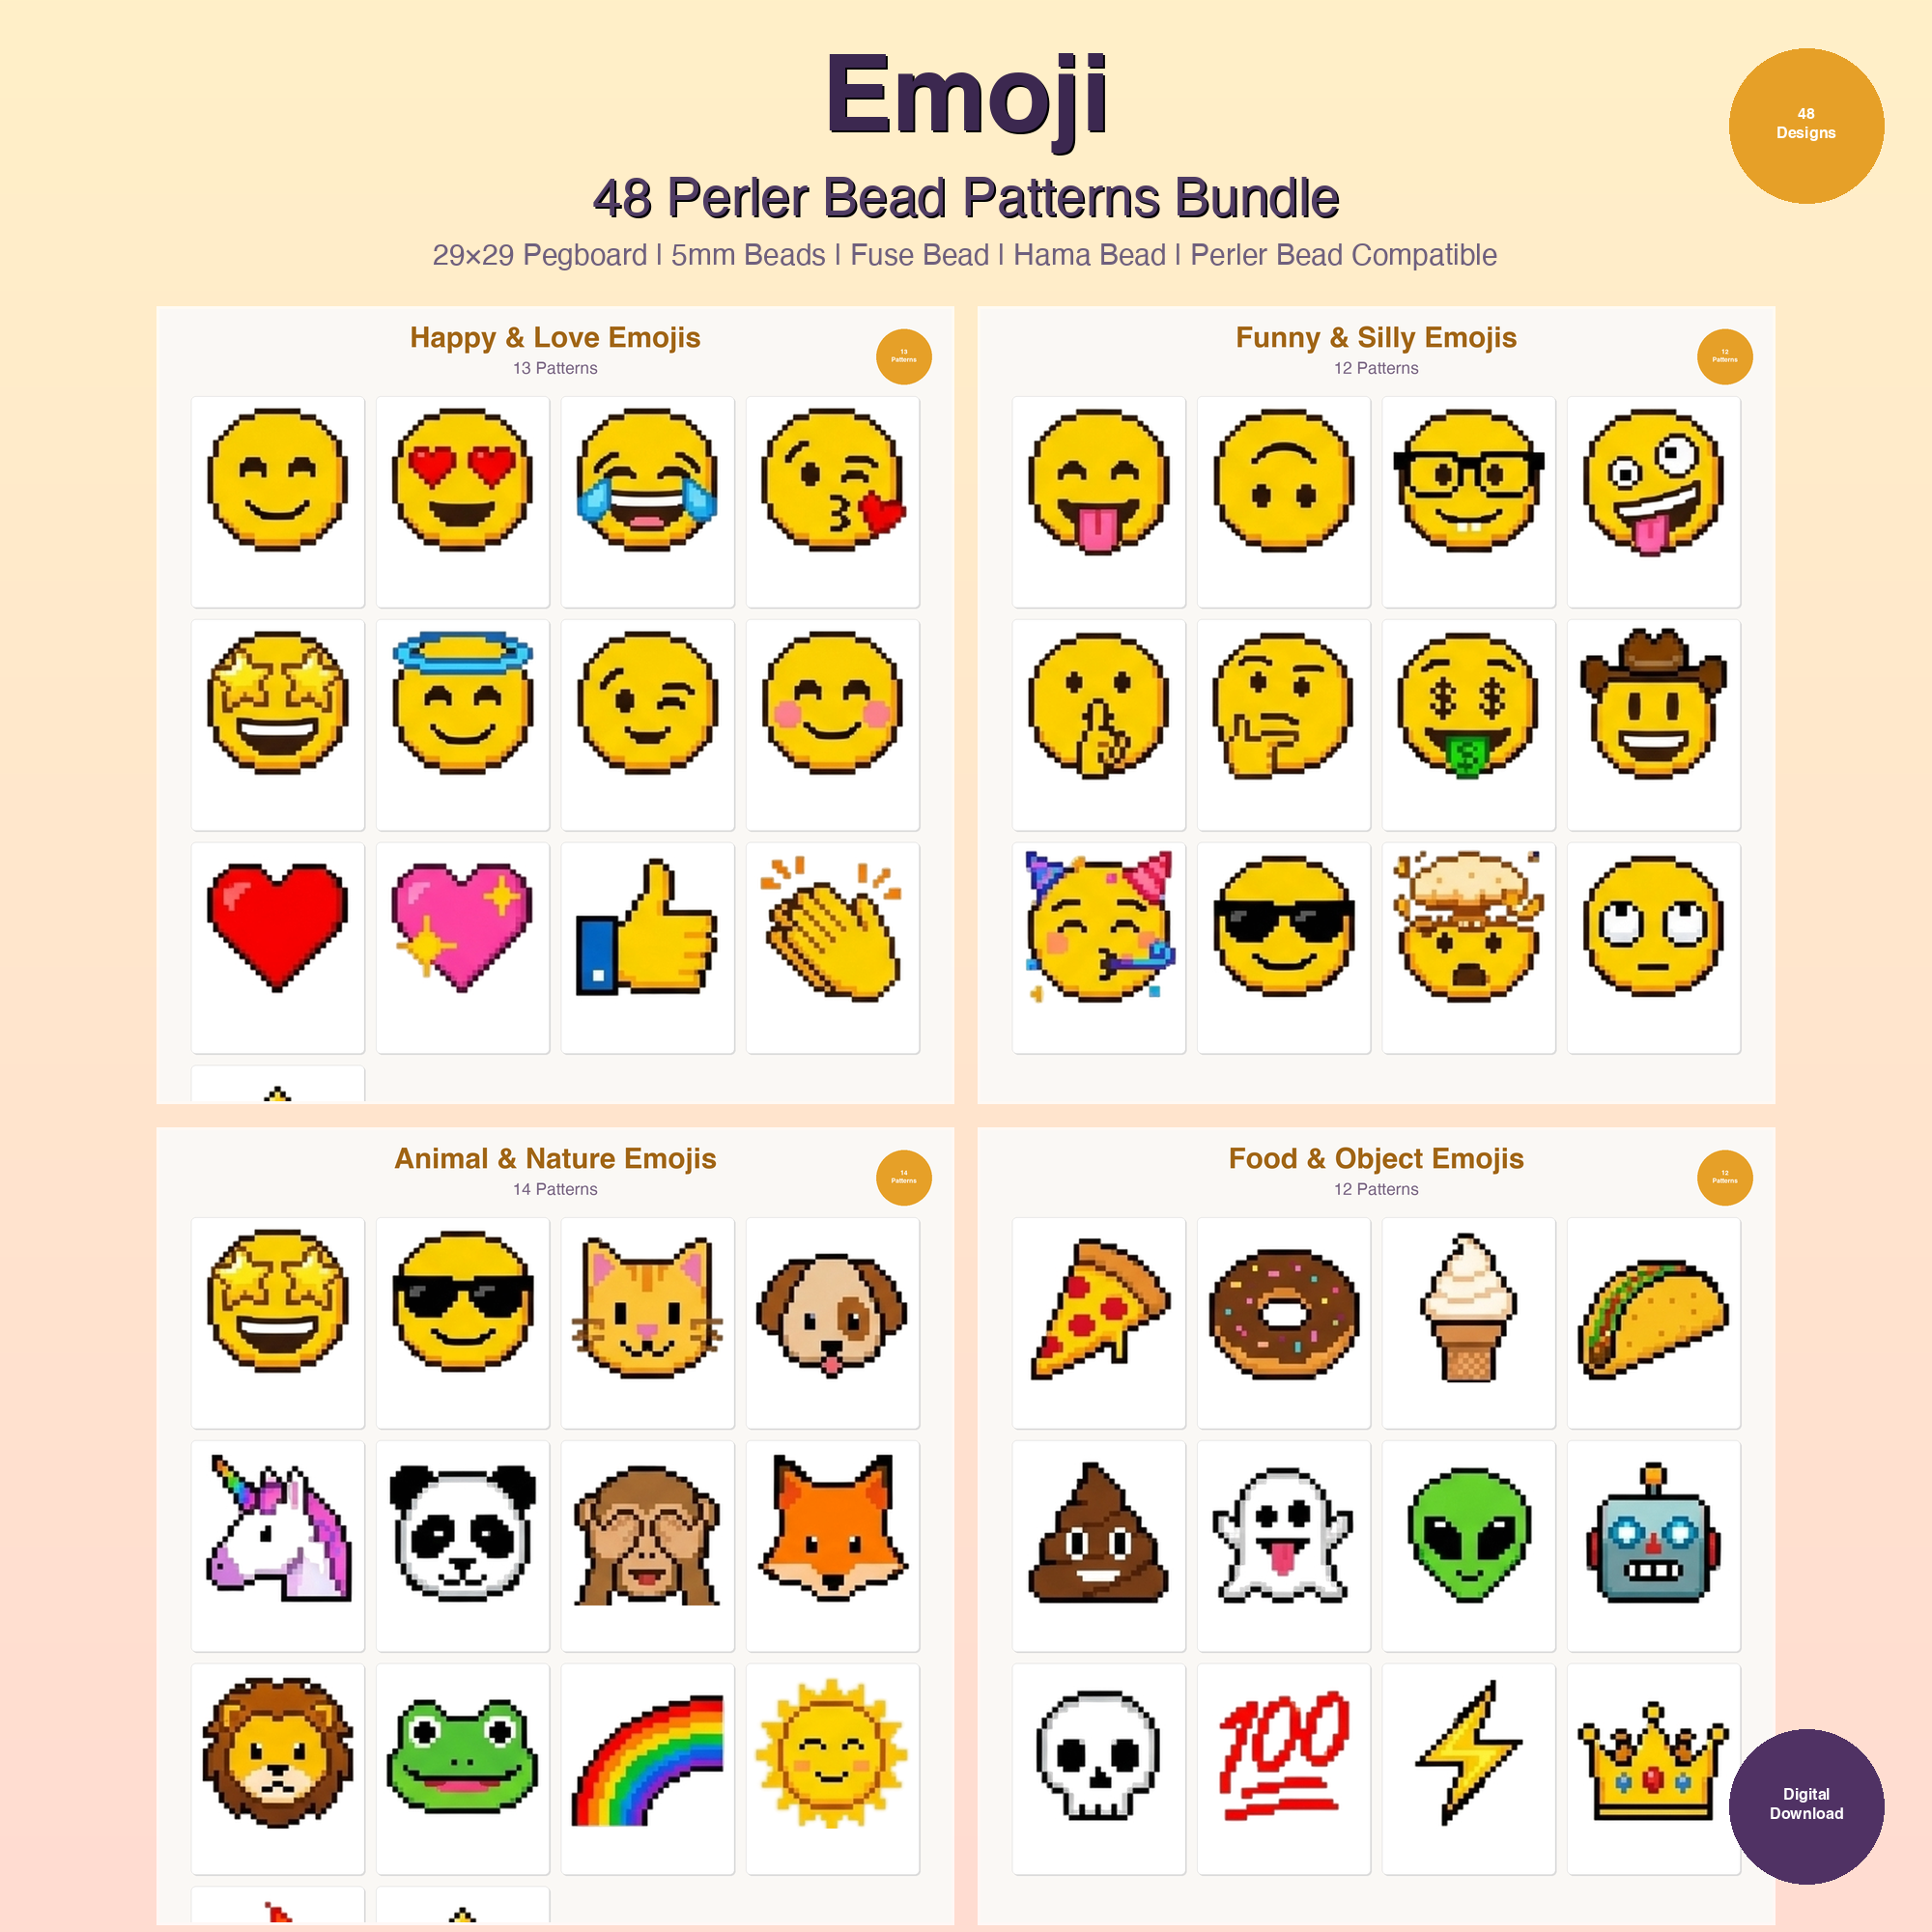
- Choose Your Subject: What inspires you? Pixel art from classic video games, beloved characters, intricate patterns, or even a scaled-up version of your favorite emoji? The possibilities are endless. Consider an Art Supplies Studio Perler Bead Patterns Bundle, 48 Designs for abstract or themed art pieces, or a Dinosaur Perler Bead Patterns Bundle, 48 Designs for an epic prehistoric scene.
- Find or Create a Pattern: Many online communities offer free large-scale patterns. You can also use pixel art generators to convert images into bead patterns. For text-based projects, our Alphabet Perler Bead Patterns Bundle, 48 Designs could be a great starting point for custom messages or names.
- Break It Down: If your design is truly massive, break it into smaller, manageable sections that fit on individual pegboards. Numbering or labeling these sections on your pattern is crucial for reassembly.
- Estimate Materials: This is vital. Count the beads of each color needed. It's always better to overbuy than underbuy. For large projects, you'll likely need bulk bags of common colors like black, white, and gray.
- Prepare Your Workspace: Clear a large, flat, stable surface where your pegboards can sit undisturbed for extended periods. A drafting table, a large dining table, or even a clean section of the floor can work.
Showcasing Impressive Large-Scale Designs
Now for the fun part: imagining what incredible large perler bead art you can create! The potential for expression and decoration is immense when you think big.
Ideas for Your Next Masterpiece
- Wall Murals and Art Panels: Instead of a canvas, think pixelated beads! Create a scenic landscape, an abstract geometric design, or a giant character from your favorite media. These can be single, massive pieces or several smaller panels joined together to form a larger image.
- Life-Sized (or Near Life-Sized) Characters: Imagine a 2-foot tall Pokémon, a giant superhero emblem, or a beloved cartoon character greeting you. These are fantastic for themed rooms or play areas.
- Functional Decor: While most large projects are decorative, some can be functional. Think large placemats (ironed on both sides for durability), intricate wall clocks (with a clock mechanism inserted), or even oversized decorative bowls (formed after ironing). Our Cozy Home Essentials Perler Bead Patterns Bundle, 48 Designs could inspire larger home accents.
- Pixelated Portraits: Convert a photo of a pet, a person, or a favorite landscape into a pixelated pattern for a truly unique and personalized piece of art.
- Signage and Lettering: Spell out names, inspirational quotes, or event titles in large, bold, colorful letters. This is where our Alphabet bundle truly shines.
- Collaborative Community Art: Many schools, libraries, or community centers undertake large perler bead projects where many people contribute sections, which are then assembled into one grand piece.
Finding Inspiration and Patterns
Don't feel like you have to design everything from scratch. The internet is a treasure trove of pixel art inspiration:
- Video Game Sprites: Classic 8-bit and 16-bit games are a natural fit for perler beads. Characters, items, and backgrounds are often already pixelated, making pattern conversion easy.
- Fan Art Sites: DeviantArt, Pinterest, and Instagram are full of artists sharing their pixel creations. Always credit or seek permission if you're replicating someone else's original design.
- Pixel Art Generators: Upload any image to a pixel art converter, adjust the settings to your desired bead size and color palette, and generate a pattern. This is an excellent way to create truly custom large hama bead designs.
- Our Catalog: Browse through our extensive collection of patterns. While many are designed for single boards, the concepts and character designs can often be scaled up or combined to form larger scenes.
Tips for Managing Large Projects and Ironing Big Pieces
Successfully executing large perler bead designs requires strategy, especially when it comes to the crucial ironing stage. Here's how to keep your sanity and achieve a perfect finish.
The Beading Process: Staying Organized and Sane
- Organize Your Beads: For large projects, a good bead organization system is non-negotiable. Sort by color, keep them in clear containers, and label everything. This saves immense time and frustration.
- Work in Sections: Even if your design covers multiple pegboards, work on one section at a time. Complete a block of colors or a distinct feature before moving on. This helps maintain focus.
- Use a Flat, Stable Surface: Ensure your pegboards are on a perfectly flat, sturdy surface that won't be bumped or moved. Even a slight jolt can send hundreds of beads flying!
- Take Breaks: Staring at thousands of tiny beads can be taxing on your eyes and back. Step away, stretch, and come back refreshed. This helps prevent mistakes.
- Double-Check Your Pattern: Constantly refer back to your pattern. It's easy to lose your place or miscount beads when dealing with such a large canvas.
The Ironing Challenge: Mastering Big Pieces
Ironing is often the make-or-break moment for large perler bead projects. For huge creations, the standard method might not cut it. The tape method is your best friend here.
The Tape Method for Large Pieces:
- Apply Masking Tape: Once your design is complete on the pegboards, carefully lay wide masking tape (or painter's tape) over the entire design. Press down firmly to ensure every bead adheres to the tape. You might need to overlap strips of tape.
- Poke Holes: Using a toothpick or a sharp tool, poke a hole through the tape into the center of each bead. This allows air to escape during ironing and prevents the beads from flattening unevenly.
- Flip and Remove Pegboards: Gently lift the taped design off the pegboards. The beads should stick to the tape, leaving your pegboards free. This is the magic step! Now you can iron off the boards.
- Place on Ironing Surface: Lay the taped, bead-side-up design onto a heat-resistant, perfectly flat surface (like a clean cutting board or a sturdy piece of cardboard covered with parchment paper). Make sure it's completely flat and supported.
- Iron Slowly and Evenly: Place parchment paper over the taped design. Using a medium-hot iron (no steam!), begin ironing in small, circular motions. Apply even pressure. Crucially, iron only one side of the beads initially. You want them just melted enough to fuse together, but not completely flattened. For very large pieces, you might need to iron in sections.
- Cool Under Pressure: Once ironed, immediately place heavy, flat objects (like books or cutting boards) on top of the parchment paper-covered design. Let it cool completely and slowly. This prevents warping, which is a common issue with large pieces.
- Peel Tape and Finish: Once cool, carefully peel off the tape. The beads should be fused. If you want a more durable, fully melted look, you can then flip the design over (without the tape) and iron the other side, again cooling under pressure.
General Ironing Tips for Large Designs:
- Heat Distribution: Ensure your iron heats evenly. A good quality iron makes a difference.
- Patience: Don't rush! Uneven ironing leads to weak spots or over-melted sections.
- Test Small Pieces: If you're new to the tape method or ironing large pieces, practice on a small, scrap design first to get a feel for your iron's temperature and pressure.
- Joining Sections: If your project is too big to iron in one go, you'll iron individual sections using the tape method. After cooling, you can then butt the edges of the ironed sections together on a clean pegboard (or just on a flat surface) and iron them together with parchment paper, focusing on the seam. This takes practice but creates a seamless finish.
Displaying Your Grand Creations
Once your magnificent large perler bead art is complete and cooled, it's time to show it off! Consider:
- Framing: For a polished look, frame your piece like any other artwork. You might need custom framing for very large or unusually shaped designs.
- Mounting: Adhere your perler art to a sturdy backing board (foam core, wood, or canvas) using strong adhesive. This gives it structure and makes it easy to hang.
- Hanging: For lighter pieces, simple command strips or small nails can work. For heavier creations, ensure you have appropriate wall anchors.
Venturing into large perler bead designs is a fantastic way to expand your crafting horizons and create truly spectacular works of art. It demands patience and planning, but the sense of accomplishment and the impressive finished product are incredibly rewarding. So, gather your beads, clear your workspace, and get ready to create something amazing. The only limit is your imagination!
Ready to find your next big project? Browse our extensive catalog of PDF perler bead patterns and let your creativity soar!