Melty Bead Patterns: Fun & Easy Ideas for All Ages
July 24, 2026
Are you looking for a creative, engaging activity that's fun for the whole family? Dive into the vibrant world of melty beads! These small, colorful plastic beads can be arranged into endless designs on a pegboard, then fused together with a household iron to create durable, beautiful works of art. The best part? There are so many easy melty bead patterns out there, making it an accessible craft for everyone from toddlers to adults.
Discover the Joy of Easy Melty Bead Patterns
Melty beads (often known by brand names like Perler, Hama, or Artkal) are more than just a craft; they're a fantastic tool for developing fine motor skills, encouraging color recognition, fostering creativity, and even practicing patience. Whether you're a seasoned crafter or just starting, the simplicity of placing beads and the magic of watching them fuse together offers immense satisfaction. From simple shapes to intricate pixel art, the possibilities are truly limitless, and finding easy melty bead designs is the perfect starting point for any age.
Why Melty Beads Are Great for Everyone
- Kid-Friendly Fun: Children love picking out colors and seeing their drawings come to life in bead form. It's a wonderful way to introduce them to basic design principles and pattern following.
- Adult Relaxation: For grown-ups, it can be a meditative activity, a chance to unwind, and a way to tap into your inner artist without needing advanced drawing skills.
- Educational Benefits: Placing beads helps improve hand-eye coordination and fine motor skills. Following patterns enhances problem-solving and spatial reasoning.
- Affordable Hobby: The initial investment for beads and pegboards is relatively low, and the materials last a long time.
Getting Started: Your Essential Melty Bead Toolkit
Before you embark on your melty bead adventure, let's gather the basic supplies you'll need. Don't worry, it's a short and simple list!
- Melty Beads: These come in a rainbow of colors and various sizes. The most common size is 5mm, which is great for most projects.
- Pegboards: These are plastic boards with small pegs on which you place your beads. They come in many shapes (squares, circles, stars, hexagons) and sizes. You can even connect larger square boards to make bigger projects.
- Ironing Paper: A special heat-resistant paper, usually translucent, that you place over your design before ironing. Parchment paper or baking paper can also work in a pinch.
- Household Iron: A standard dry iron (without steam) is all you need. Make sure it's clean and set to a medium heat setting.
- Tweezers (Optional but Recommended): Especially helpful for little fingers or for placing beads in tight spots. They can save you from frustration!
- A Flat, Heat-Safe Surface: An ironing board or a sturdy table covered with a towel works perfectly for the fusing process.
Simple & Engaging Melty Bead Ideas for Beginners
Starting with easy melty bead ideas is key to building confidence and enjoying the process. You don't need a complex pattern to create something wonderful. Here are some fantastic entry points:
- Basic Shapes: Begin with simple geometric shapes like squares, circles, hearts, or stars on a small pegboard. Use a single color or two contrasting colors for a striking effect. This helps you get a feel for placing beads and the ironing process.
- Monograms & Initials: Creating letters is a super satisfying project, especially for personalizing gifts or room decor. Our Alphabet Perler Bead Patterns Bundle, 48 Designs offers a fantastic variety of letter styles, making it simple to spell out names or create fun word art.
- Simple Silhouettes: Think of basic outlines like a tree, a house, a cloud, or a simple animal head. These often require fewer beads and are quick to complete.
- Pixel Art Characters: Many classic 8-bit video game characters are essentially pixel art, making them perfect candidates for melty beads. Think of a simple mushroom or a small block from your favorite retro game. These designs are inherently grid-based, translating perfectly to a pegboard.
Remember, the goal is to have fun! Don't be afraid to experiment with colors and see what happens. Some of the most charming designs come from unexpected color combinations.
Level Up: Creative Melty Bead Designs for Intermediate Crafters
Once you've mastered the basics, you might be ready for more intricate and detailed projects. These easy melting bead ideas still rely on the same fundamental techniques but introduce more complexity in color, shape, and size.
- Detailed Animals: Move beyond simple animal silhouettes to more recognizable and colorful creatures. Our 48 Cute Kawaii Animal Perler Bead Patterns Bundle provides a wealth of adorable designs that are perfect for adding personality to your collection. From fluffy foxes to sleepy pandas, these patterns are designed to be fun and engaging without being overly complicated.
- Themed Collections: Choose a theme you love – maybe dinosaurs, space, or food – and create a set of related items. For instance, our Dinosaur Perler Bead Patterns Bundle, 48 Designs allows you to craft an entire prehistoric world, from mighty T-Rexes to gentle long-necks, providing hours of creative fun for any dinosaur enthusiast.
- Functional Art: Beyond flat designs, you can start creating small 3D objects by fusing multiple flat pieces together. Think small boxes, pencil holders, or even intricate stands. This usually involves creating several flat pieces and then using a tiny bit of glue or even carefully re-melting edges to join them.
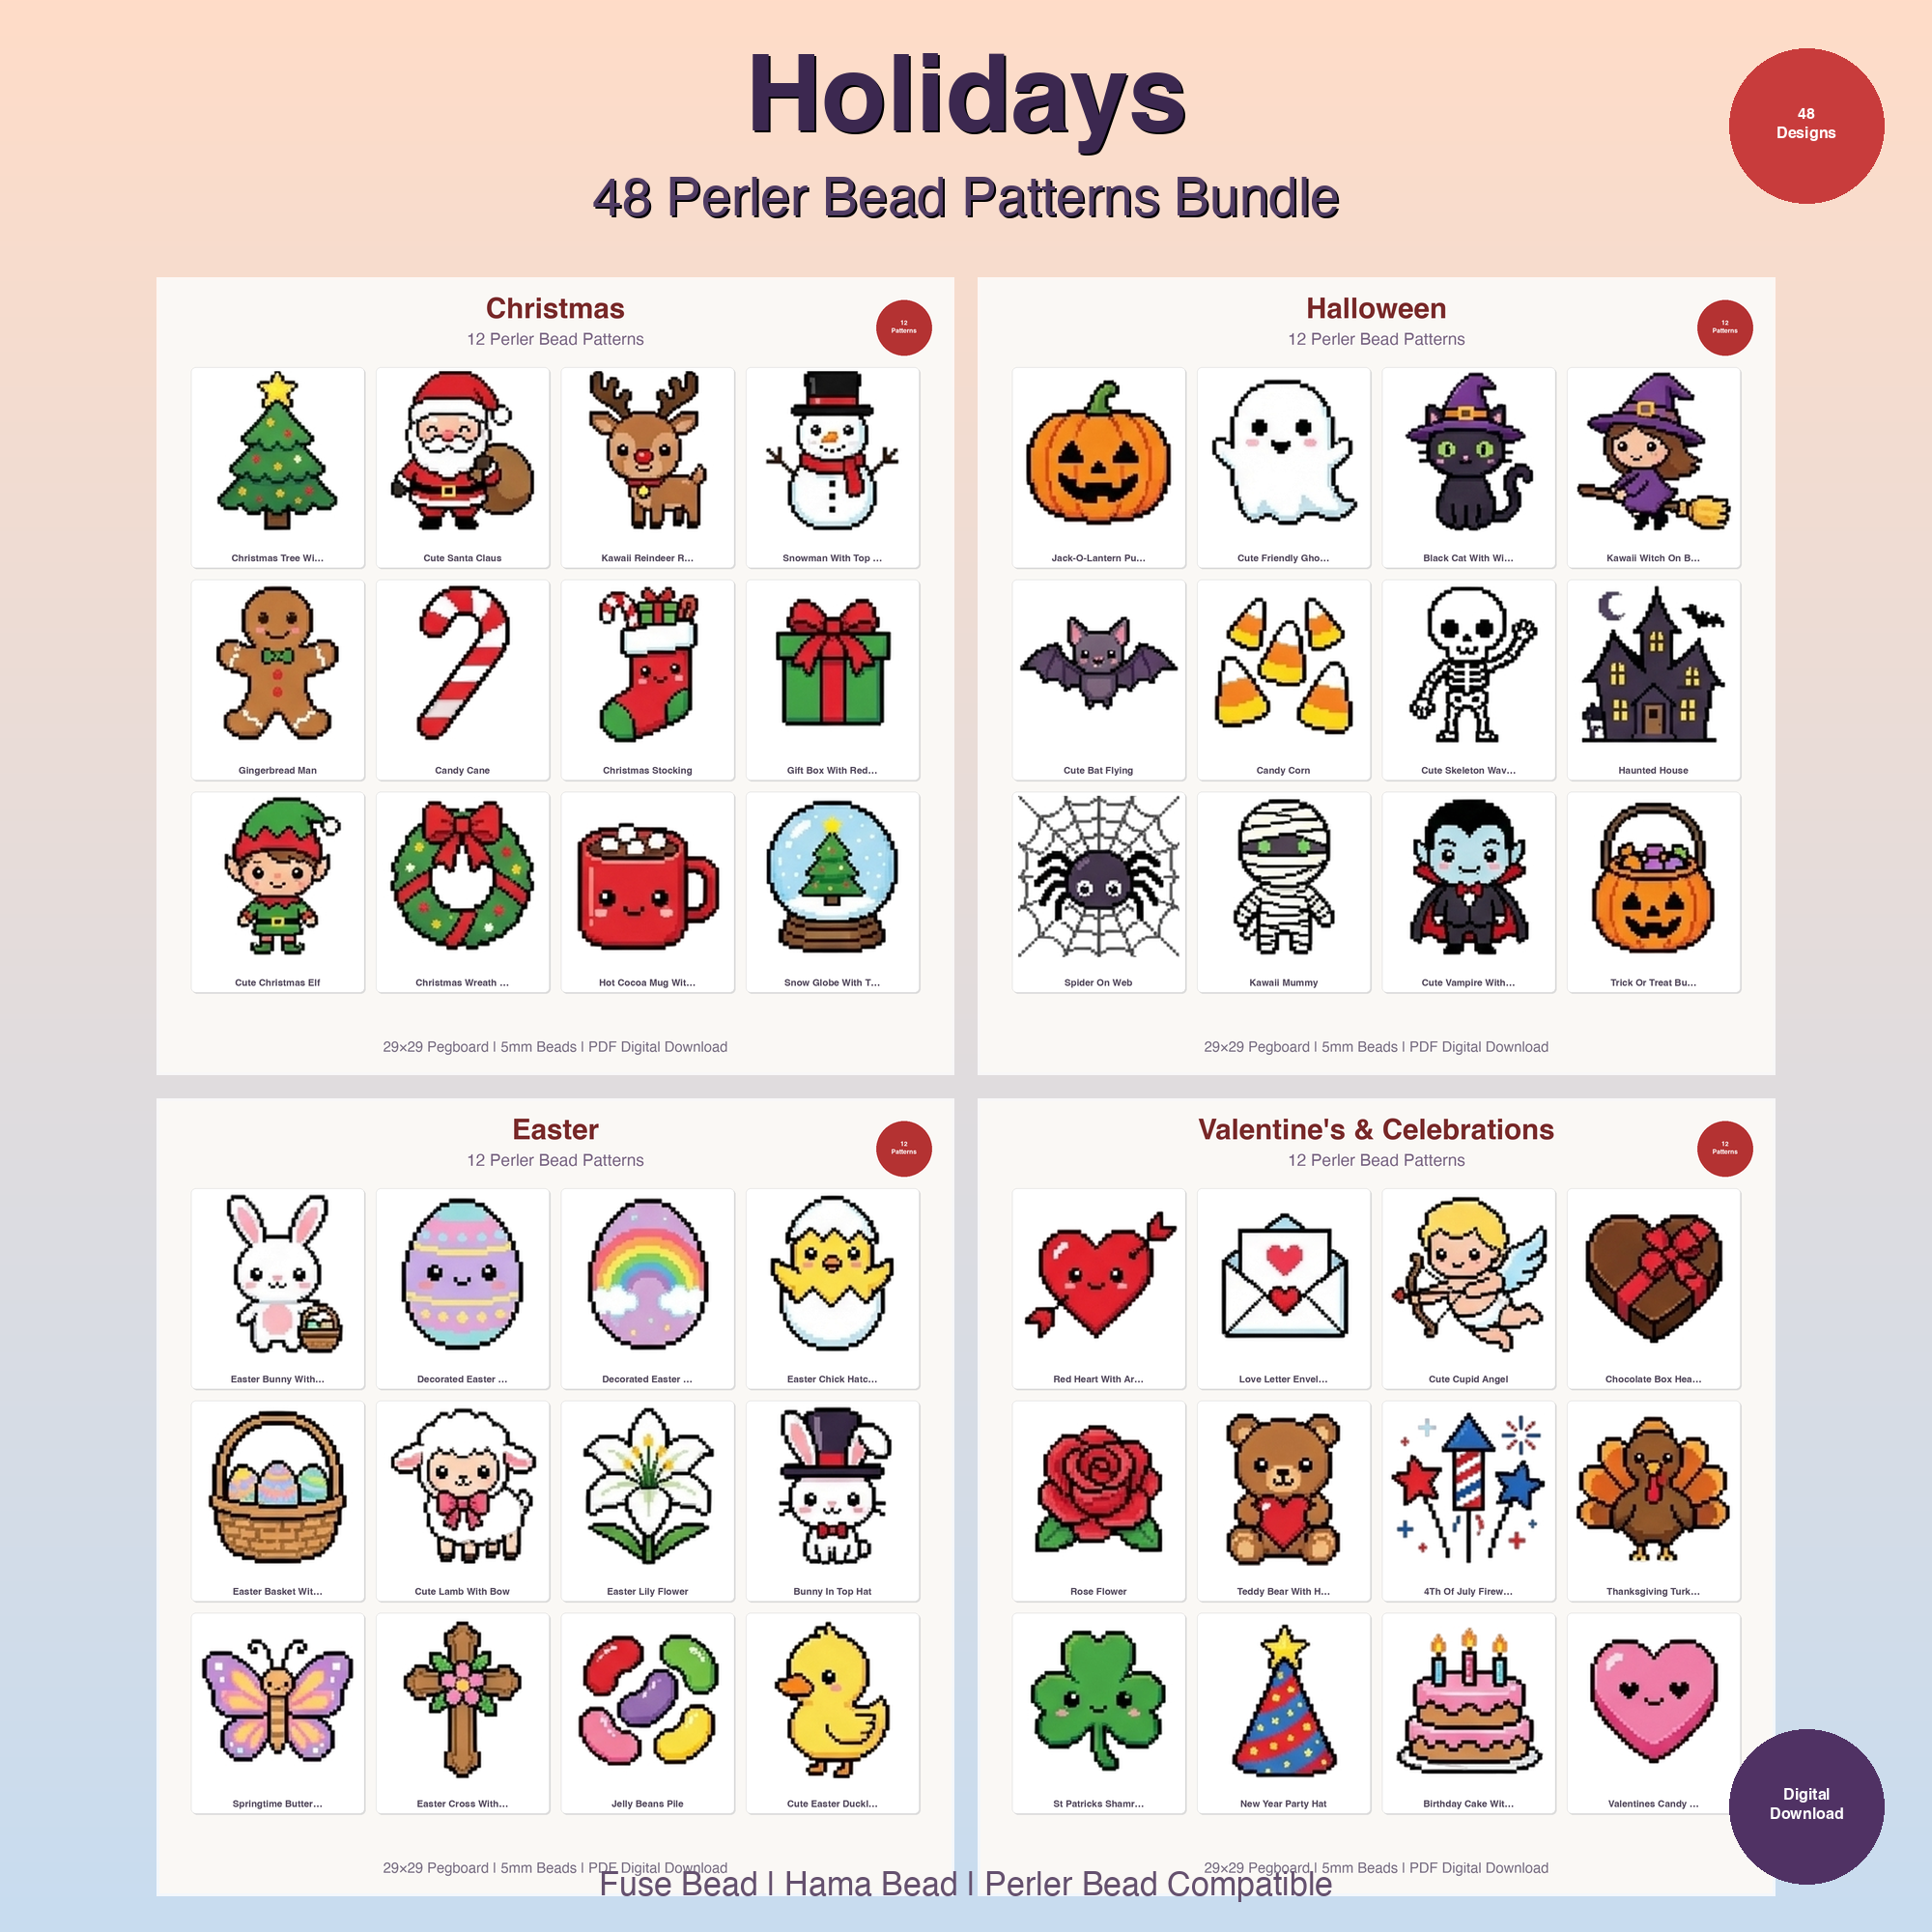
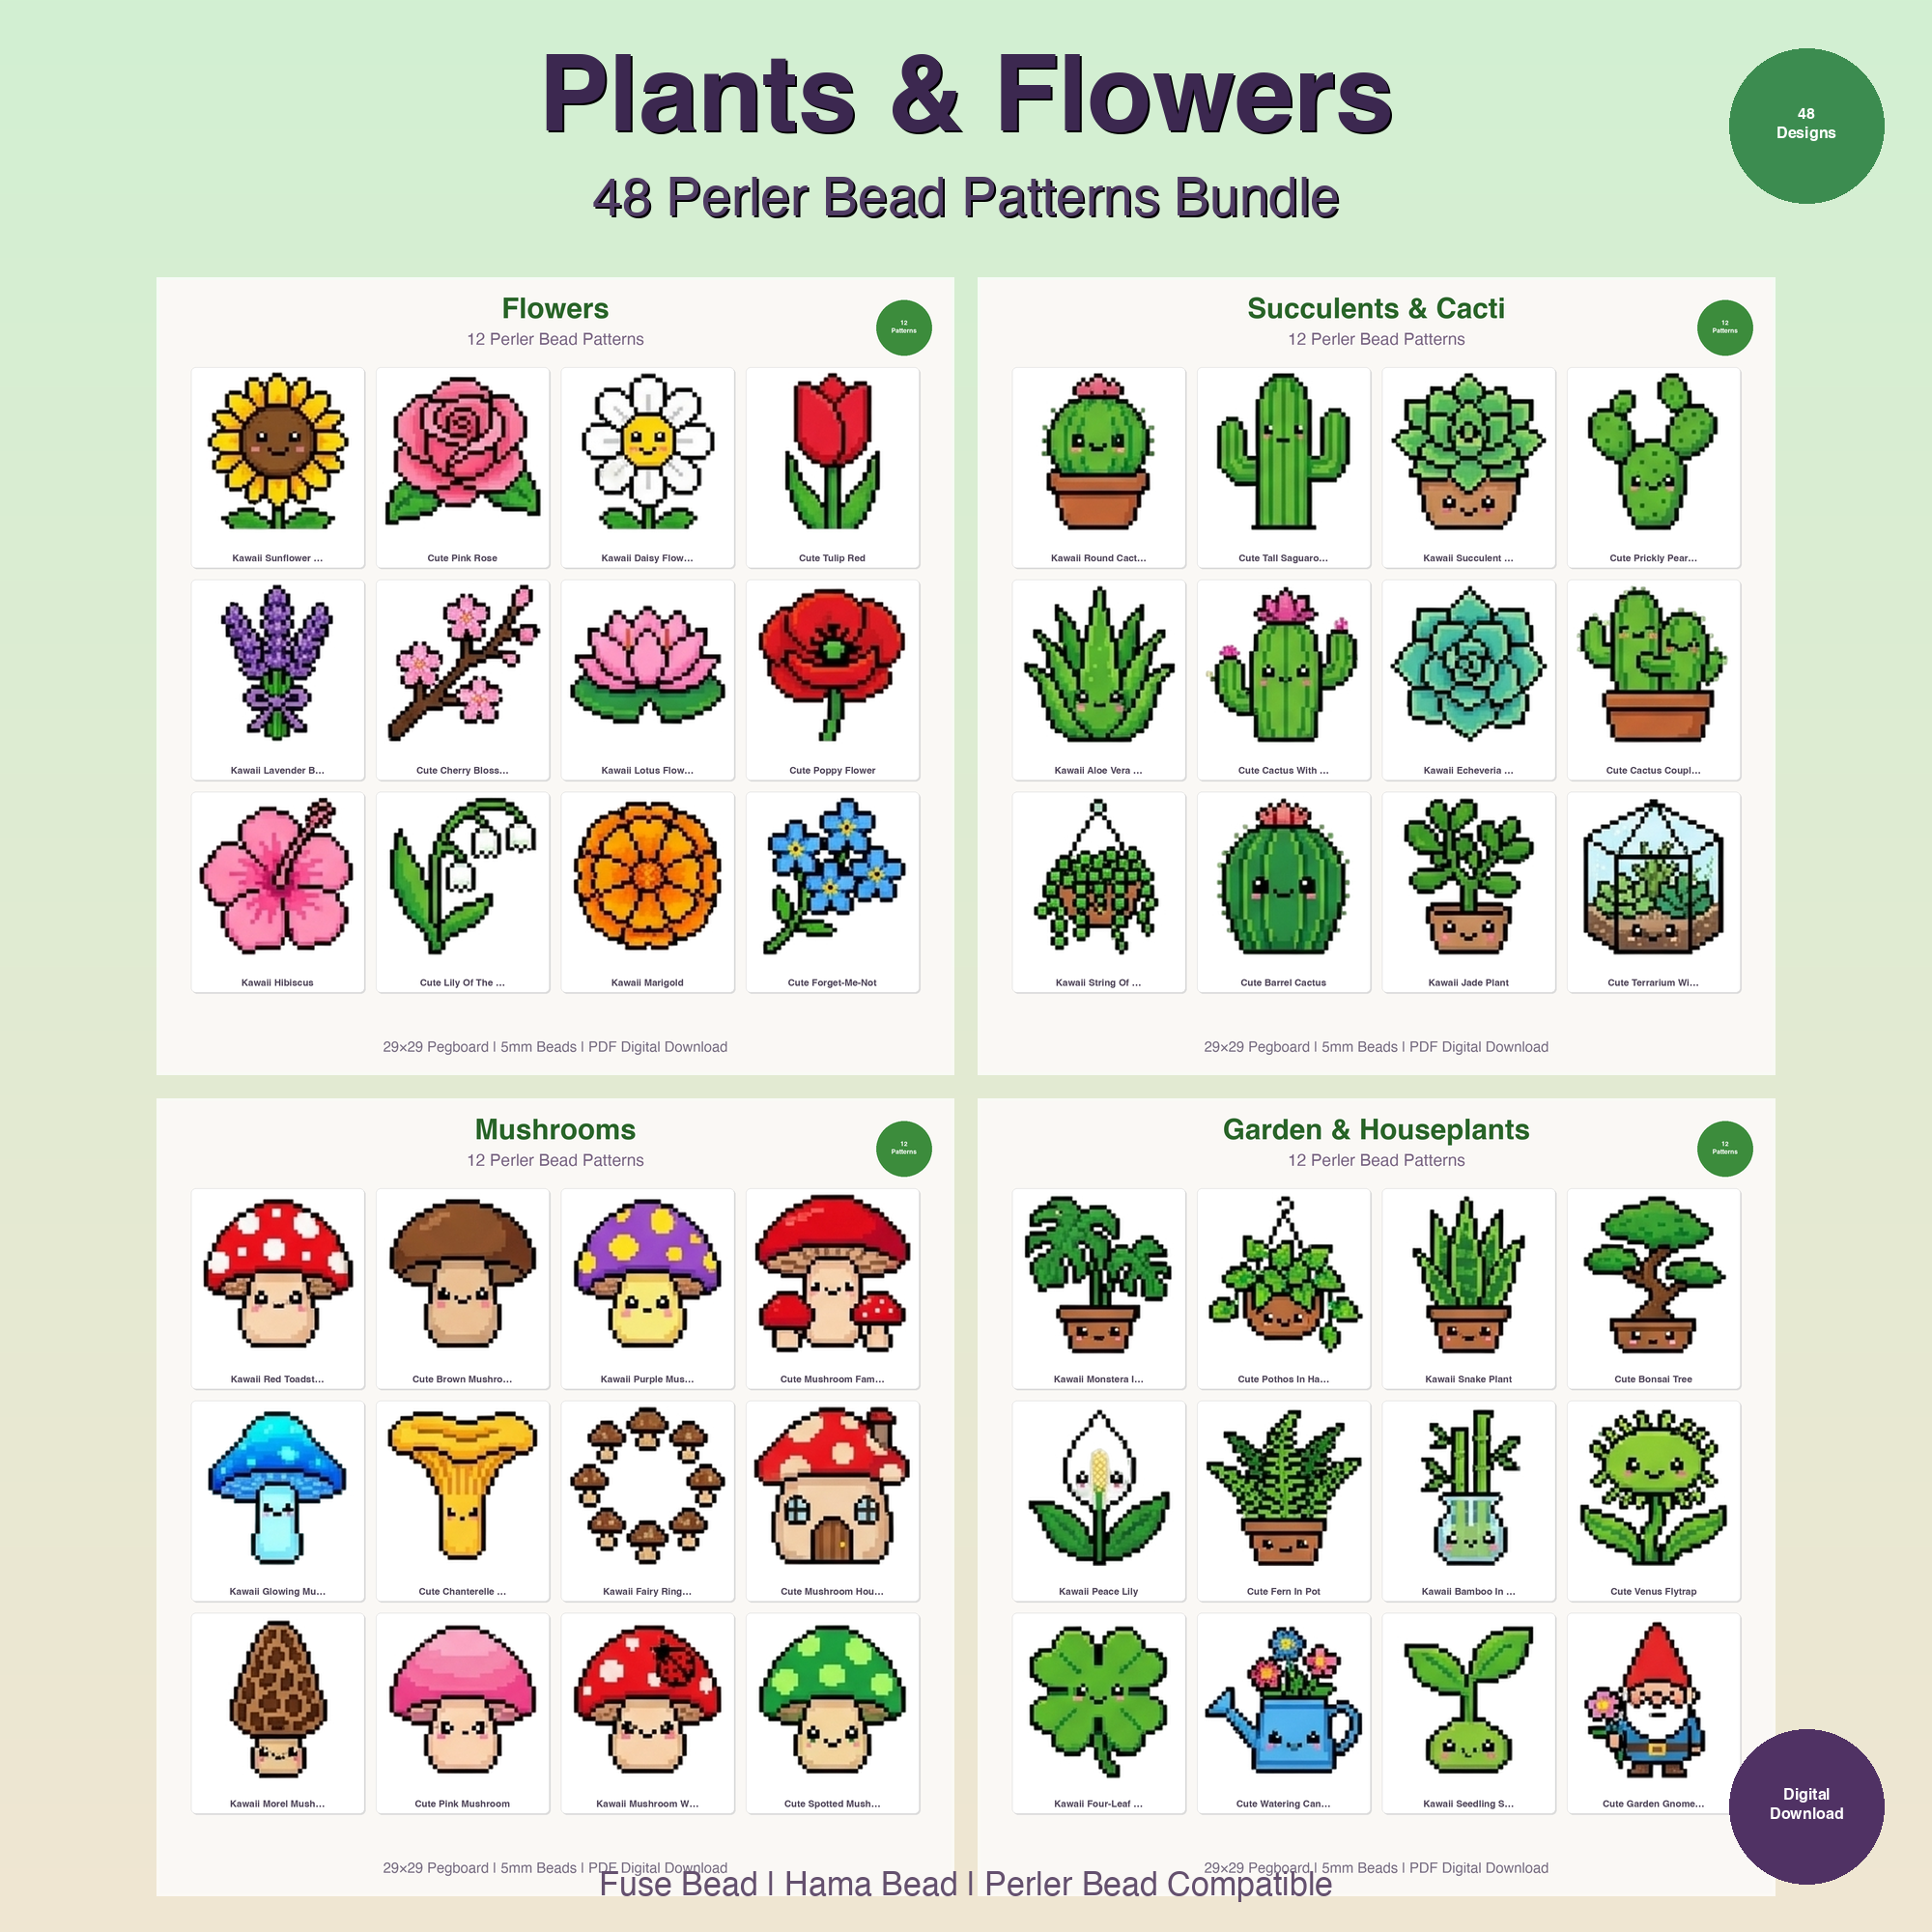
- Seasonal Decorations: Craft ornaments for holidays or seasonal decor like snowflakes in winter, flowers in spring, or pumpkins in autumn. These make great gifts or personal touches for your home.
The Magic Moment: Ironing and Finishing Your Melty Bead Art
This is where your individual beads transform into a solid piece of art! The ironing process requires a bit of care, but it's quite straightforward.
Step-by-Step Ironing Guide
- Prepare Your Surface: Place your pegboard with the bead design on a flat, heat-safe surface (like an ironing board or a sturdy table with a towel underneath).
- Cover Your Design: Carefully place a piece of ironing paper over your entire bead design. Make sure it covers all the beads and extends a little beyond the edges.
- Heat Your Iron: Set your dry iron to a medium heat setting. Avoid using steam, as it can warp the beads.
- Begin Ironing: Gently press the hot iron onto the ironing paper in a circular motion. Keep the iron moving to ensure even heat distribution. You'll see the beads beneath the paper start to fuse together and flatten slightly. Do not press too hard or hold the iron in one spot for too long, as this can over-melt the beads or warp the pegboard.
- Check Progress: Periodically lift a corner of the ironing paper to check if the beads have fused sufficiently. You want them to be connected but still retain their individual bead shape. If you like a more 'open' look, iron lightly. For a more solid, fused look, iron a bit longer.
- Cool and Remove: Once satisfied, remove the iron and let the design cool for a minute or two with the ironing paper still on top. While still warm but not hot, carefully peel the ironing paper off. Then, gently remove your fused design from the pegboard. If it's still warm, place it under a heavy book or object to keep it flat as it cools completely.
- Optional Second Side: Some crafters like to iron both sides for extra durability and a more uniform look. If you choose to do this, place the cooled, fused design back on the clean pegboard (or a flat surface with ironing paper underneath), cover with another sheet of ironing paper, and repeat the ironing process on the second side.
Beyond the Pegboard: What to Do with Your Finished Creations
Once your melty bead art is complete, the fun doesn't have to stop! There are countless ways to display and use your creations:
- Magnets: Attach small magnets to the back of your designs to decorate refrigerators or whiteboards.
- Keychains: Add a jump ring and a keychain finding to turn smaller designs into personalized keychains.
- Coasters: Larger, square or circular designs make excellent, colorful coasters for drinks.
- Ornaments: Punch a small hole (carefully, with a hot needle or small drill bit) or attach a loop of string to hang them as holiday ornaments or suncatchers.
- Room Decor: Frame them, create garlands, or simply display them on shelves. Our Emoji Perler Bead Patterns Bundle, 48 Designs is fantastic for making fun, expressive pieces that can brighten any room or be given as cheerful gifts.
- Gifts: Hand-made melty bead art makes thoughtful and unique gifts for friends and family. A personalized initial, a favorite animal, or a character from their favorite game can mean a lot.
Tips for a Smooth Melty Bead Experience
To ensure your crafting sessions are always enjoyable, keep these helpful hints in mind:
- Work in a Well-Lit Area: Good lighting helps with bead placement and color accuracy.
- Organize Your Beads: While starting with mixed beads is fine, sorting them by color will save you a lot of time and frustration later on. Small tackle boxes or craft organizers are perfect for this.
- Supervise Children with Irons: Always ensure an adult handles the iron or closely supervises children during the ironing step.
- Experiment with Colors: Don't feel confined to the exact colors in a pattern. Play around and see what unique combinations you can create! This is where some of the most creative easy melting beads ideas come from.
- Don't Be Afraid to Make Mistakes: If a bead goes in the wrong spot, it's easy to remove and replace before ironing. If you over-iron, consider it a learning experience for the next project!
Melty bead crafting is a wonderfully versatile and rewarding hobby that truly offers something for everyone. From simple, easy melty bead patterns that build foundational skills to more complex designs that challenge your creativity, the journey is always enjoyable. So gather your beads, pick a pattern, and get ready to create some amazing pixel art! Ready to find your next project? Browse our extensive catalog of unique and engaging patterns today and let your imagination melt into reality!