Naruto Perler Bead Patterns: Easy Anime Designs for Every Fan
August 25, 2026
Are you ready to bring the vibrant world of Naruto Uzumaki and his ninja friends to life, one bead at a time? Perler beads offer a fantastic way to capture the essence of your favorite anime characters and symbols in a fun, tangible form. Whether you're a seasoned crafter or just starting your journey, creating a naruto perler pattern is an exciting project for fans of all ages.
Crafting the World of Naruto with Perler Beads
The enduring appeal of Naruto lies in its compelling characters, thrilling adventures, and a rich visual style that translates beautifully into pixel art. Perler beads, with their grid-based nature, are practically made for recreating the distinct lines and bold colors of anime. From the spiky blonde hair of Naruto himself to the intricate details of the Hidden Leaf Village symbol, every element can be meticulously crafted. This guide will walk you through creating stunning perler anime patterns, making it easy to transform your favorite scenes and characters into unique pieces of art. Get ready to unleash your inner ninja artist!
Perler bead crafting is more than just a hobby; it's a way to express your fandom and create personalized decorations, gifts, or even cosplay accessories. The process is straightforward: arrange colorful plastic beads on a pegboard, iron them to fuse them together, and voilà! You have a durable, pixelated masterpiece. For Naruto enthusiasts, this means a chance to immortalize moments and characters from the series in a fun, accessible medium.
Getting Started with Naruto Perler Bead Art
Before diving into specific designs, gather your supplies:
- Perler Beads: A wide range of colors is essential, especially oranges, yellows, blues, blacks, grays, and skin tones.
- Pegboards: Square pegboards are most versatile for character designs.
- Ironing Paper: To protect your iron and beads during fusing.
- Iron: A standard household iron works perfectly.
- Tweezers (optional): Great for precise bead placement.
Remember, the joy of perler bead art is in the creation. Don't be afraid to experiment with colors or slight variations to make your designs truly unique.
Easy Naruto Character Patterns (Naruto, Sasuke, Sakura)
No Naruto perler bead collection is complete without the iconic Team 7. These characters, with their distinct looks and personalities, are perfect subjects for naruto perler beads easy projects. We'll focus on their classic appearances, which are recognizable and relatively simple to replicate.
Naruto Uzumaki
Our titular hero is instantly recognizable by his spiky blonde hair, bright orange jumpsuit, and mischievous grin.
- Colors: Orange (for his jacket), yellow (hair), blue (pants/headband), black (outlines, eyes), white (eyes, headband plate), and a skin tone.
- Key Features: Start with his head shape, then fill in the hair and face. His signature headband, often with the Leaf Village symbol, is a must. Don't forget his whiskers! For a simpler design, focus on his head and shoulders.
- Tip: Use black beads for outlining to make the colors pop and define his energetic form.
Sasuke Uchiha
The brooding rival of Naruto, Sasuke's design is sleek and features a darker color palette.
- Colors: Dark blue (outfit), black (hair, outlines), gray (shirt), white (eyes, headband plate), and skin tone.
- Key Features: His dark, spiky hair and intense eyes are crucial. His outfit, often a dark blue shirt with a high collar, is relatively simple to render. The Uchiha clan symbol (a fan) can be added to his back if you're making a larger piece.
- Tip: Pay attention to the angle of his hair to capture his cool, calm demeanor.
Sakura Haruno
The intelligent and strong kunoichi of Team 7, Sakura's design is characterized by her pink hair and bright personality.
- Colors: Pink (hair), red (outfit), white (shirt, headband plate), black (outlines, eyes), and skin tone.
- Key Features: Her vibrant pink hair is her most defining feature. Her initial outfit is a red qipao-style dress over a white shirt. Her large green eyes can be simplified with black or dark green beads.
- Tip: Use a slightly brighter pink for her hair to ensure it stands out.
For these characters, you can find many reference images online. Start with a simplified pixel art version to make the translation to perler beads even easier. The beauty of perler art is that even a basic representation can be incredibly effective and instantly recognizable to fellow fans.
Iconic Symbols (Leaf Village Headband, Akatsuki Cloud)
Sometimes, the most powerful statements come from symbols. Naruto is rich with iconic imagery that translates perfectly into quick and satisfying perler bead projects. These are fantastic for beginners or for adding subtle touches of fandom to your space. You can even combine them with your character designs!
Leaf Village Headband Symbol
The symbol of the Hidden Leaf Village (Konohagakure) is perhaps the most recognizable emblem in the entire series. It represents loyalty, courage, and the bonds of camaraderie.
- Colors: Black (for the symbol itself), gray or silver (for the plate), and possibly a background color like blue or green if you're making a larger badge.
- Design: The swirl design is relatively simple. Start with a rectangle of gray beads for the plate. Then, carefully place black beads to form the stylized leaf swirl.
- Use: This makes an excellent coaster, a badge to attach to a bag, or even a small piece of wall art. It's a perfect project for getting comfortable with naruto hama beads.
Akatsuki Cloud
The ominous red cloud symbol of the Akatsuki organization is another instantly recognizable design. It signifies rebellion, power, and a darker path.
- Colors: Red (for the cloud), black (for outlining and background if desired), and white (for contrast if needed).
- Design: The cloud has a distinct, somewhat jagged shape. You can create a black outline first, then fill it in with red. The key is to get the characteristic “flame-like” edges right.
- Use: This symbol is fantastic for creating dramatic keychains, magnets, or even larger wall hangings for the more villain-aligned fans.
Other Noteworthy Symbols
- Sharingan/Rinnegan: The intricate eye patterns of the Uchiha and other clans can be challenging but incredibly rewarding. Start with a small, simplified version focusing on the concentric circles and tomoe (comma-like shapes).
- Uchiha Clan Fan: The red and white fan symbol of Sasuke's clan is another simple yet powerful design.
- Jutsu Hand Signs: While more complex, simplified versions of common hand signs (like the Shadow Clone Jutsu) can be a fun challenge.
These symbols offer a chance to experiment with different bead counts and sizes, allowing you to create pieces that range from subtle nods to bold declarations of your Naruto fandom.
Chibi Naruto Designs for Quick Projects
If you're looking for something adorable, quick, and bursting with personality, chibi Naruto designs are the way to go! "Chibi" is a Japanese slang term meaning "small" or "cute," referring to an art style where characters are drawn with oversized heads, small bodies, and exaggerated features, making them incredibly endearing. This style is perfect for perler beads because it simplifies complex character details into manageable, blocky shapes.
Chibi characters are excellent for:
- Beginners: Fewer beads, simpler shapes, and less intricate detailing.
- Quick Gifts: Whip up a cute character in an hour or less.
- Keychains and Magnets: Their small size makes them ideal for these uses.
- Filling out larger scenes: You can create a whole cast of chibi ninjas!
Imagine a tiny, determined Naruto with his signature grin, or a blushing Sakura, or even a mini Kakashi with his eye visible! The possibilities are endless. When creating chibi versions, focus on:
- Large Heads: This is the defining characteristic.
- Simplified Features: Big, expressive eyes and a small mouth.
- Minimal Body Detail: Often just a simplified torso and limbs.
- Bright Colors: Chibi designs often benefit from vibrant, cheerful color palettes.
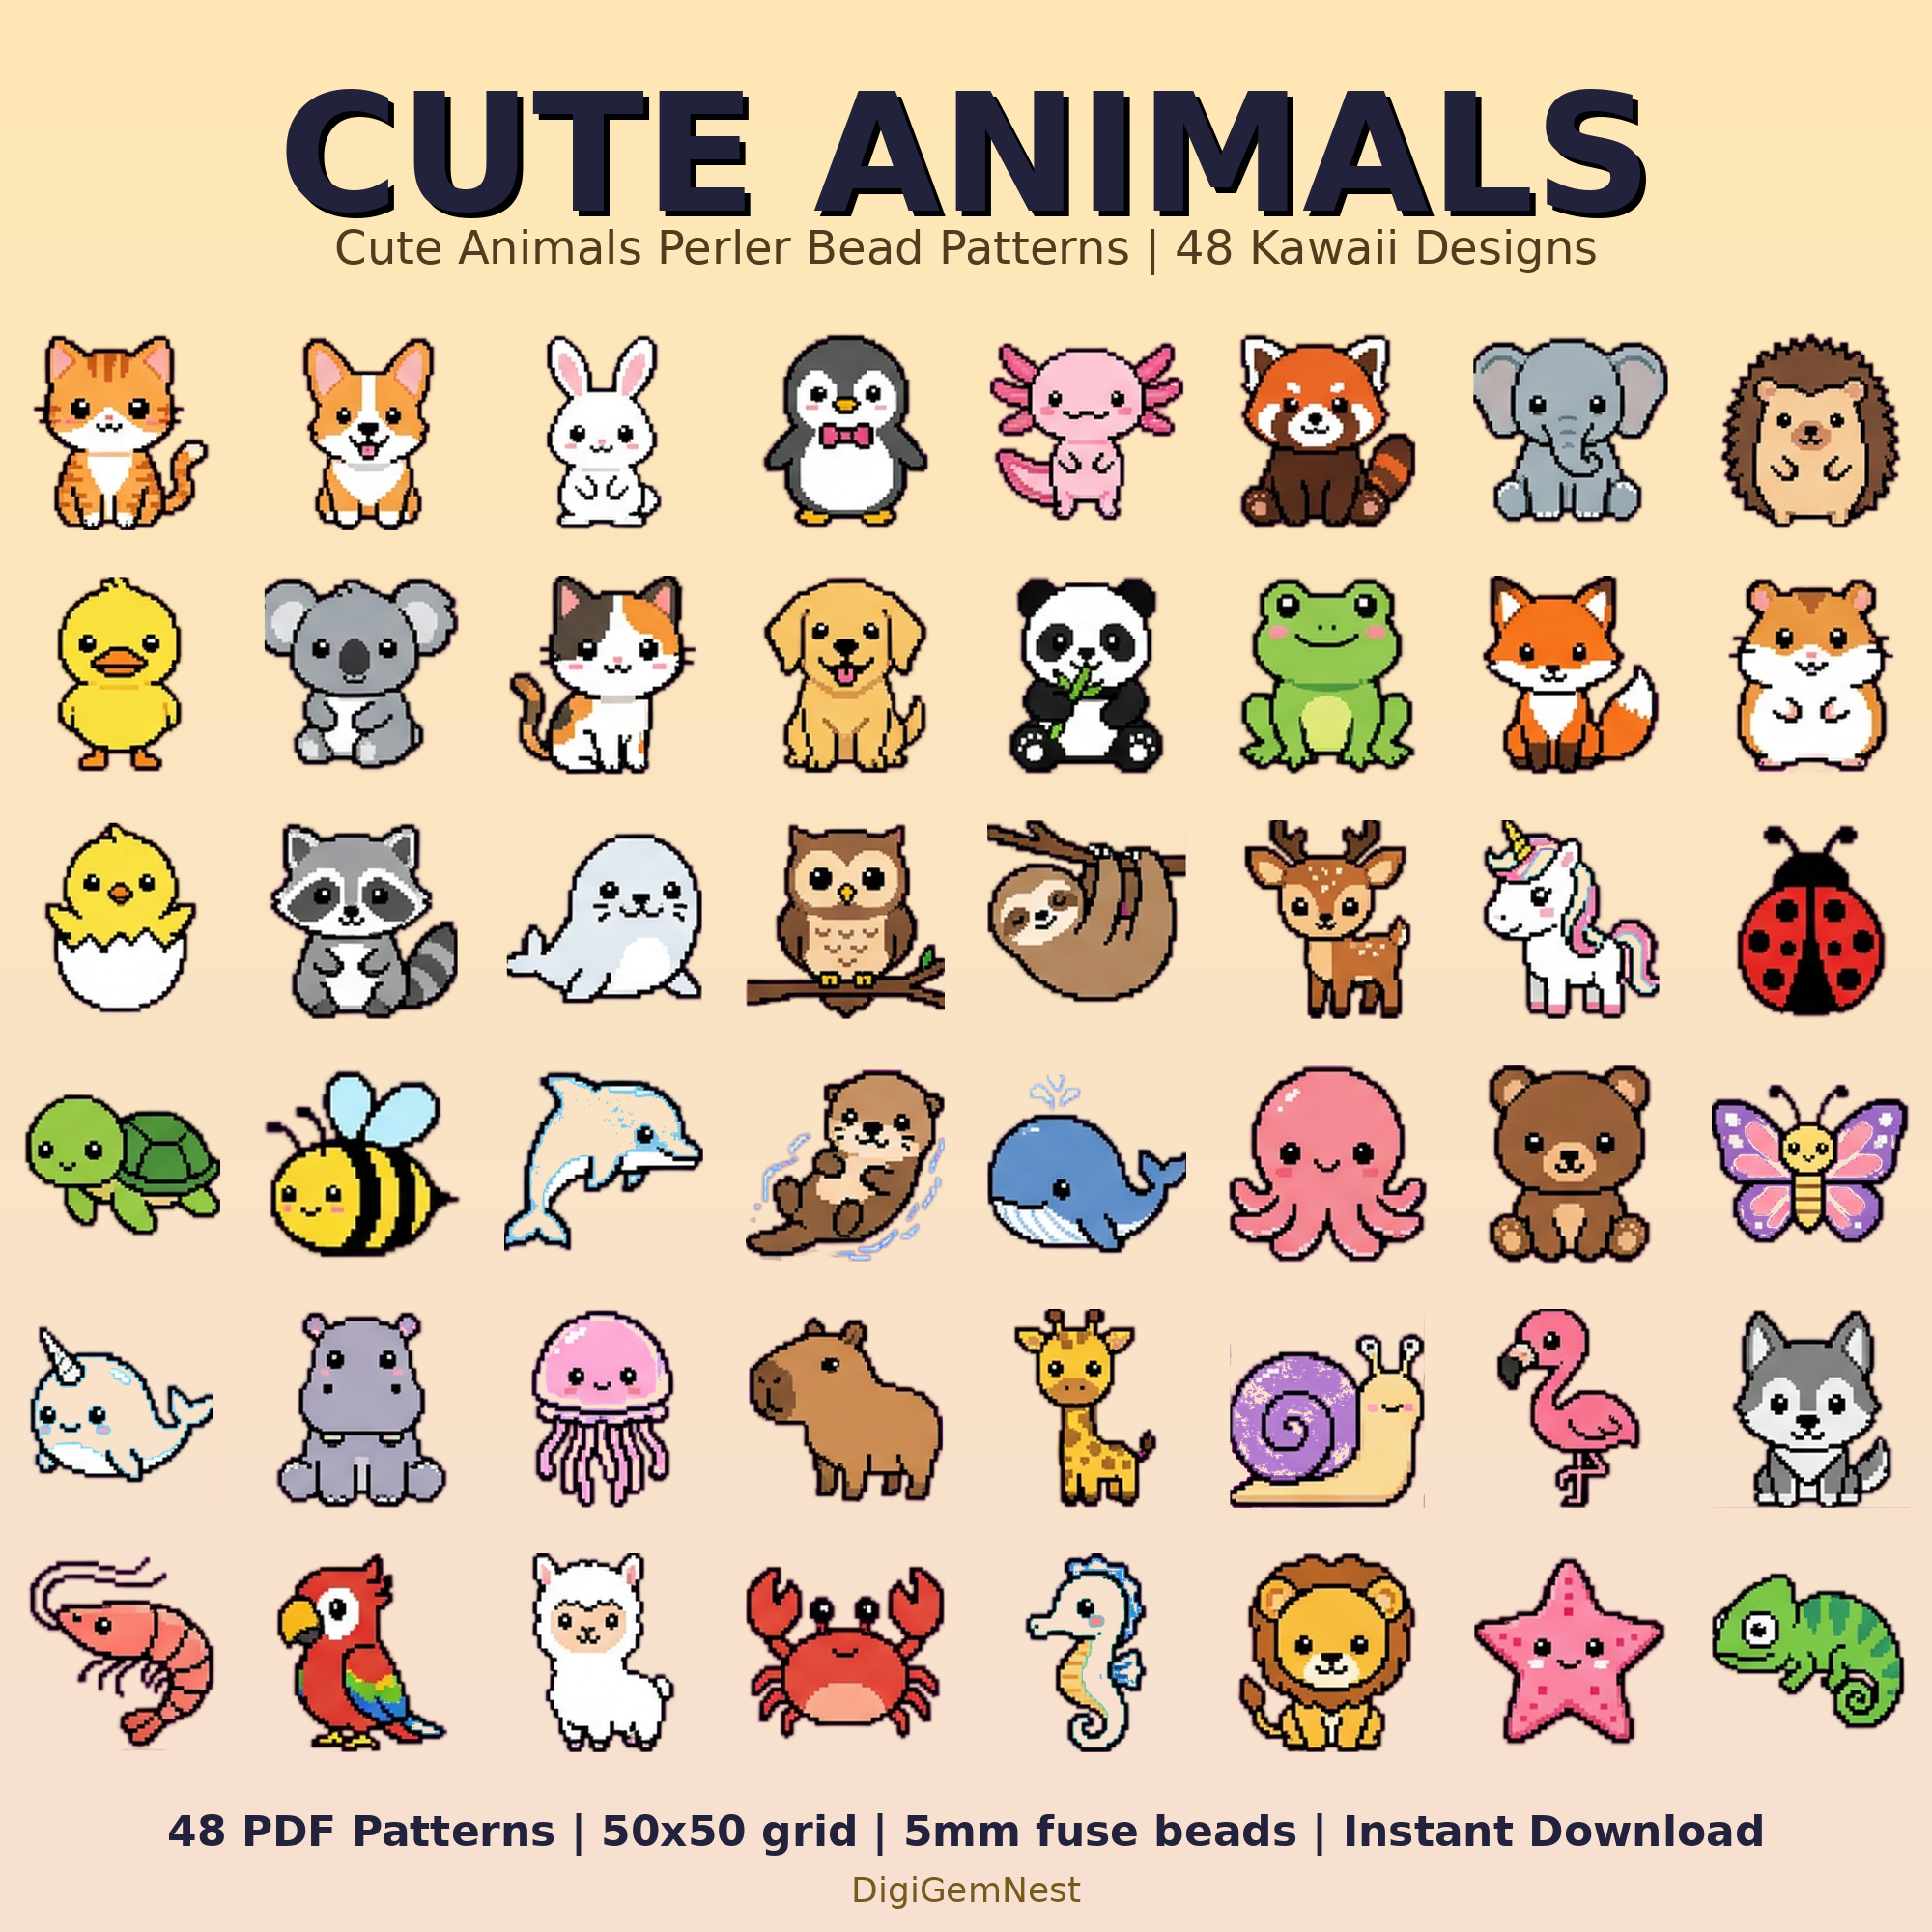
If you enjoy crafting cute, simplified characters, you might also love exploring patterns like our 48 Cute Kawaii Animal Perler Bead Patterns Bundle. These designs share a similar aesthetic of adorable, exaggerated features that translate wonderfully into perler bead art. For even more specific cute characters, our Cute Pets Perler Bead Patterns offer a variety of endearing animals that embody the same charming, simplified style found in chibi art. These bundles can provide inspiration and practice for creating your own cute Naruto characters.
Tips for Creating Dynamic Anime Perler Art
Taking your perler bead creations from simple designs to dynamic art pieces involves a few key techniques. Whether you're making a detailed perler bead art anime scene or a standalone character, these tips will help elevate your work.
1. Master Your Color Palette
Anime characters are known for their vibrant and often symbolic color schemes.
- Reference: Always have a good reference image. Pay attention to shading and highlights.
- Shading: Don't be afraid to use multiple shades of a color (e.g., light orange, dark orange) to add depth and dimension to hair, clothing, or skin. This can make a flat design appear more dynamic.
- Outlines: Black outlines are standard in anime and help define shapes. However, sometimes a dark shade of the color itself (e.g., dark blue outline for blue clothing) can create a softer, more integrated look.
2. Plan Your Layout and Pegboard Usage
- Sketch First: Before placing beads, it can be helpful to sketch your design on graph paper or use a digital pixel art program. This allows you to plan bead placement, especially for larger or more complex pieces.
- Multiple Pegboards: For bigger projects, you'll need multiple square pegboards connected together. Ensure they are securely joined to prevent shifting during beading and ironing.
- Negative Space: Think about the background. Sometimes, leaving negative space can make your character stand out more.
3. Ironing for Perfection
The ironing process is crucial for a successful perler bead project.
- Even Heat: Use a medium-hot iron with no steam. Move the iron in small, circular motions, applying gentle, even pressure.
- Flip and Fuse: Once one side is fused (beads are connected but still have a hole), let it cool slightly, then carefully remove it from the pegboard, flip it over, and iron the other side. This creates a stronger, more durable piece.
- Weight it Down: After ironing both sides, place the still-warm perler art under a heavy book or object for a few minutes. This helps prevent warping as it cools.
4. Display and Presentation
Once your Naruto perler art is complete, how will you showcase it?
- Wall Art: Frame your pieces or mount them on canvas for a unique display.
- Coasters: Larger, fully-fused pieces make great, durable coasters.
- Keychains/Magnets: Smaller designs are perfect for adding a ring for a keychain or a magnet to the back.
- Dioramas: Create a small scene with multiple characters and background elements.
By applying these tips, you'll not only improve your technical skills but also infuse more creativity and personal flair into your naruto perler pattern projects. And speaking of expressive art, don't miss our Emoji Perler Bead Patterns Bundle. These patterns can inspire you to capture different expressions and emotions in your anime characters, adding another layer of personality to your perler bead creations.
Unleash Your Inner Ninja Artist!
From the determined gaze of Naruto to the fierce loyalty of the Leaf Village symbol, the world of Naruto offers an endless source of inspiration for perler bead artists. We hope this guide has sparked your creativity and provided you with the tools and ideas to start crafting your own ninja masterpieces. Whether you're making a gift for a fellow fan or decorating your own space, each bead you place brings you closer to bringing your favorite anime moments to life.
Now that you're armed with inspiration and tips, it's time to gather your beads and start crafting! Explore our extensive catalog of PDF perler bead patterns to find even more designs and inspiration for your next project. Happy beading, and may your chakra be strong!