The Art of Pixels: Mastering Perler Bead Pixel Art Patterns
September 21, 2026
Ever gazed at a classic video game sprite or an intricate digital design and wished you could bring it to life? With perler beads pixel art patterns, you absolutely can! This craft offers a unique blend of digital precision and hands-on creativity, allowing you to transform simple plastic beads into breathtaking pixelated masterpieces. Whether you're a seasoned crafter or just starting your journey into the world of fuse beads, this deep dive will equip you with the knowledge to master the art of pixelated beadwork.
Understanding the Fundamentals of Pixel Art in Perler Beads
Pixel art, at its core, is an art form created by arranging individual colored pixels to form an image. Think of classic 8-bit or 16-bit video games, where every character and background element was meticulously crafted pixel by pixel. When we translate this to perler beads, each tiny bead becomes one of those essential pixels. This direct correlation makes perler beads an ideal medium for recreating digital art in a tangible form.
The Bead as a Pixel: Your Crafting Canvas
Each perler bead, when placed on a pegboard, represents a single pixel. This means that the resolution of your finished piece is directly tied to the number of beads you use. A larger design will have more beads, thus more 'pixels', allowing for greater detail and smoother color transitions. This fundamental concept is key to understanding how to approach any pixel art project.
Pegboards: Your Grid for Creation
Pegboards are the foundational grid for all perler bead projects. They come in various sizes and shapes, and many are designed to interlock, allowing you to create truly massive canvases for ambitious perler beads pixel art patterns. Choosing the right pegboard size for your project is crucial. For smaller, detailed sprites, a single square or circular board might suffice. For larger, more complex scenes, interlocking multiple boards will be necessary.
Scaling Your Vision
Consider the scale of your pixel art. A small sprite might be just 16x16 beads, while a more elaborate scene could be hundreds of beads wide and tall. The beauty of perler beads is that they inherently simplify complex images into their most basic color components, making even highly detailed pixel art approachable. Embrace the grid, and you'll find that even intricate designs become manageable one bead at a time.
Techniques for Converting Images and Sprites into Bead Patterns
Bringing a digital image to life with perler beads is a process that blends observation, planning, and a little bit of magic. The good news is, you don't have to be a digital artist to create stunning perler beads pixel art patterns.
Starting with Classic Sprites
Video game sprites are perhaps the most natural fit for perler bead art. Their inherent pixelated nature makes them incredibly easy to translate. Classic characters from beloved games are perfect for pokemon sprite perler beads or any other nostalgic gaming icon. Many online resources offer direct sprite sheets, which are essentially ready-to-use perler bead patterns. Just count the pixels, match the colors, and you're good to go!
Manual Conversion: The Old-School Way
For those who enjoy a hands-on approach, manual conversion is a rewarding method. You can print out an image and overlay a grid, or even use graph paper to sketch out your design pixel by pixel. This method gives you complete control over every detail and color choice.
Digital Tools for Modern Makers
Numerous online tools and software can help convert any image into a pixelated pattern. Websites often offer free image-to-perler-bead converters that simplify complex photos into a bead-friendly grid. For more advanced users, graphic design software like Photoshop or GIMP allows you to manually pixelate images, reduce color palettes, and fine-tune details before you even place your first bead. Remember that simplification is key; fewer colors often result in a cleaner, more recognizable perler bead piece.
Ready-Made Patterns for Instant Creativity
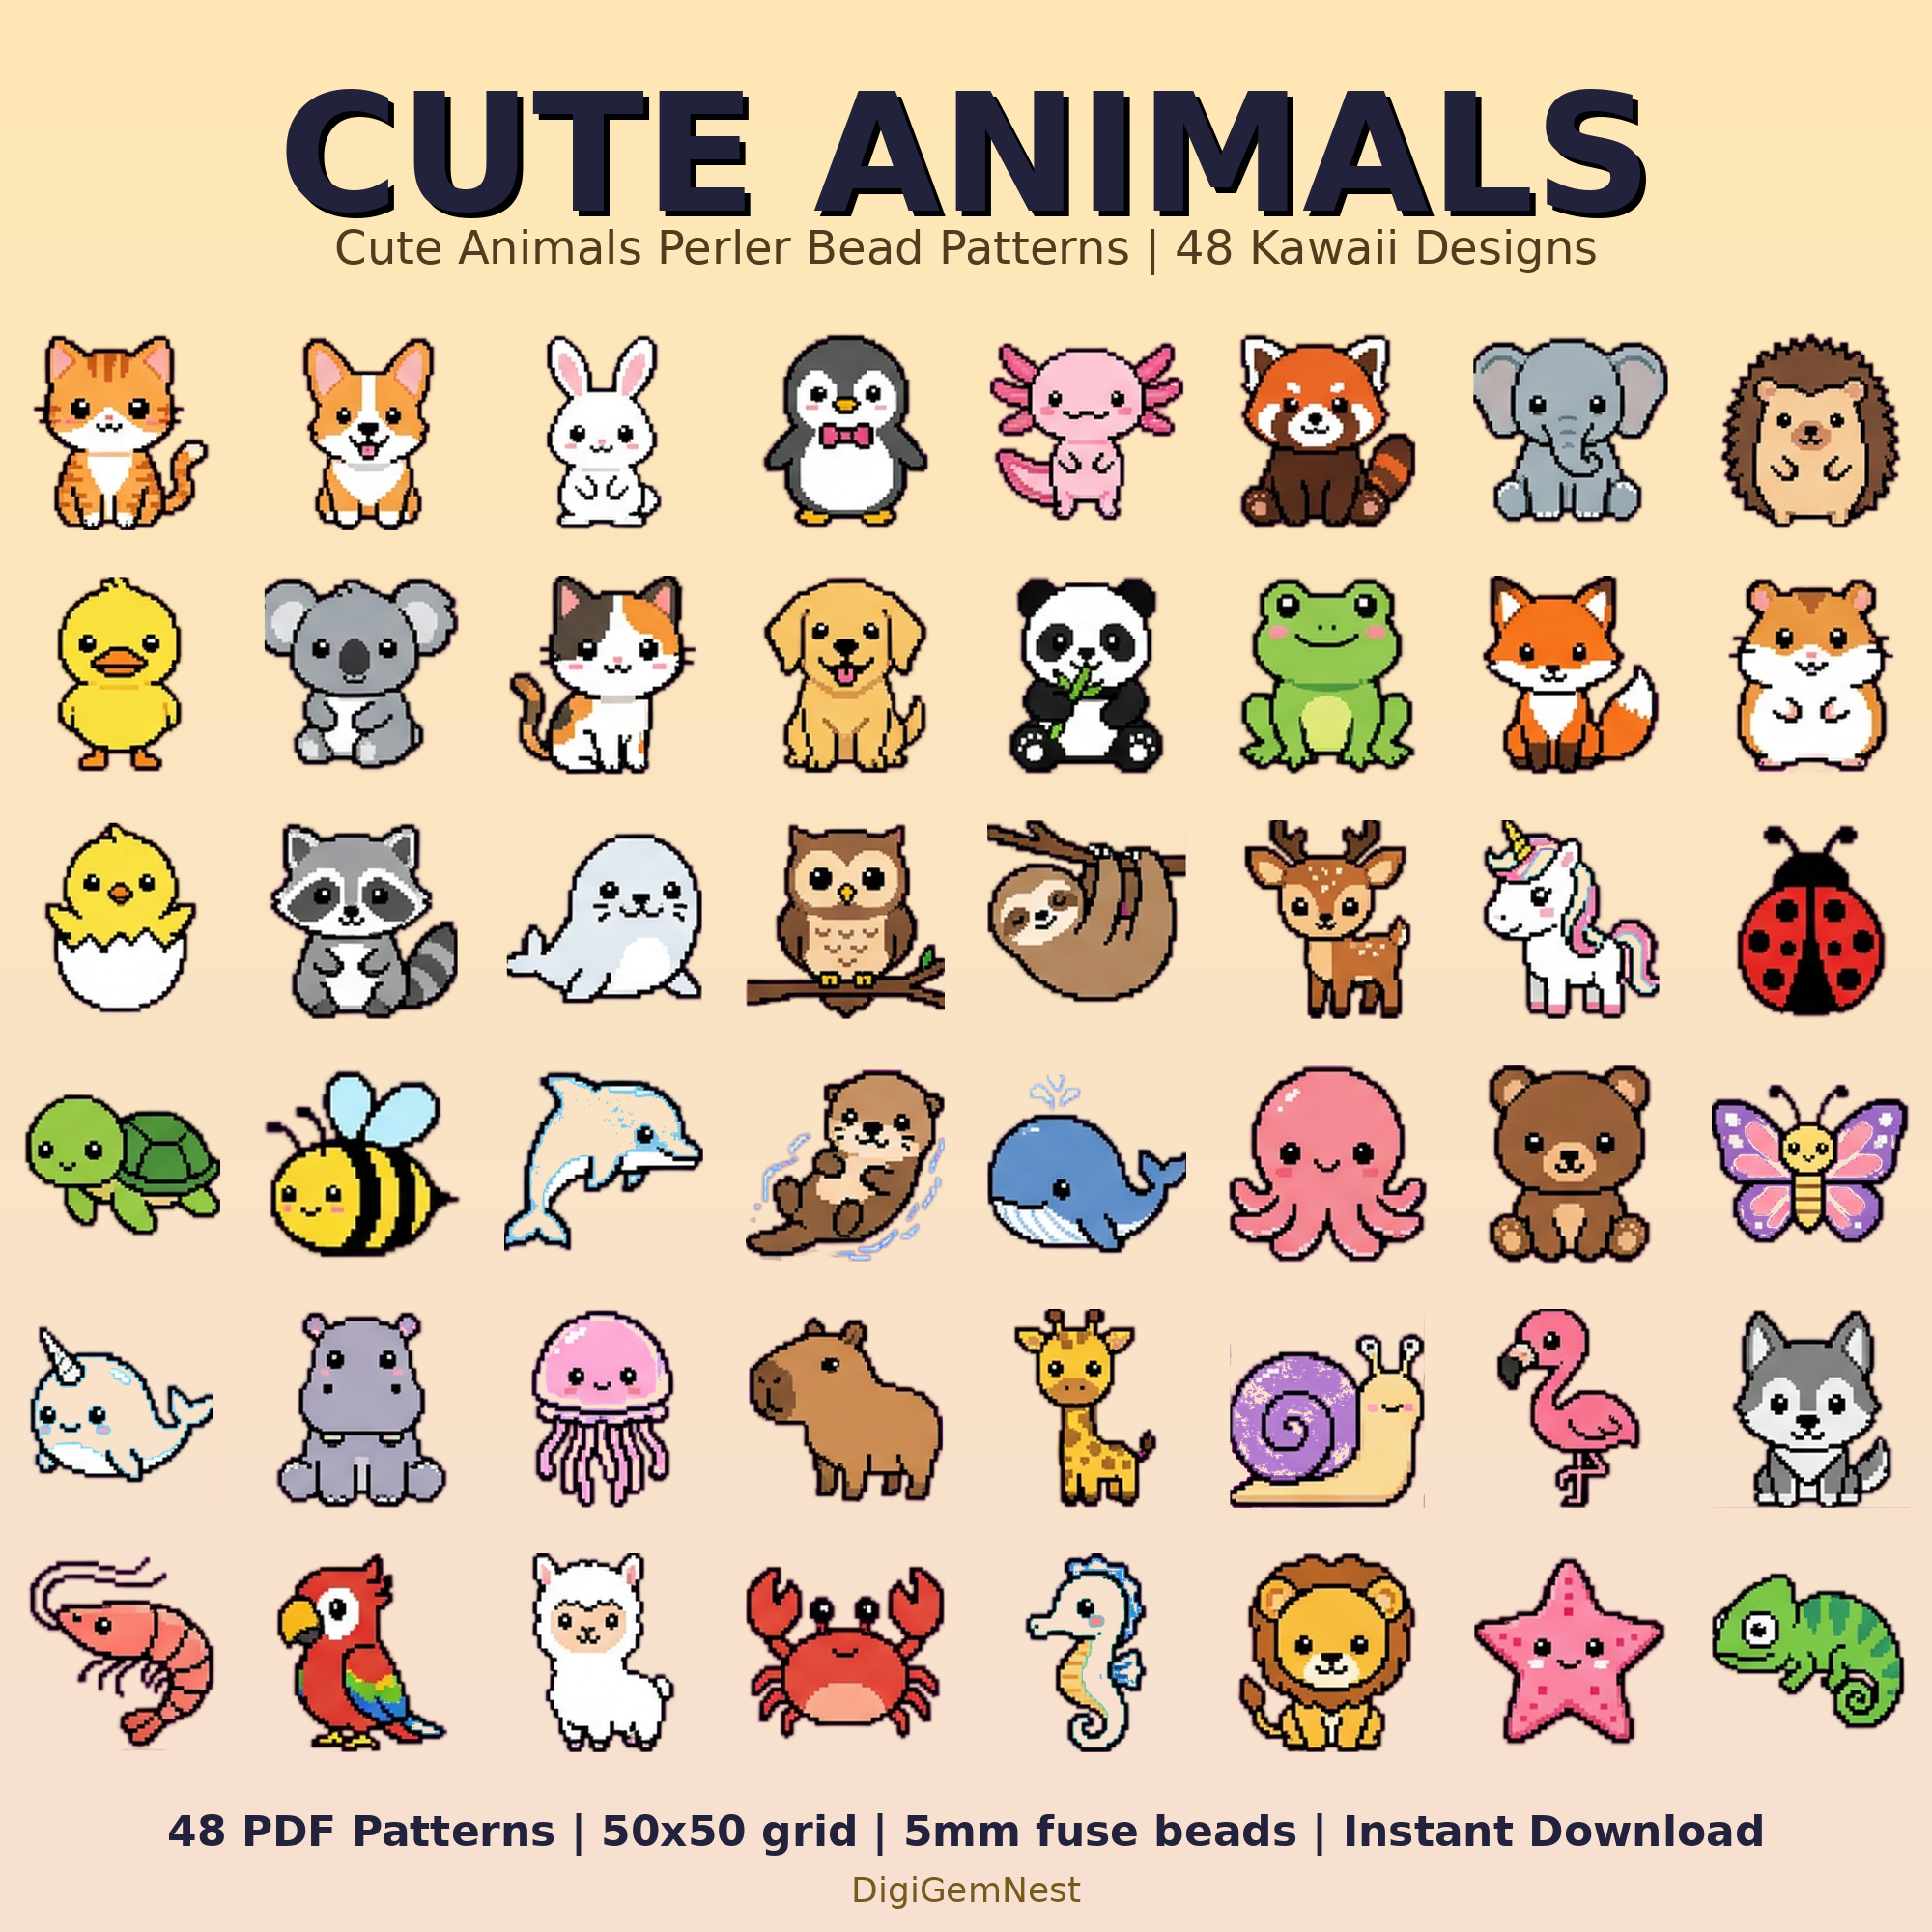
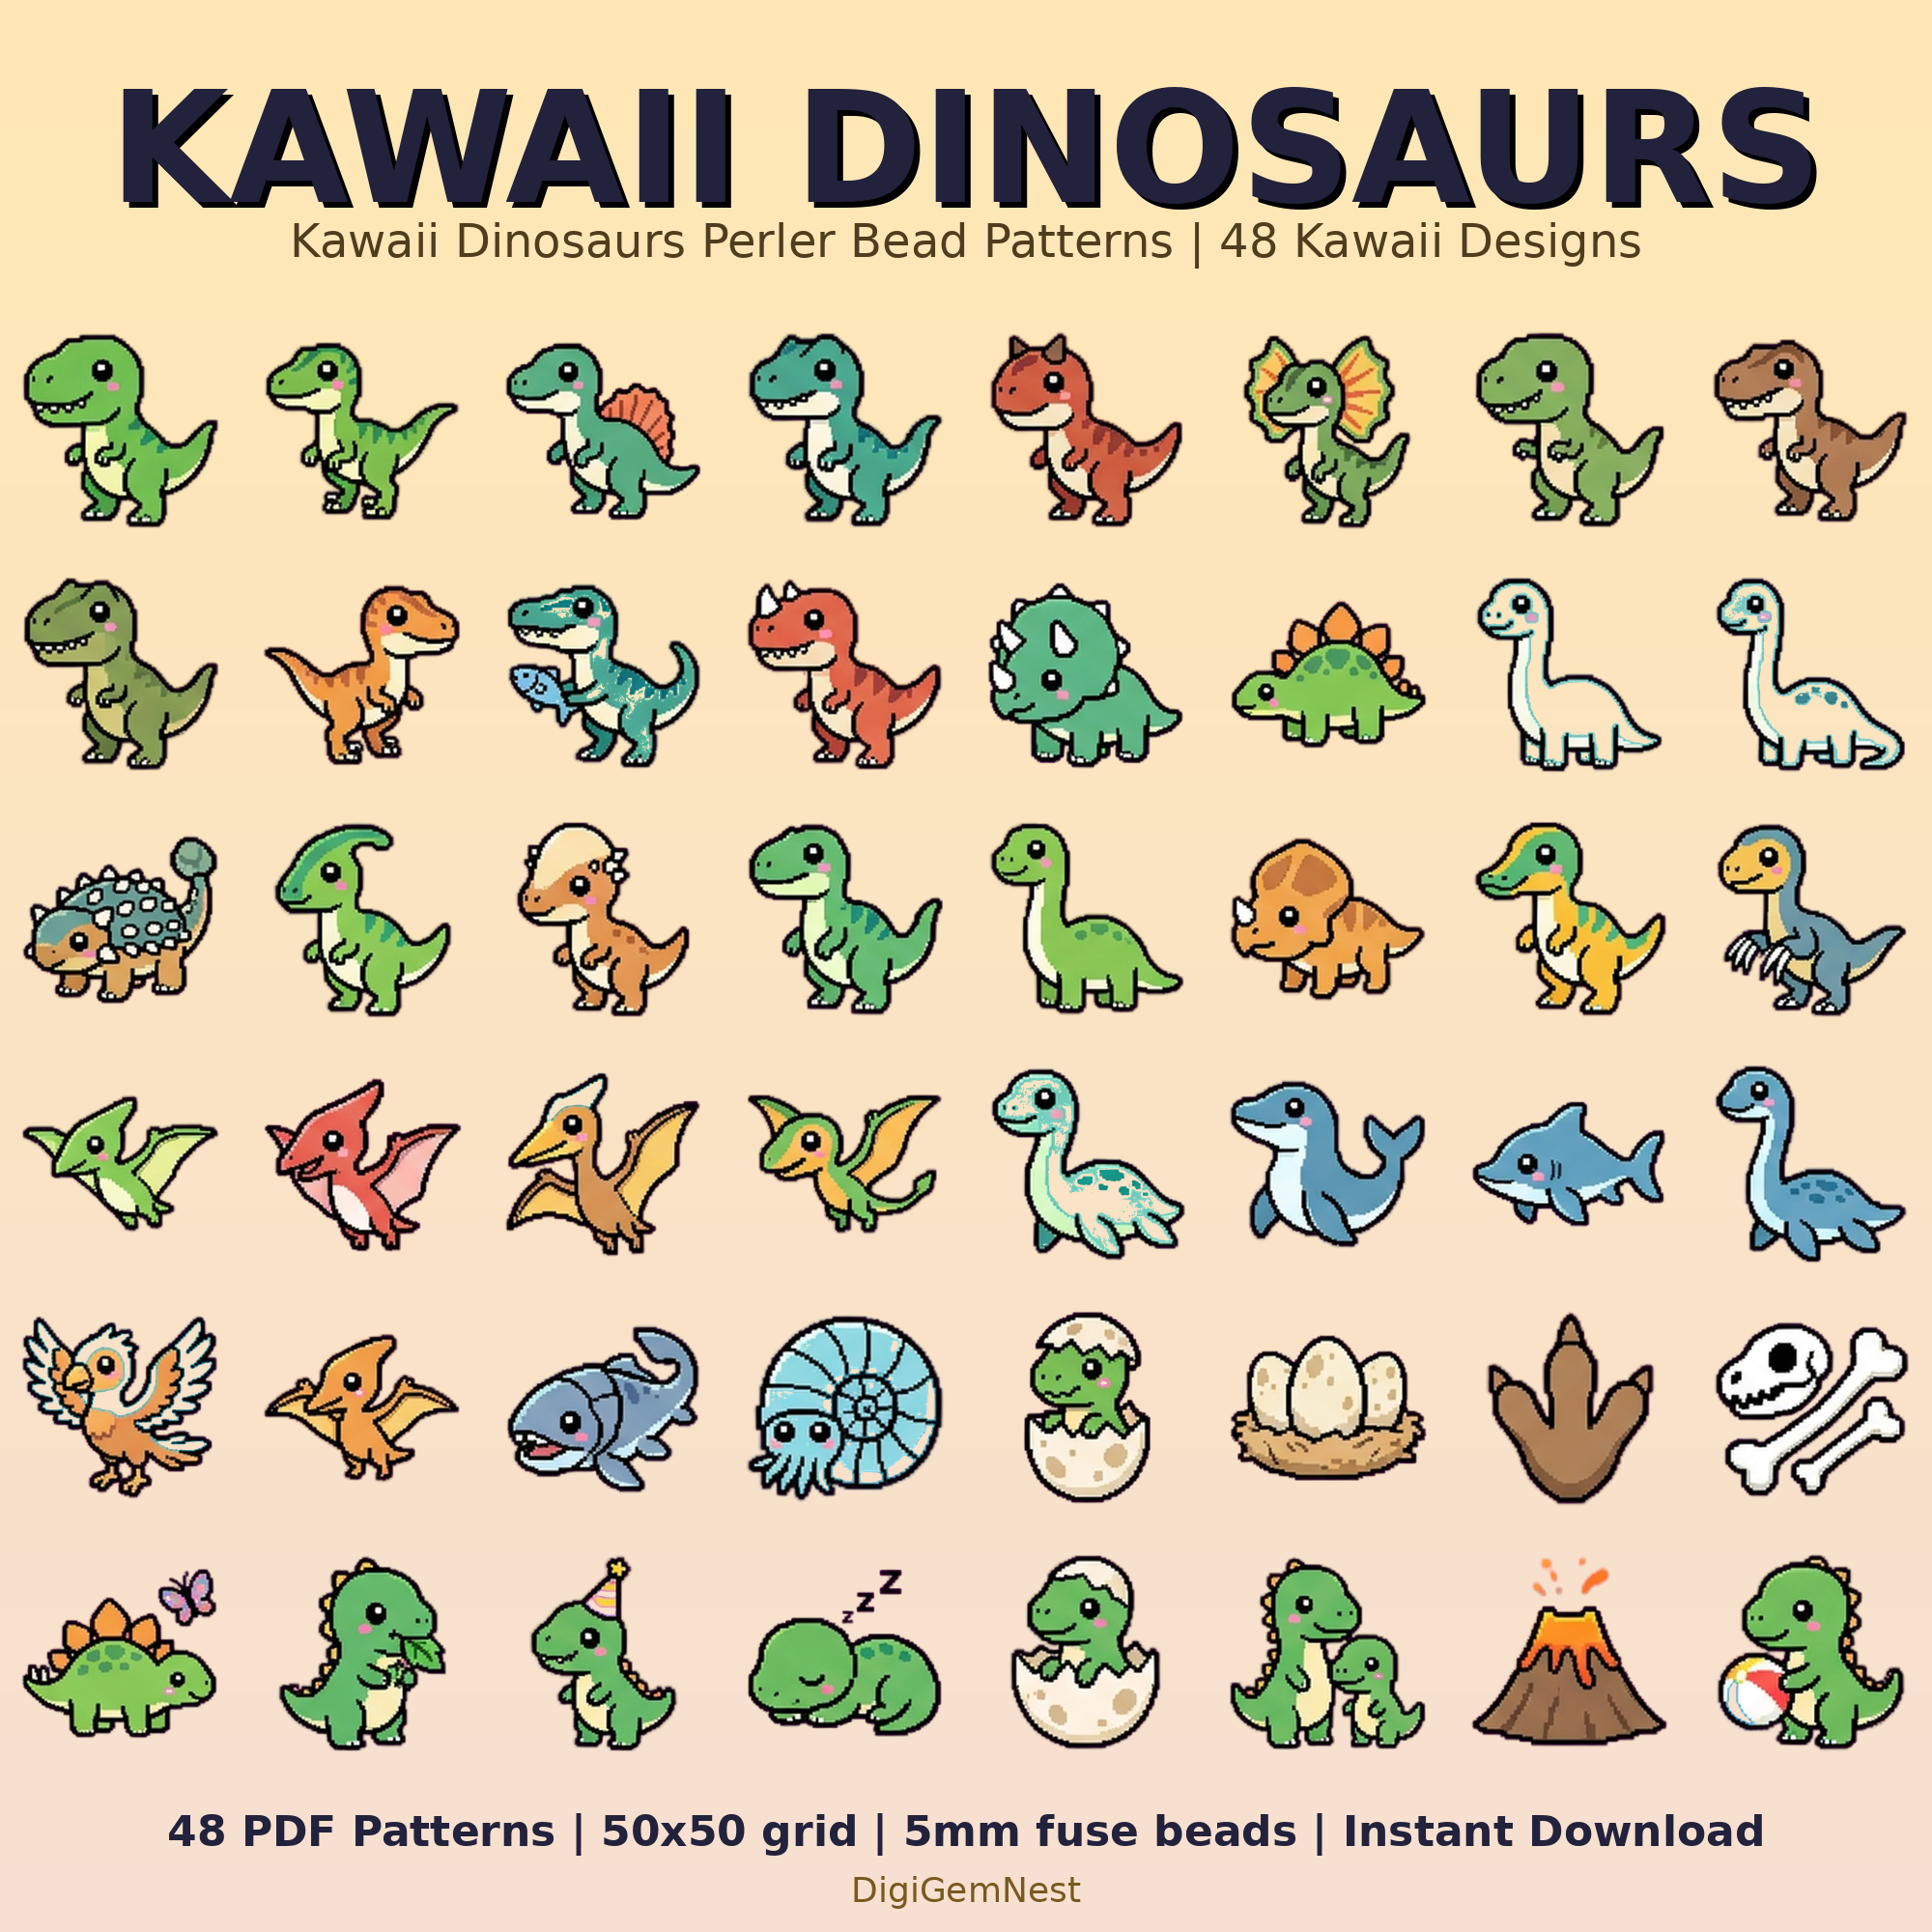
If the thought of converting images seems daunting, or you simply want to jump straight into beading, remember that many expertly designed patterns are available. Our collection includes a wide array of themes, perfect for getting started or expanding your crafting horizons. For example, our 48 Cute Kawaii Animal Perler Bead Patterns Bundle provides adorable, ready-to-use designs that translate beautifully into pixel art. Similarly, for fans of prehistoric creatures, the Dinosaur Perler Bead Patterns Bundle offers a fantastic starting point for creating detailed dino sprites.
Tips for Color Selection and Achieving Crisp Pixel Definition
Color is the soul of pixel art, and choosing the right shades of beads can make or break your project. Coupled with precise bead placement and careful ironing, you'll achieve that coveted crisp, pixelated look.
Mastering Your Color Palette
Perler beads come in a fantastic range of colors, but sometimes your target image might have shades that don't have an exact bead match. This is where artistic interpretation comes in. Learn to select the closest available shades, or even experiment with combining colors to create an optical illusion of a new shade. When working on pixel art hama beads (a term often used interchangeably with perler beads), remember that the limited palette is part of the charm and challenge. Don't be afraid to simplify; sometimes fewer colors create a stronger, more iconic image.
The Power of Outlines and Shading
Outlines can dramatically impact your pixel art. A strong black outline can make your design pop and define its shape, much like in classic cartoons. Conversely, a 'no-outline' style can create a softer, more integrated look. Experiment with both to see which suits your project best. For shading, simple dithering (alternating two colors in a checkerboard or striped pattern) can create the illusion of a gradient or a new mid-tone, adding depth without introducing new bead colors.
Precision Placement for Perfect Pixels
Careful bead placement is paramount. Ensure each bead sits snugly on its peg, without leaning or leaving large gaps. Misplaced beads can throw off the entire design, making it appear blurry or distorted. A pair of tweezers can be incredibly helpful for precise placement, especially on larger, more intricate patterns.
The Art of Ironing: Fusing Your Pixels
Ironing is the make-or-break step for any perler bead project. The goal is an even melt that fuses the beads together while maintaining their distinct pixel shape. Place parchment paper over your design, and use a medium-hot iron in a circular motion. Iron just enough for the beads to connect, but not so much that they flatten completely and lose their pixel definition (unless that's the desired aesthetic). Once one side is fused, carefully flip the design, remove the pegboard, and iron the other side lightly for added durability. This double-ironing technique helps prevent warping.
Showcasing Your Pixel Art Masterpieces
After all your hard work, your perler bead pixel art deserves to be admired! There are countless ways to display and share your creations, turning them from simple crafts into cherished art pieces or thoughtful gifts.
Creative Display Ideas
- Framing: Mount your finished pieces in shadow boxes or traditional frames for a gallery-worthy look. This is especially effective for larger, more detailed perler beads pixel art patterns.
- Magnets & Keychains: Smaller designs can be easily transformed into refrigerator magnets, backpack charms, or keychains. Simply attach a magnet or keychain ring with strong adhesive.
- Coasters & Trivets: Thicker, well-fused designs can make functional and decorative coasters or trivets, adding a pop of pixelated personality to your home.
- Wall Art: Arrange multiple themed pieces together to create a larger mural or a collection of related sprites. Imagine a wall dedicated to your favorite retro game characters!
Photographing Your Work
Good lighting and a clean background can make a huge difference when photographing your perler bead art. Natural light is often best. Try to avoid harsh shadows and glare, especially if your beads are particularly shiny. A simple, uncluttered background will ensure your pixel art stands out.
Sharing with the Community
Share your creations online! Crafting communities on social media platforms are vibrant and supportive. Use relevant hashtags like #perlerbeads, #pixelart, and #fusebeads to connect with other enthusiasts, get inspiration, and showcase your unique style. You might even inspire others to try their hand at perler beads pixel art patterns.
Consider our Art Supplies Studio Perler Bead Patterns Bundle for inspiration on creating themed displays, or the Cozy Home Essentials Perler Bead Patterns Bundle for ideas on crafting decorative pieces that blend seamlessly with your home decor.
From the meticulous placement of each bead to the satisfying moment of a perfectly fused creation, mastering pixel art with perler beads is a deeply rewarding journey. It's a craft that celebrates precision, patience, and the joy of seeing a digital vision come to life in your hands. So grab your beads, fire up your imagination, and start creating your own pixelated masterpieces today. Ready to find your next project? Browse our extensive catalog of patterns and let your creativity shine!